Work with entity relationship table shapes in draw.io
Entity relationship diagrams or ER models in software engineering show the structure of and relationships between database objects. They are used extensively in database modelling to plan new systems, and document existing systems for maintenance and updates.
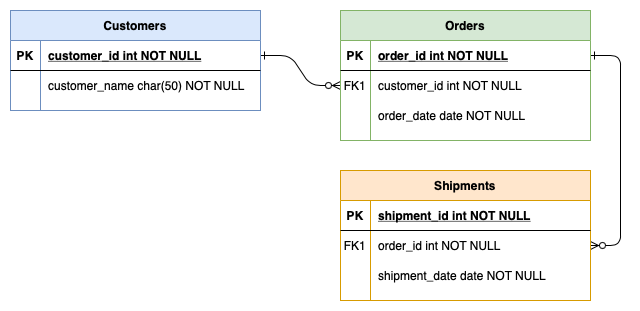
Open this ER model in the draw.io editor
In draw.io, entity relationship diagrams have their own shape library, and use the new extended table tools in the Arrange tab of the format panel. These tools and keyboard shortcuts let you quickly add and delete rows from your relational database model.
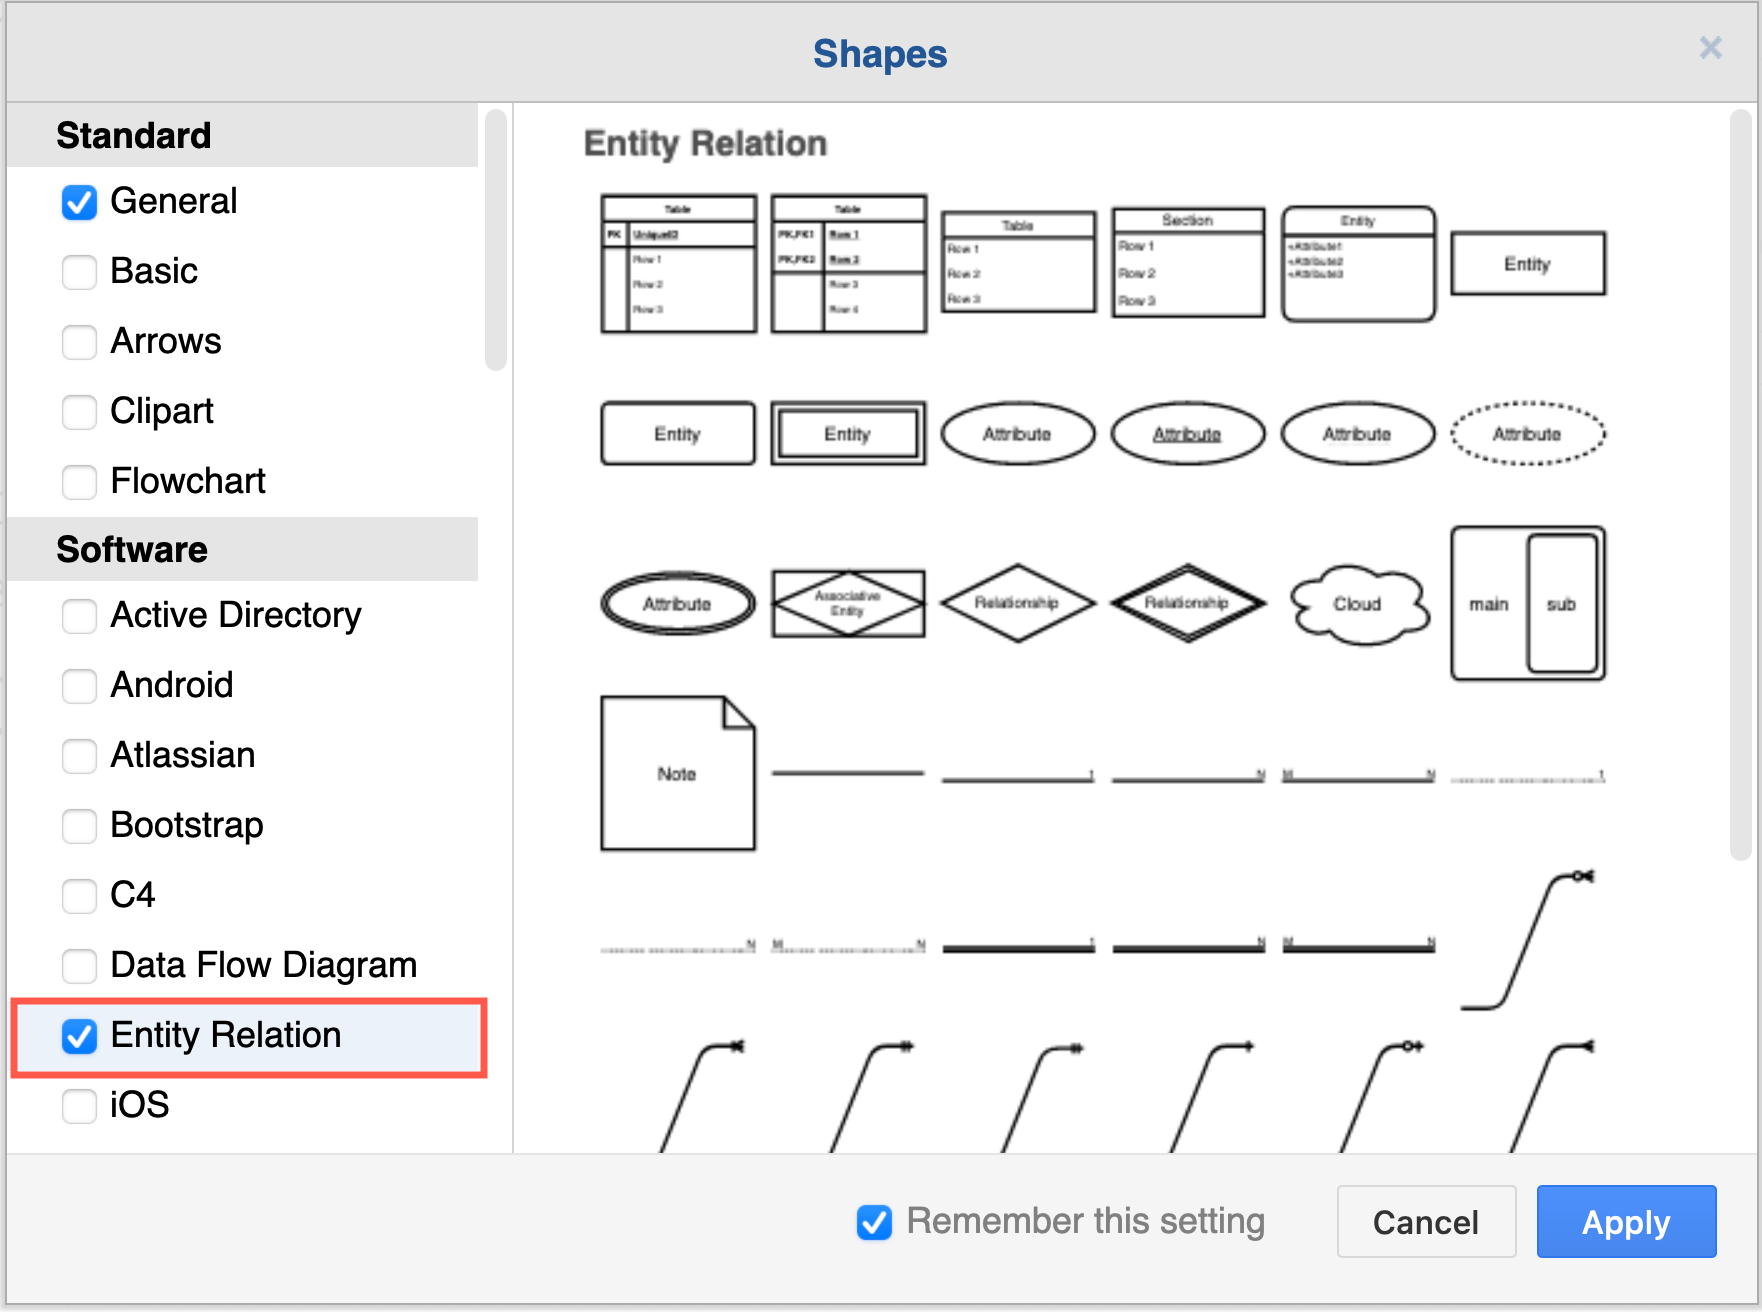
Enable the Entity Relation shape library: Click on More shapes at the bottom of the left panel, select the Entity Relation shape library in the Software section and click Apply.
If you prefer to work from a template diagram, see the end of this post to access one of the many ER diagram templates in draw.io.
Select a row inside a table: Click on an entity once to select the entire table. Click a second time, this time on a row inside that table, to select that cell within the row. Click a third time to select the entire row.
Add a row to a table or ERD table shape
There are many ways you can add new rows to your entity table shape in draw.io.
- Add a blank row: In the Arrange tab of the format panel, click the Insert Row After or the Insert Row Above button. If you had selected the entire table shape, a blank row will be inserted at the end or at the start of your table, otherwise it will be inserted before or after the selected cell.
- Add a row from the shape library: Drag a row (with or without a primary or foreign key) from the Entity Relation shape library and drop it on an existing entity (highlighted in purple*).
- Clone a row: Select a row, and press the keyboard shortcut
Ctrl+Enteron Windows orCmd+Enteron macOS to insert a clone of the selected row immediately below. TheCtrl+D/Cmd+Dkeyboard shortcut or right-clicking on the row and selecting Duplicate from the context menu work in the same way. - Move a row from another entity: Drag a row from one existing entity and drop it on another, just as you would a new row from a shape library.
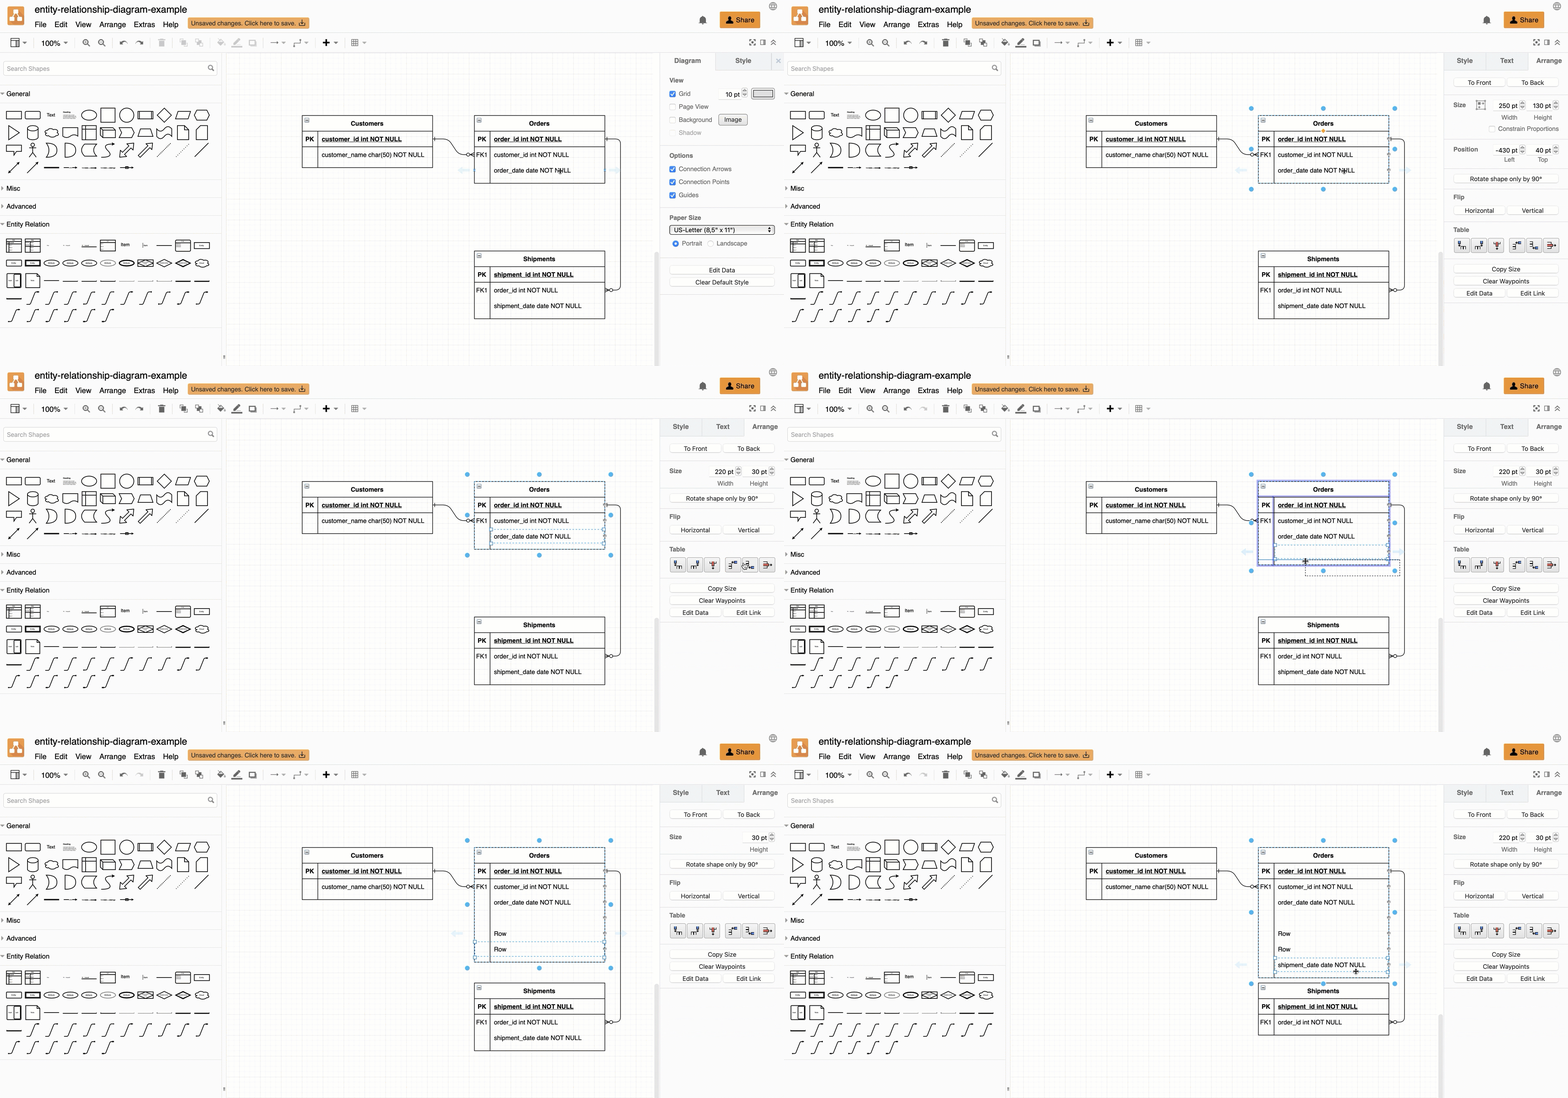
Tip: To reposition rows inside the table shapes, simply drag them to a new position.
Combine entity relationship tables and delete rows
When you want to reorganise your database entities, you can drag and drop an existing table onto another table shape to combine all of their rows. The primary key and foreign keys may not make sense after this, so make sure you delete any unnecessary rows.
- Drag and drop one table onto another table.
- Select the extra primary and foreign key rows and click the delete row tool in the Arrange tab of the format panel on the right. Just pressing the
Deletekey will delete the row’s content, but not the row itself.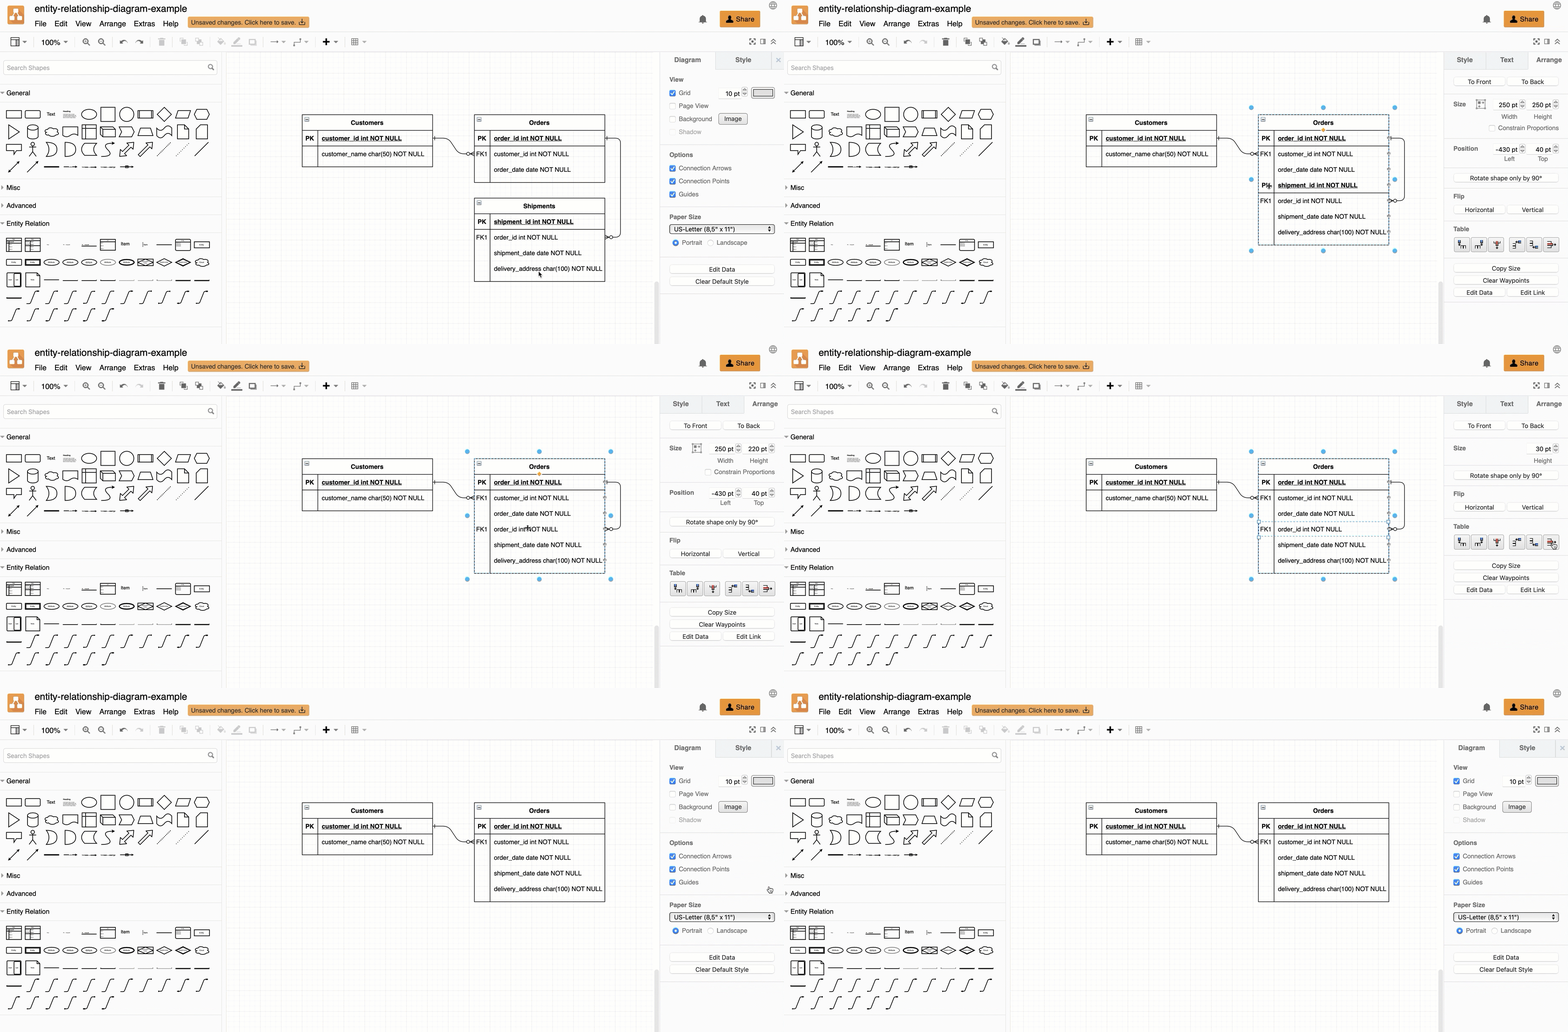
Tip: When you fully delete a row that has a connector attached to it (rather than just delete its contents), the connector is automatically deleted.
Connect to entity tables or rows
Some people prefer to connect primary to foreign keys across entities in an ER diagram to better show which elements are related. Use the connectors in the Entity relation shape library to show what type of a relationship exists.
- Drag a connector end and hover over the entity’s name to add a floating connector to the outside of the table shape. You can move rows around inside the table without moving the connector.
- Drag a connector end and hover over a row inside the entity table, and drop the connector when the row is highlighted to connect it to that row. When you move that row, the connector will stay attached to it.
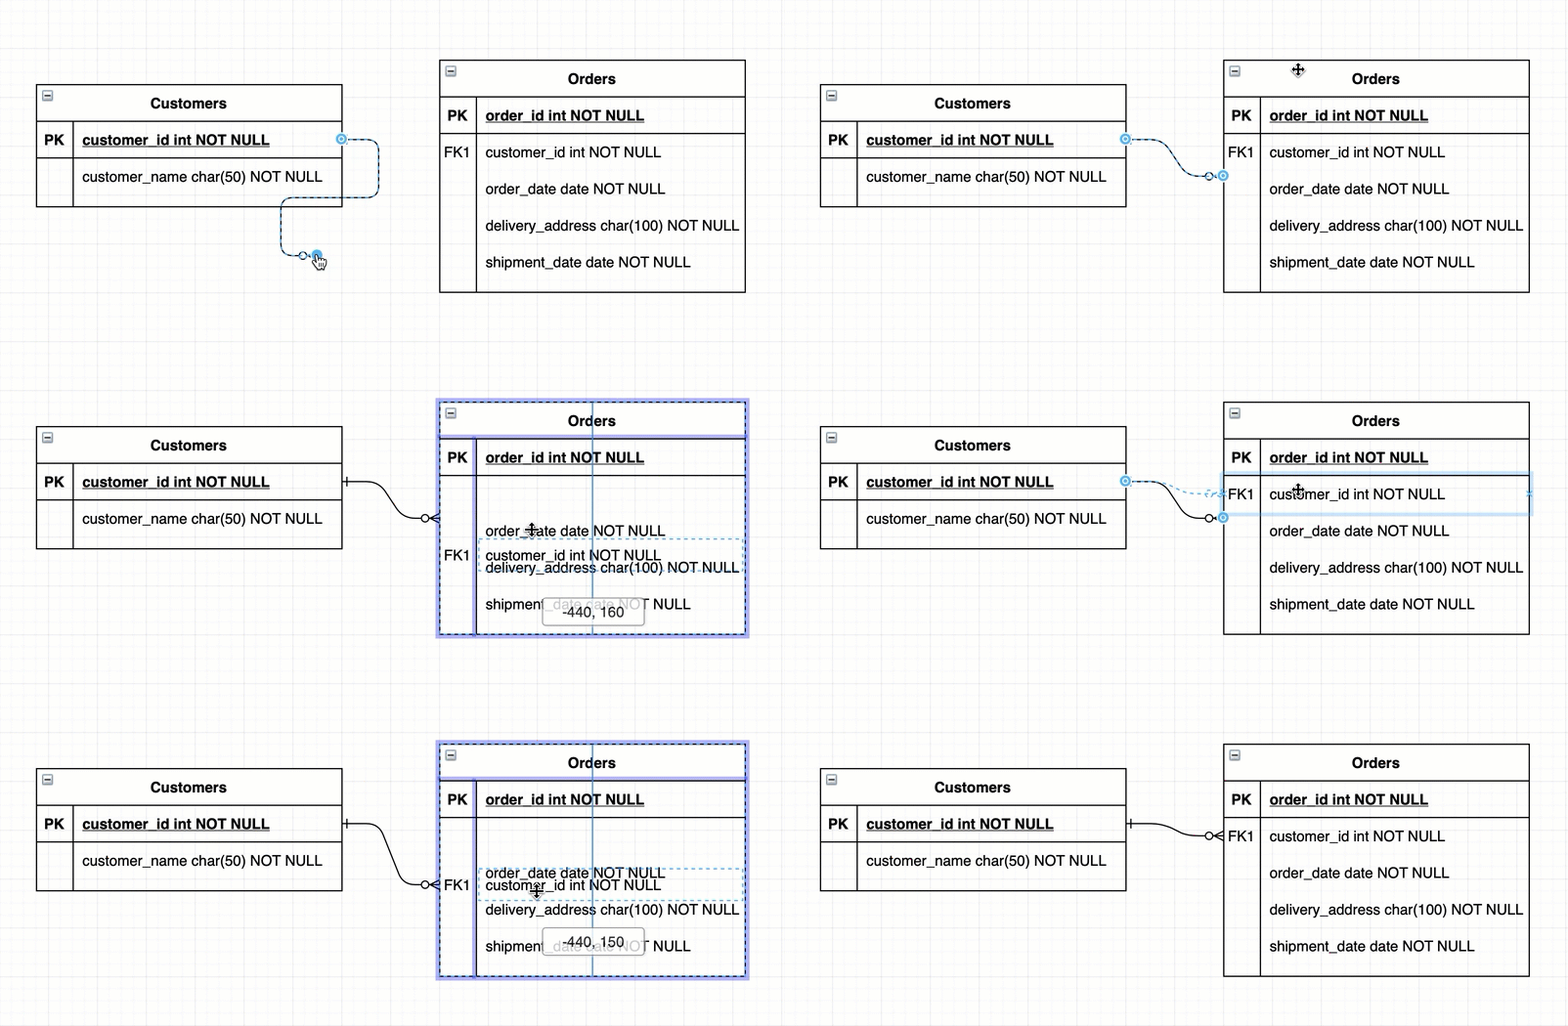
Tip: You can either set the ends of the connectors using the style tab, or use the connectors in the Entity Relation shape library. Hover over the connector shapes in this shape library to see which relationship they represent.
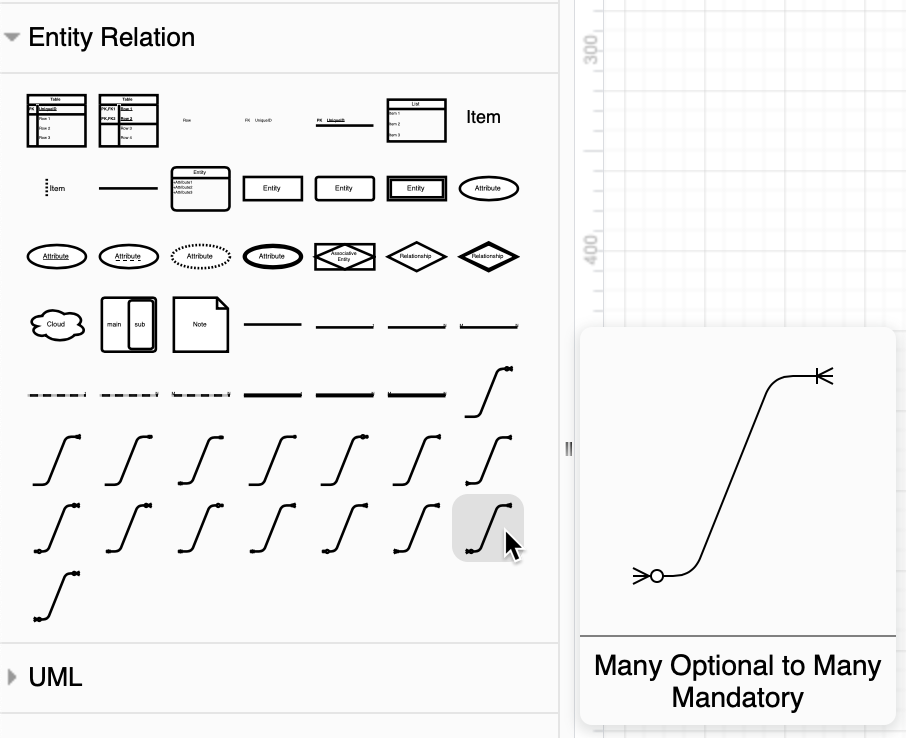
There are various notations you can use for the connector ends. The most common is crow’s foot notation.
Work from an ER diagram template
When you create a new diagram, you can choose from a wide variety of templates, including many different entity relationship models. You can also insert one of these templates into an existing diagram.
Select Arrange > Insert > Template from the draw.io menu to open the template manager.
There are two categories of templates containing ER diagrams:
- Select Basic, then select the simple Entity Relationship Diagram template for a simple model with three tables.
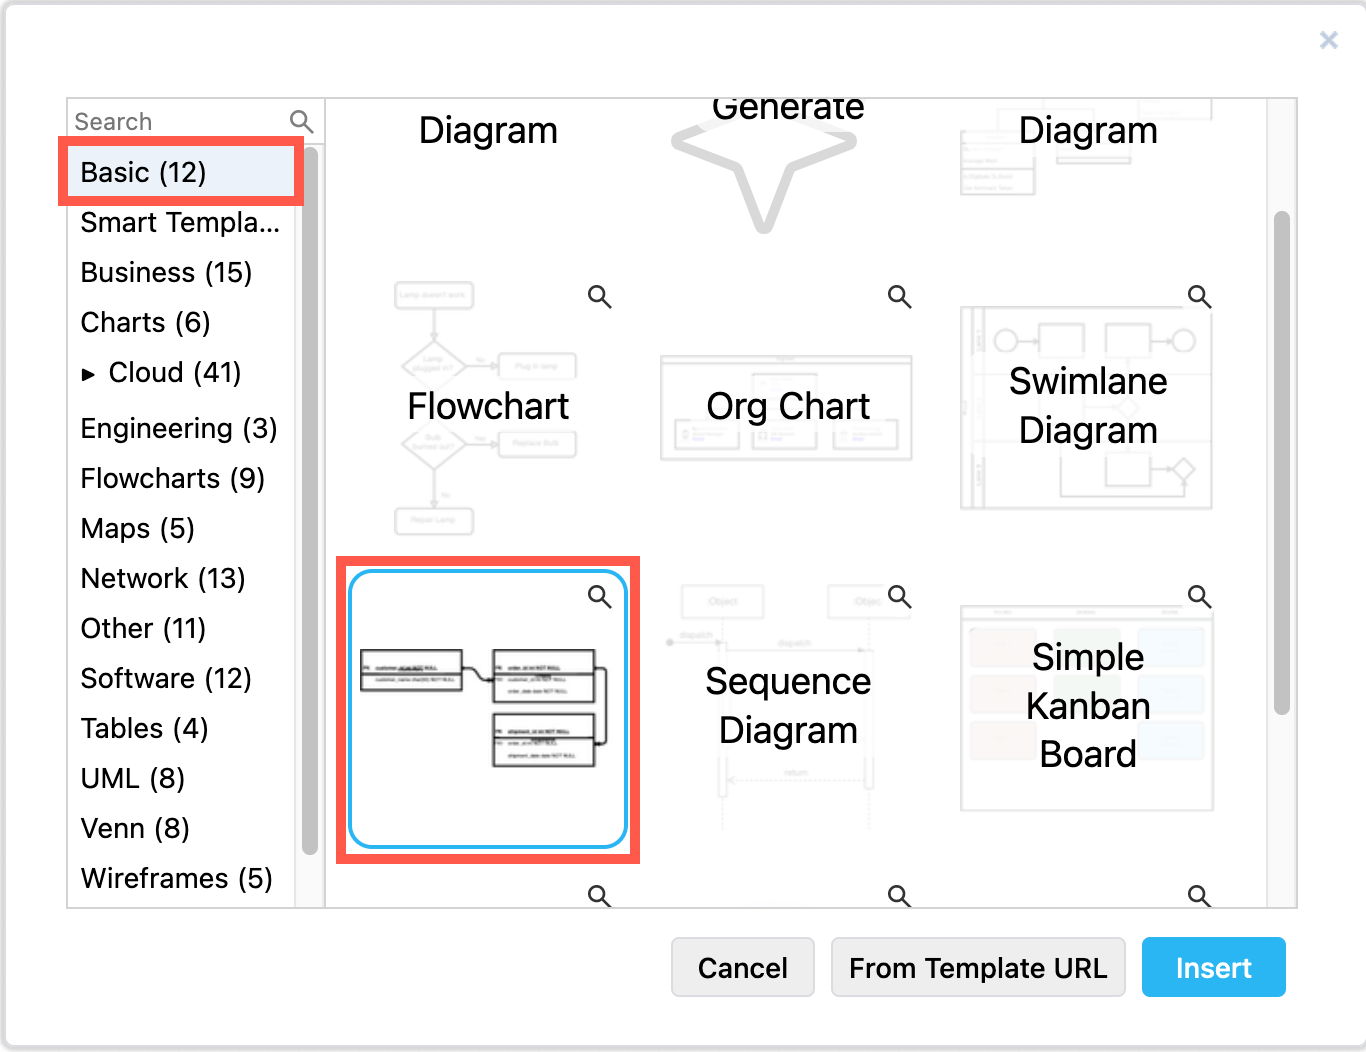
- Select Software, then choose one of the many different example ER diagram templates. These are much more complex than the basic ER diagram template. Click on the magnifying glass icon in the top right of a template to see a larger preview.
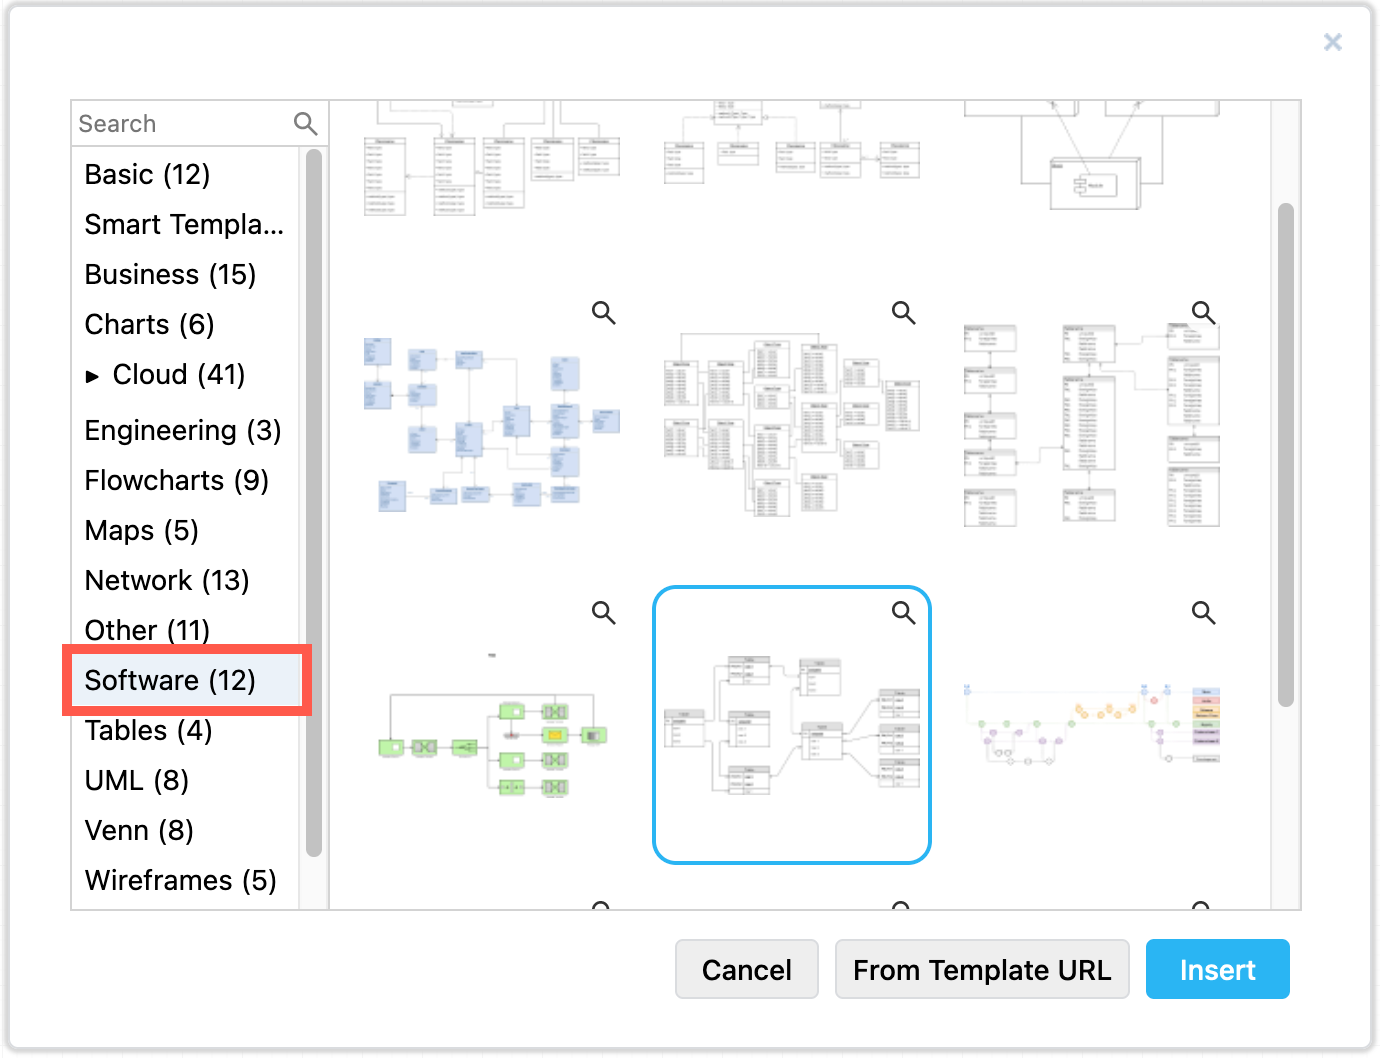
Generate a custom smart template
You could also generate a custom smart template diagram based on a text description of your system and process.
- Open the template library (Arrange > Insert > Template) and select Smart Templates.
- Select Entity Relationship Diagram from the list of diagram types.
- Describe your system and process and click Generate.
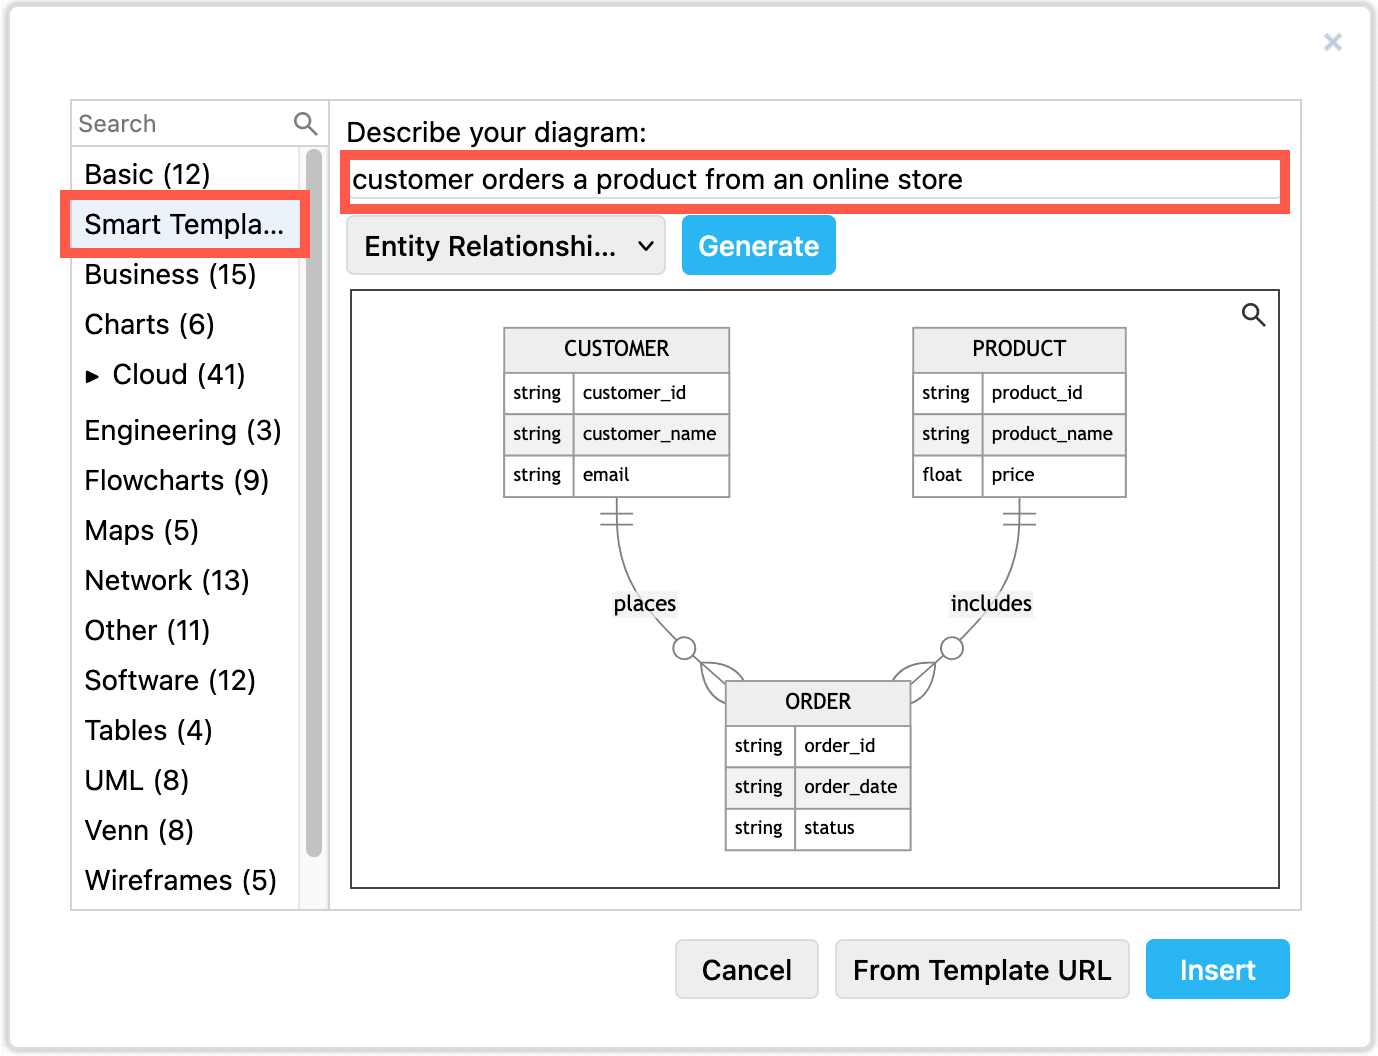
- If you are happy with the generated smart template, click Insert or Create to add it to the drawing canvas.
Create entity table shapes from SQL code
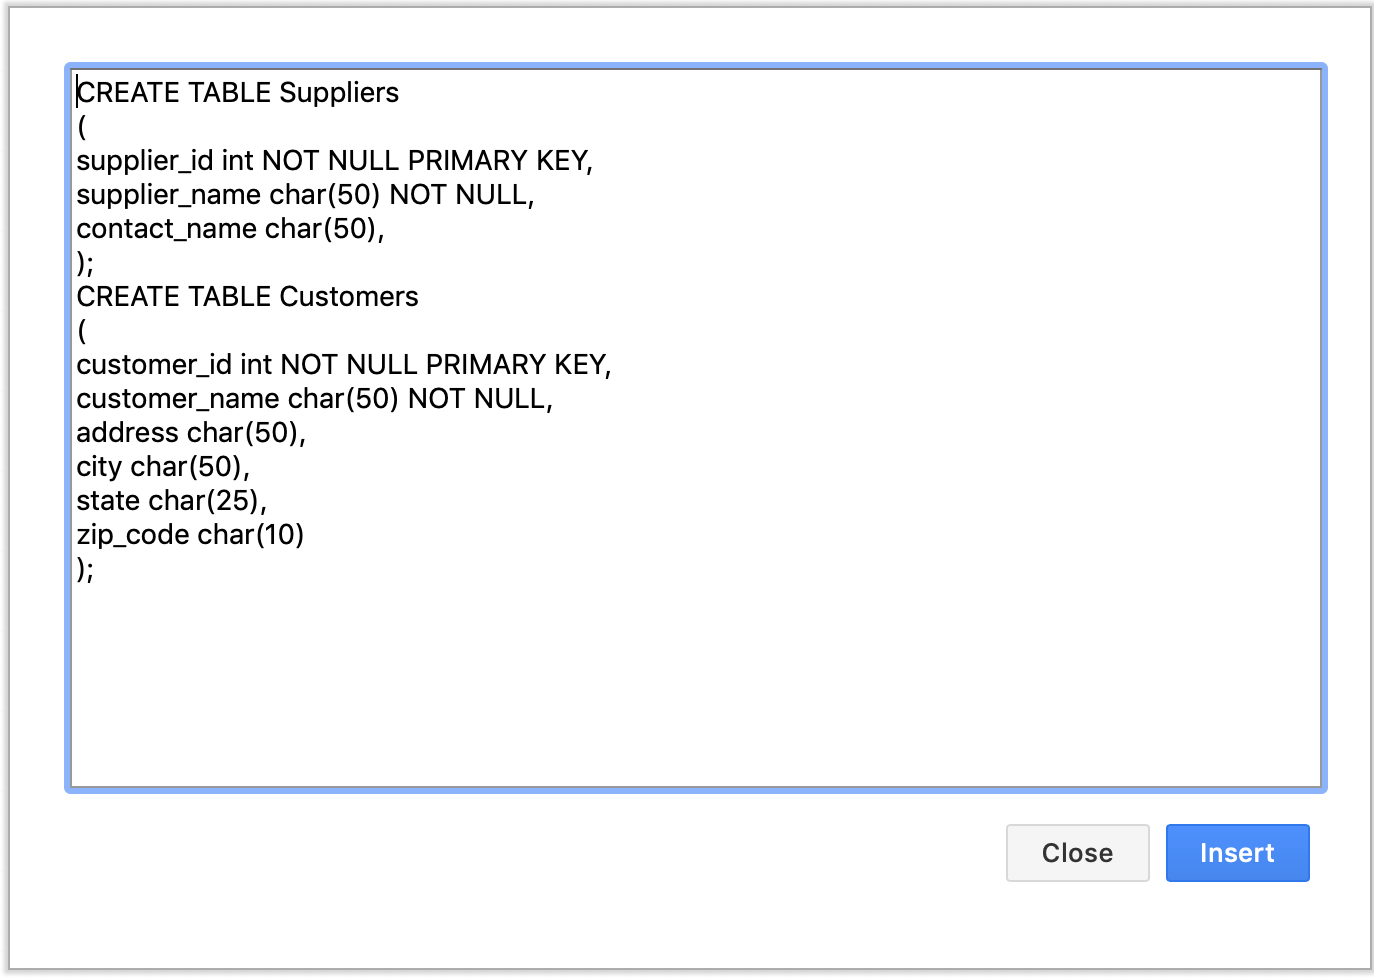
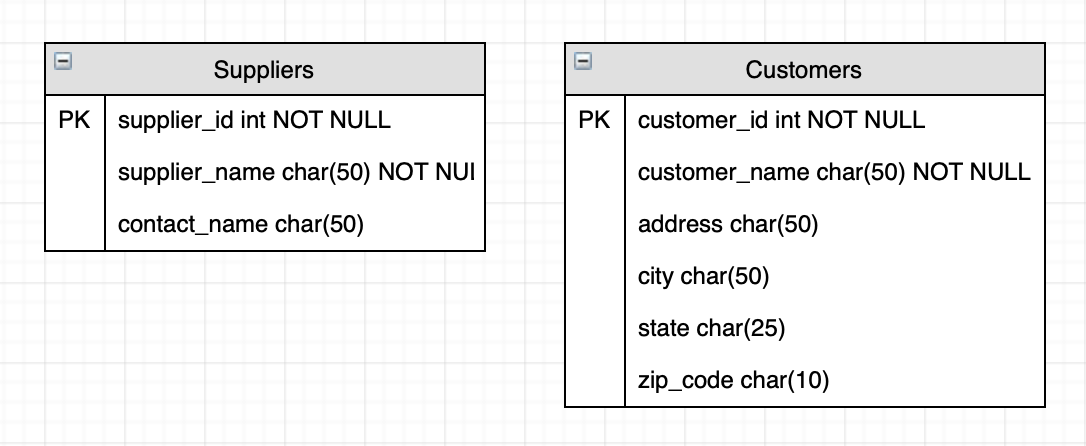
You can insert SQL code to create your entities automatically. Once you’ve inserted the code and generated the entities on the drawing canvas, all you need to do is draw the connectors between them to show their relationships. This is useful for modelling existing relational database systems.
