Drawing gitflow diagrams in draw.io
It's easier to show new development team members your project's branch structure in your Git repository visually than to describe it in words. Some platforms may illustrate this using built-in tools. If you are using a platform without a convenient visual representation, it's easy to create your own gitflow diagram.
Quickly clone and connect shapes
The default size of the shapes from the shape library are not able to be overridden, which is why the clone and connect feature is such a time-saver: it copies both a shape's style and text content.
Go to the online draw.io editor at app.diagrams.net to create your diagram. You only need the shapes in the basic shape library to create your Git workflow.
The example below shows you how to create and style a gitflow diagram and use default styles to diagram faster.
See the completed example in draw.io
Add a Master or Main branch
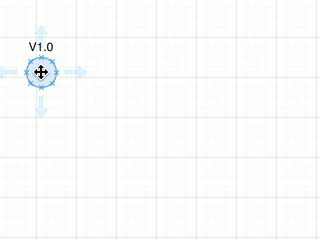
- Add a circle to the drawing canvas. Resize it by clicking and dragging the handles around the bounding box of the circle. Set colours and styles in the Style tab of the format panel if you want to.
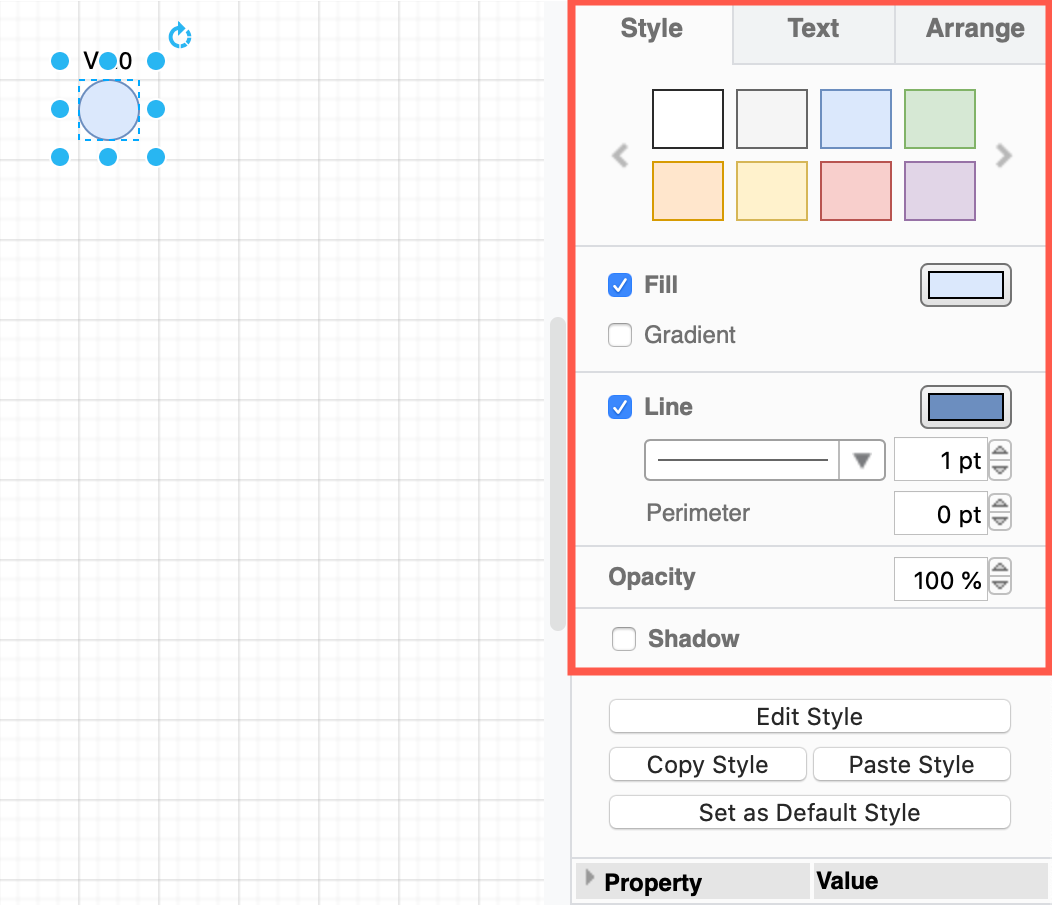
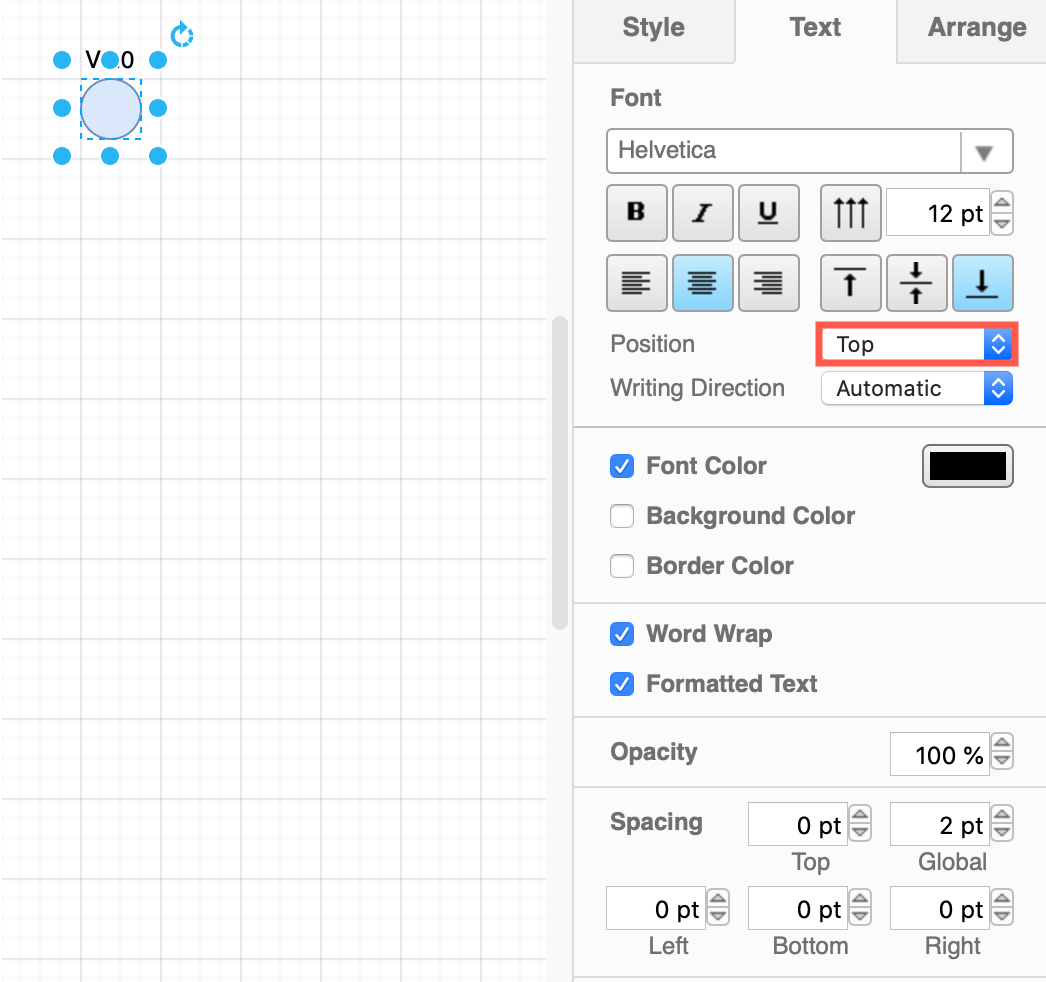
- If you want to add a label, double click on the circle or start typing the label text. You can reposition this text in the Text tab of the format panel on the right.
Tip: Now click Set as Default Style in the Style tab of the format panel. This means when you next add a shape to your diagram from the shape library, the same style will be applied to your new shape and its label.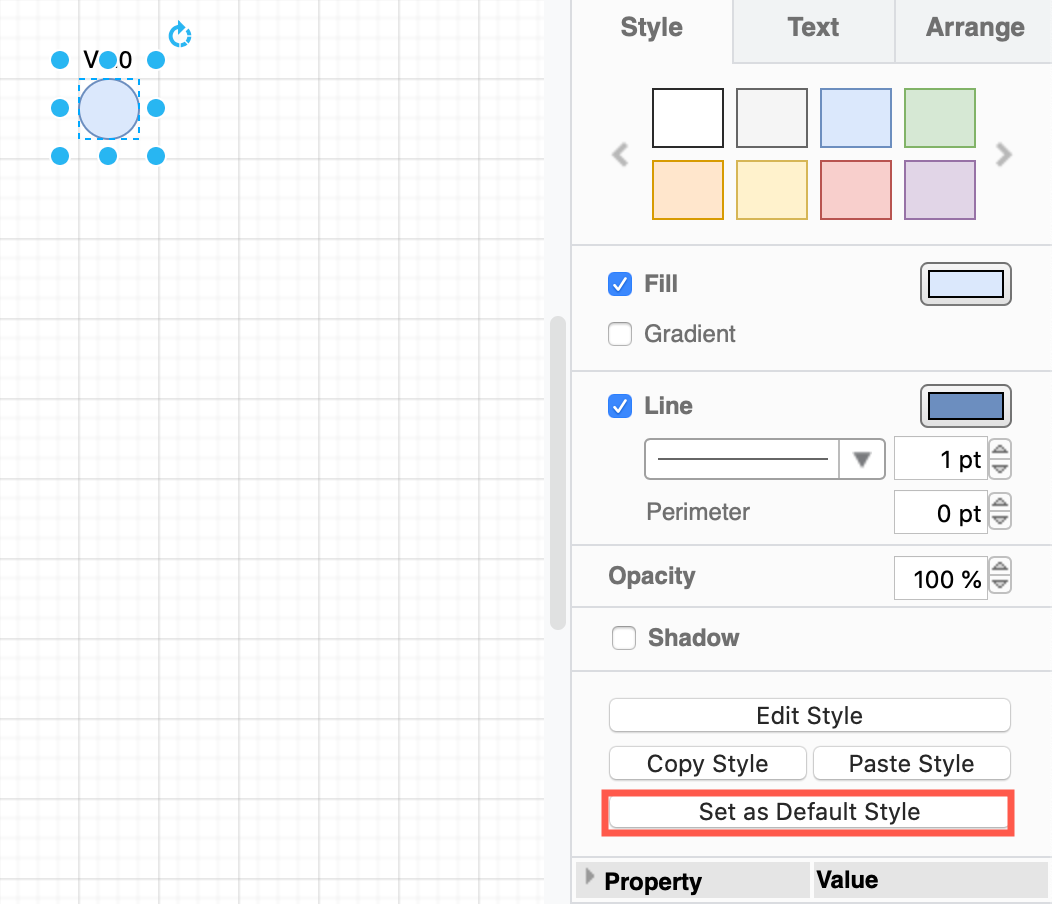
- Hover over your styled and resized circle on the drawing canvas, and click on the blue arrow , then on the first entry in the popup to clone and connect it.
- Select the connector between the two shapes and style the connector in the Style tab of the format panel.
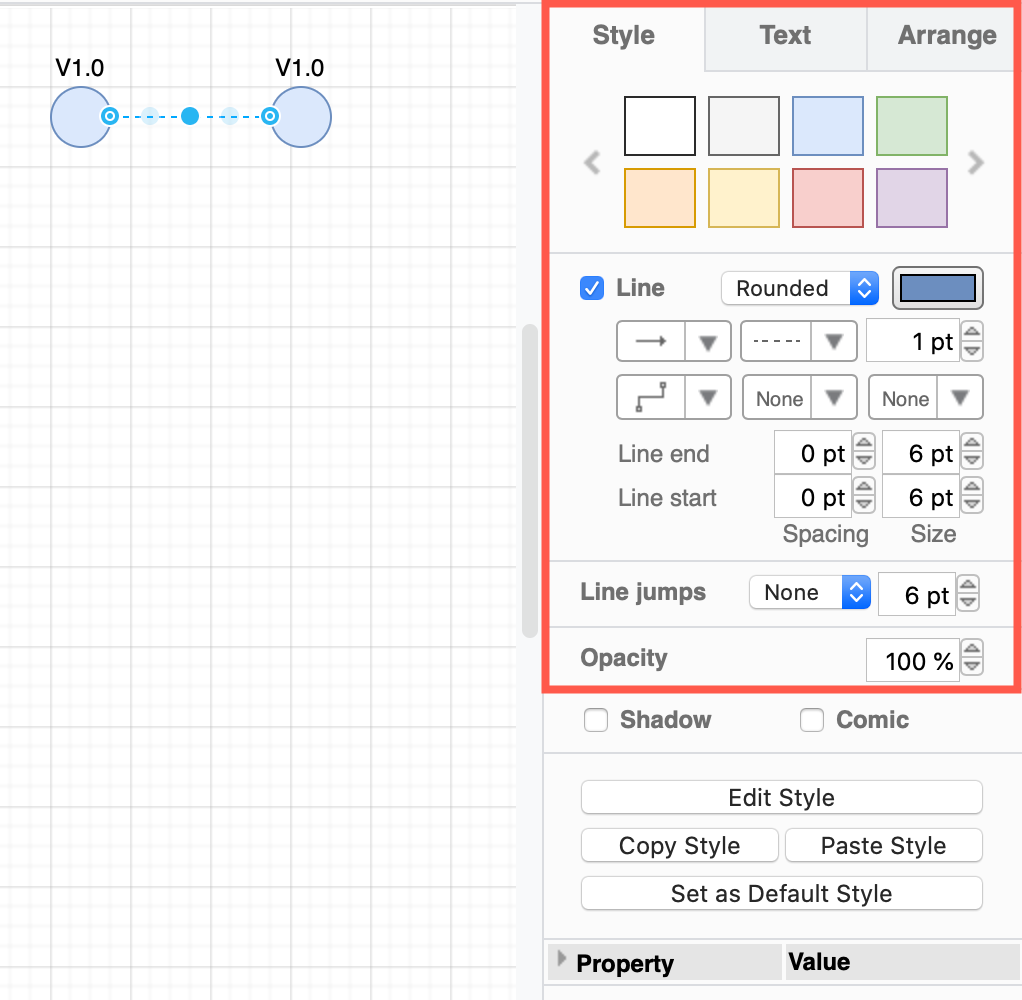
- Select Rounded from the Line dropdown list
- Select the dashed or dotted line in the Pattern dropdown list.
- As you'll likely not want arrows, make sure both Line start and Line end are set to None in their dropdown lists.
- Set a colour or style for your connector.
- Click Set as Default Style. Now, when you next clone and connect a shape, it will use your new default connector style.
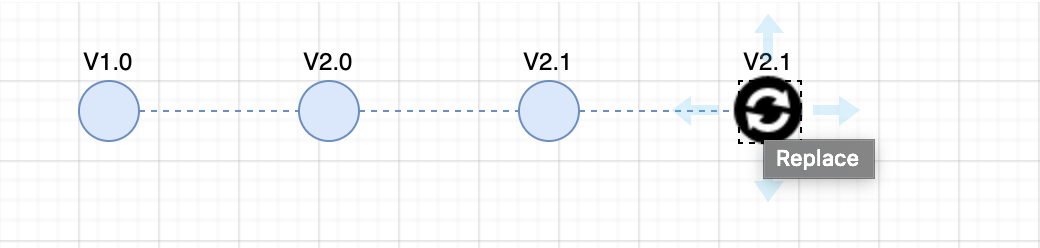
- Clone and connect a few more versions to indicate at least a main version increase of your software, and an incremental version. Double click on each of the circles to change their label text.
- Clone and connect one more than you need. Then drag a rectangle from the shape library and hover over it until the replace arrow appears. Drop the shape and it will automatically be resized and styled similarly to that circle.
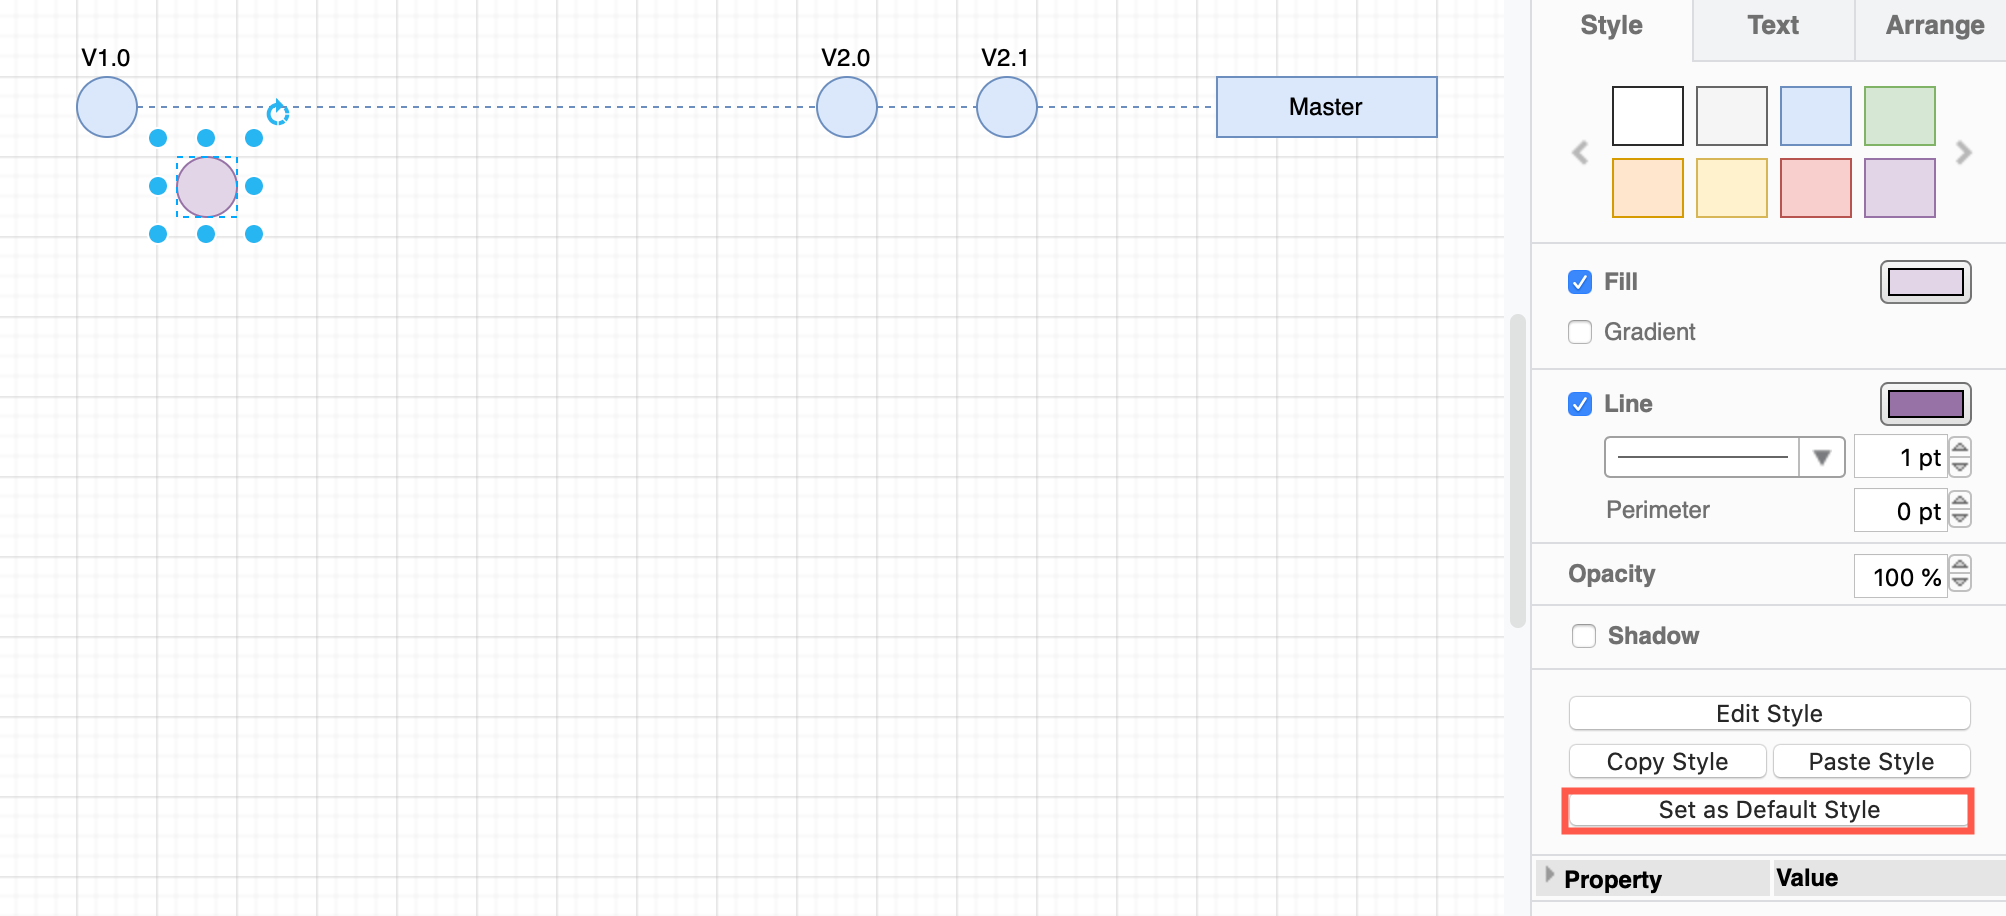
- Resize the rectangle and change the label text to indicate this 'line' of versions is the main branch.

Add a feature or a project branch
As the main branch is generally reserved for released versions of your software only, you'll likely be working from a feature branch or a project branch. There may be more than one feature branch from which different development teams may work.
- Copy an existing circle with the keyboard shortcut
Ctrl+C(Cmd+Con macOS), and drag it under the Master branch. Edit the shape label if you need to. As most feature builds do not have a version number, you may not even need a label. - Use different colours for each category of branches to make it clear to your developers which branches they will be working from. Restyle the circle, then click Set as Default Style to make the new style the default.
- Hover over the shape and click on the blue arrows to clone and connect it to a new shape. Restyle the connector to match the new branch's colour, then click Set as Default Style.
Connect your branches
- Hover over a shape then click and drag a connector from one of the blue arrows and drop it on another shape to connect them.
- You can either drop it when the shape outline is blue (floating connector) or onto one of the small green crosses (fixed connector).
- You can also drag a connector out from these little green crosses.

- Connect your branches to versions where it makes sense to based on your branching structure. For example, where a new branch is created or merged to.
Add development branches
If more than one developer is working on a feature, it's likely they'll be working on their own private development branches. Repeat the process above to add example development branches and show how these interact with the feature branches by connecting them appropriately.
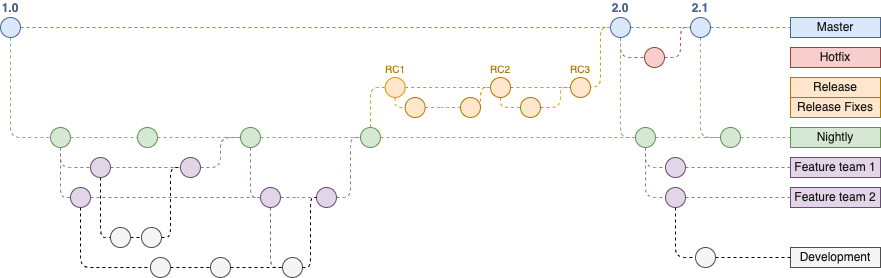
An example gitflow diagram
Here is an example showing a Master branch, and how hot-fixes are applied directly to it. This structure includes a branch for the automatic nightly builds, branches for features developed in parallel on the developers' own private branches, as well as showing what happens once a release candidate build has been created.
As you can see, branching schemes for development can become quite complex. They are much easier to follow when visualised.
Open this example in our online viewer
Gitflow templates
- Click Arrange > Insert > Template or create a new diagram to open the template library.
- Select the Software category on the left. Click on the magnifying glass in the top right to see a larger preview of a template.
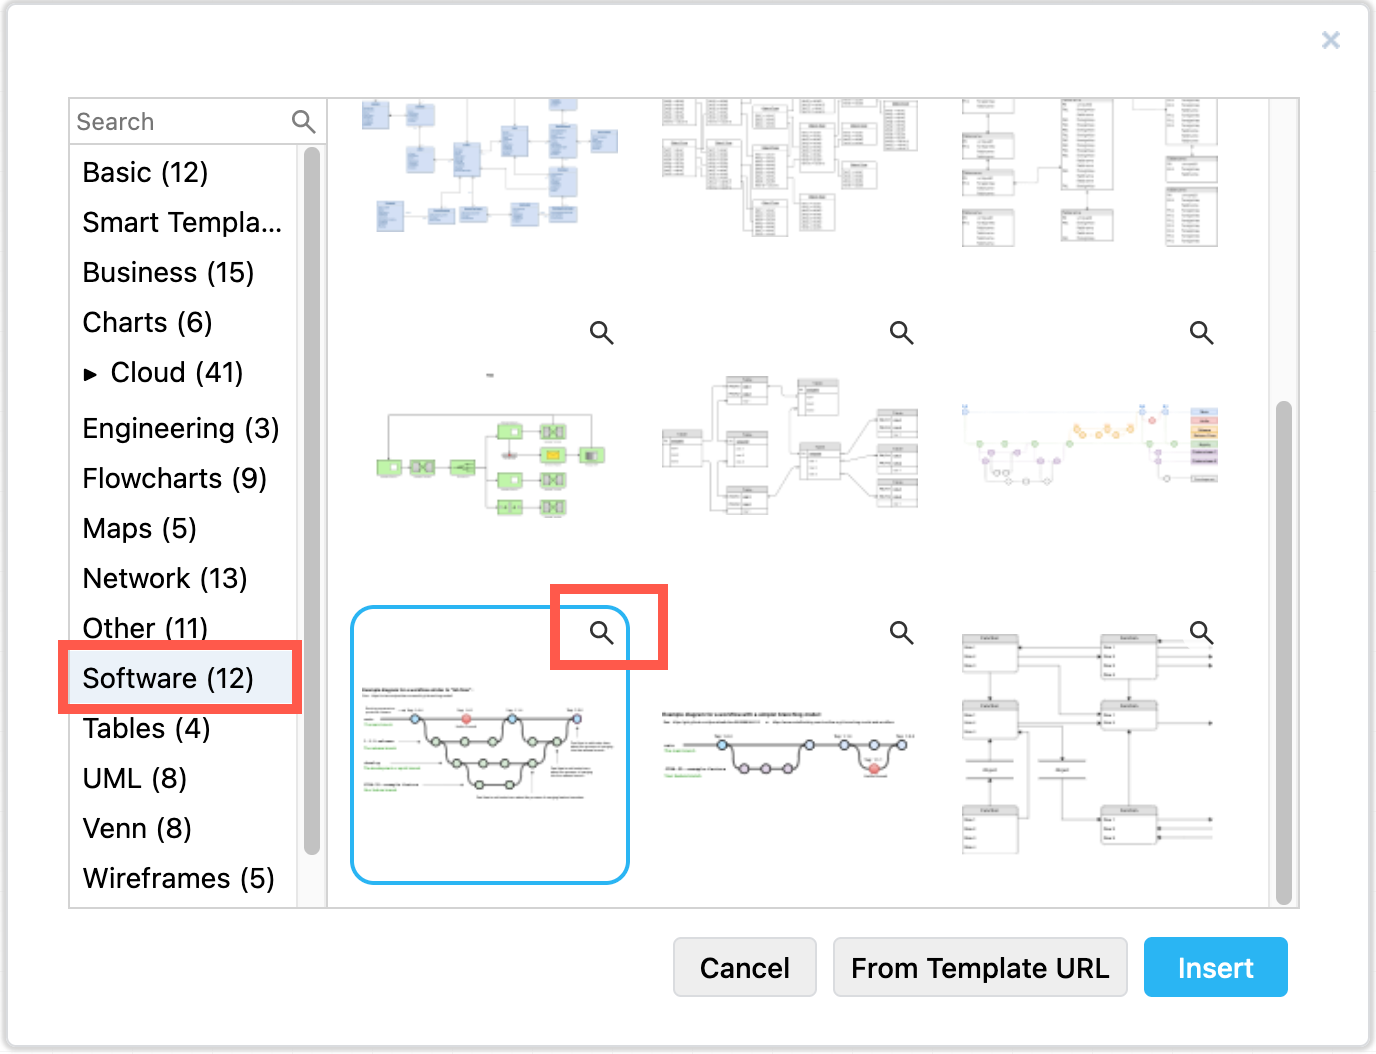
- Select one of the gitflow diagram templates, then click Insert or Create to copy this template to the diagram canvas.
Related
See why software is often developed using feature flags and how to incorporate feature flags into your gitflow diagrams.
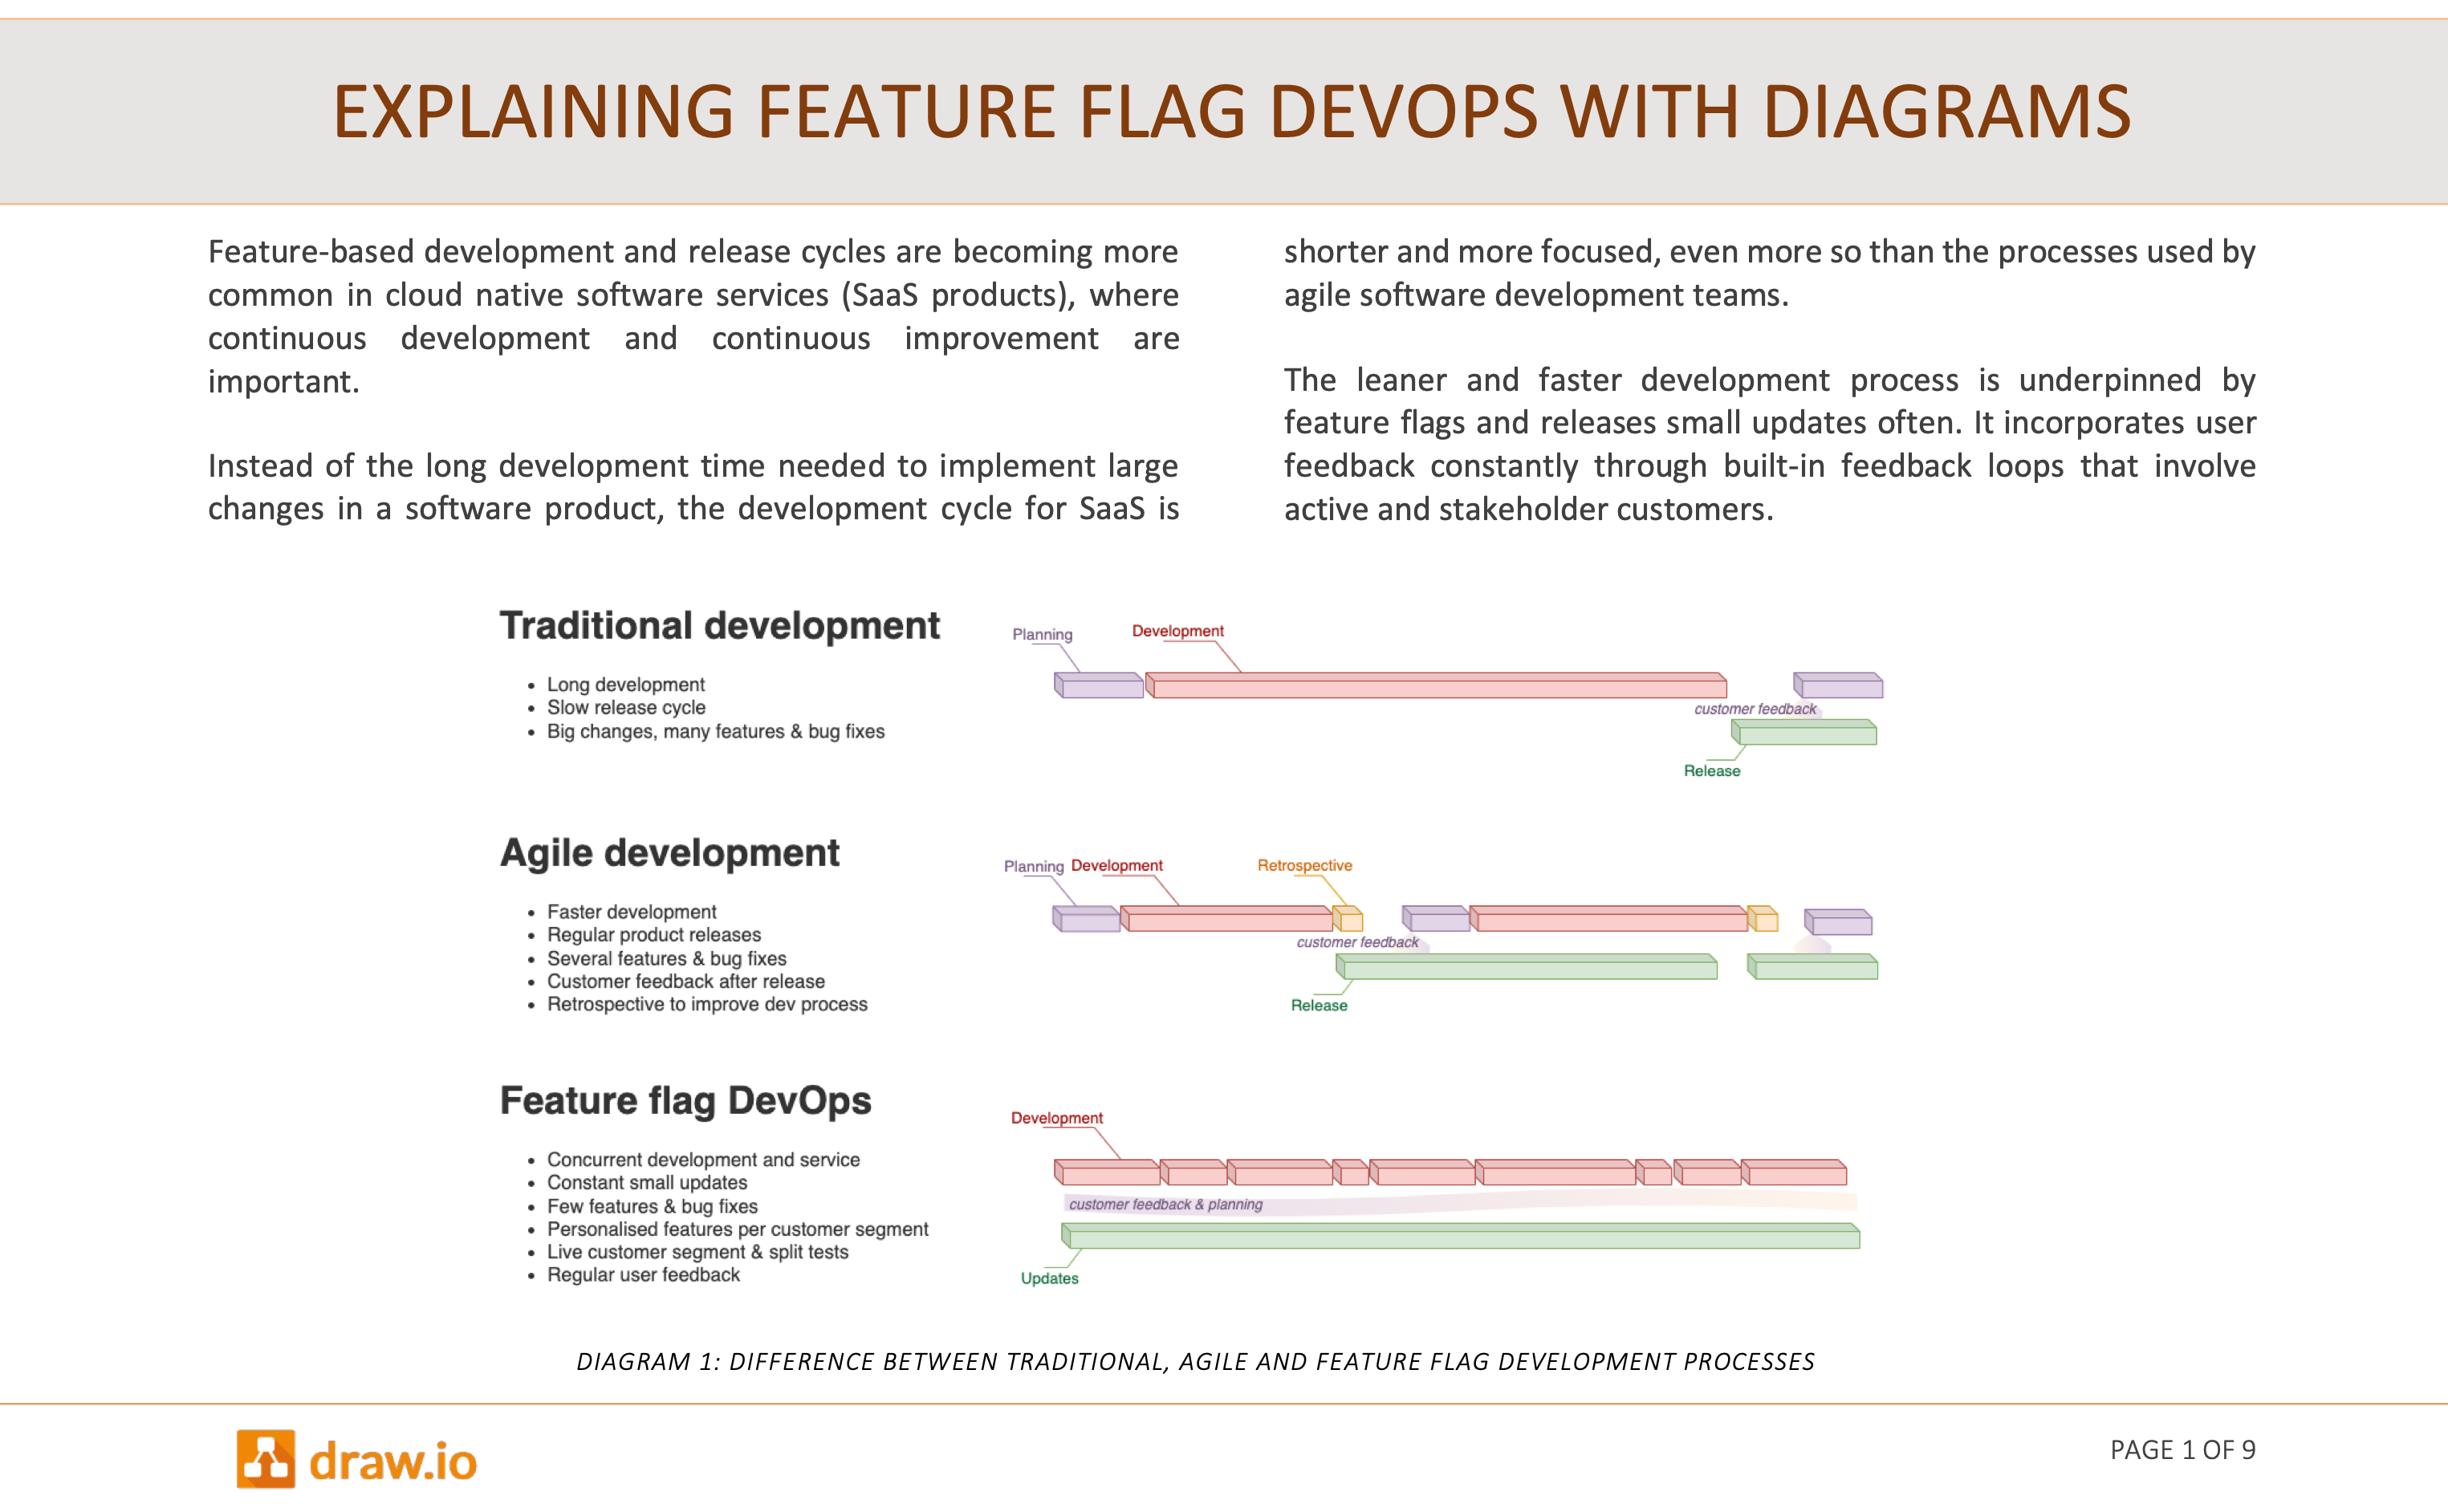
Explaining feature flag DevOps with diagrams whitepaper (PDF version)