Use draw.io in Microsoft Teams
With the draw.io app for Microsoft Teams, you and your team can collaborate in real time on diagrams directly from your team’s channel in a Teams tab.
Note: On smaller and mobile screens a view-only display of your diagrams is offered. This is to avoid a poor experience for users trying to edit. Our research shows us that viewing is the only required use case in the vast majority of situations on mobile.
Secure and private: Your diagrams are securely stored in your linked Microsoft OneDrive account, and in your browser or the Teams app while you are working on them.
Fully-featured diagramming app: With draw.io in Teams, your team has an easy-to-use diagramming application for quick online whiteboard sketches through to complex diagrams: BPMN diagrams, flowcharts, mindmaps, org charts, UML diagrams, infographics, network diagrams, mockups, rack diagrams, and many more types of diagrams.
Install the draw.io app in your channel
- Click on Apps at the bottom of the left navigation panel in Microsoft Teams.
- Search for
draw.io, then select the app to see the app listing details. - Click Add to add it to your current team’s channel. Click the down arrow next to Add and select Add to a team to add it to a different team channel.
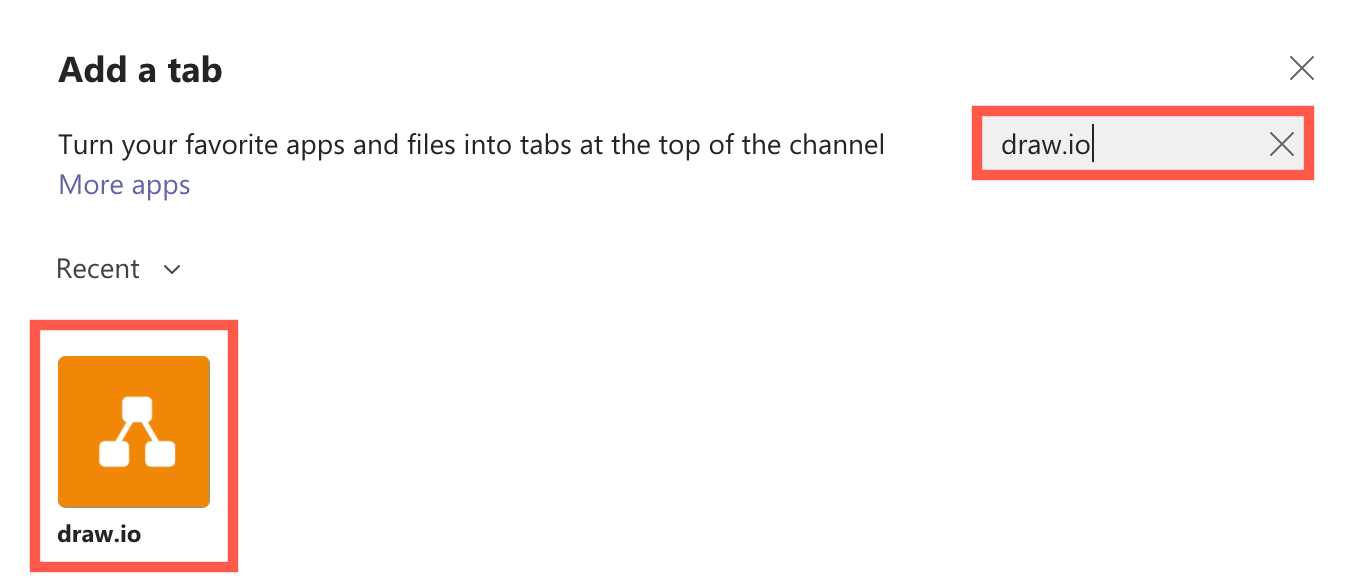
Add a new diagram to your channel
- Click Add a tab at the top of your team’s channel.

- Search for and select draw.io.
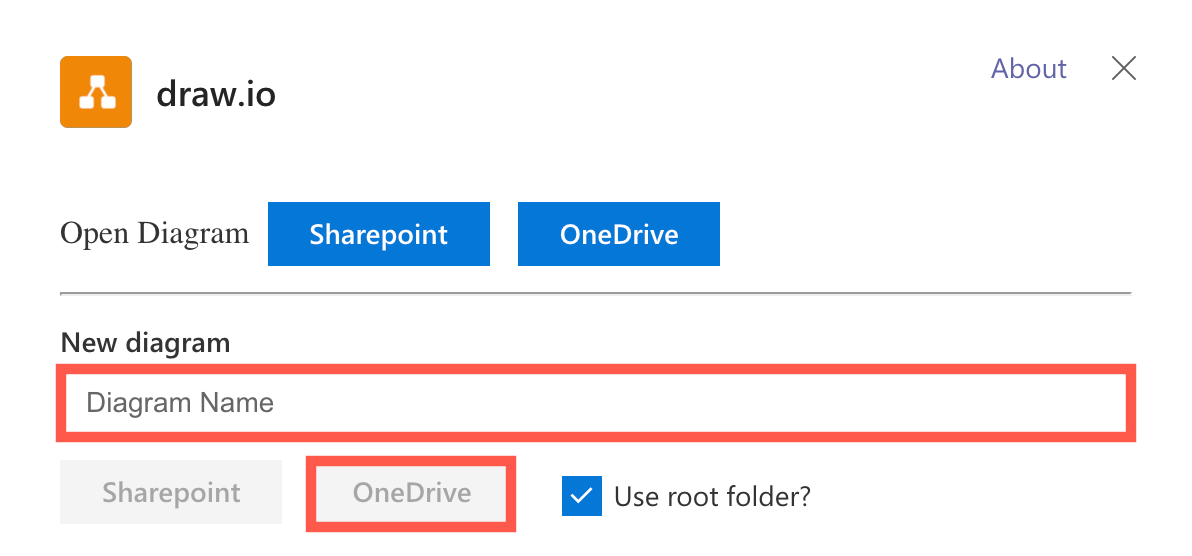
- Enter a Diagram Name in the text field. This will be used as the name of the tab in your Teams channel. Click on the location where you want to save your file: Sharepoint or OneDrive.
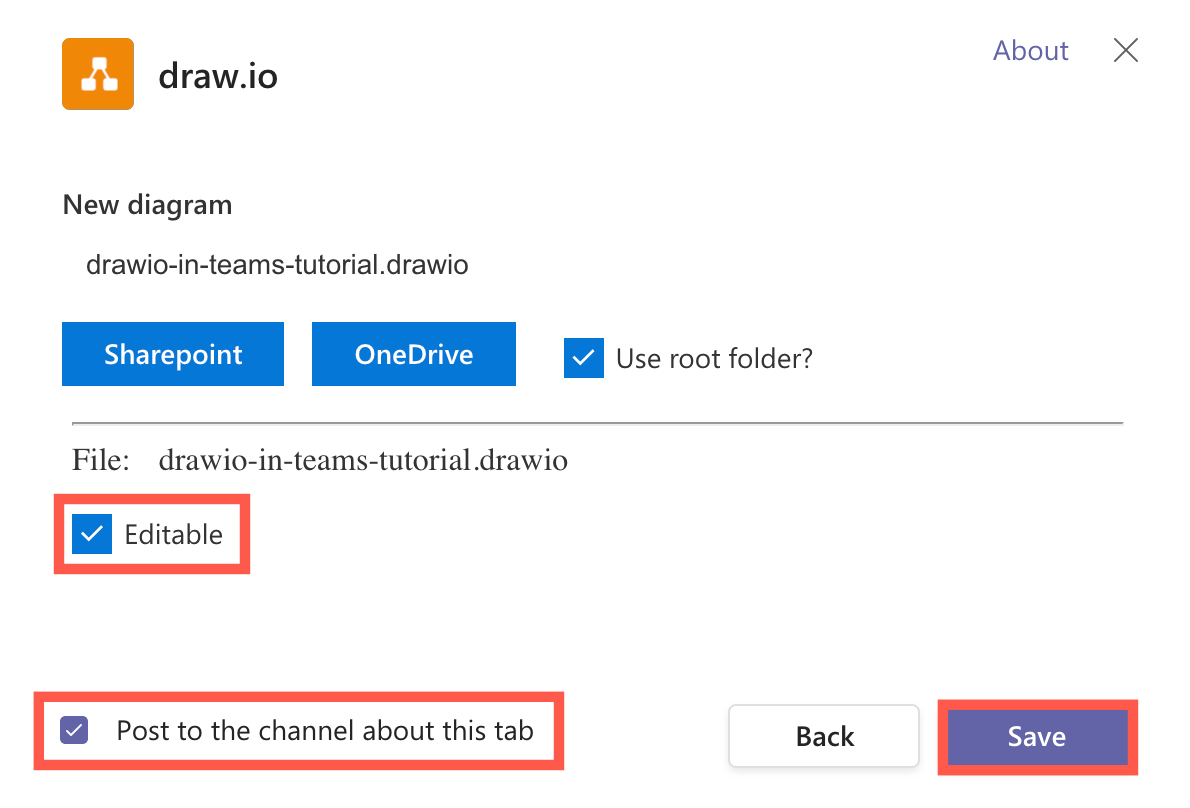
- Choose whether you want your diagram to be Editable and a Post to the channel about this tab published, then click Save.
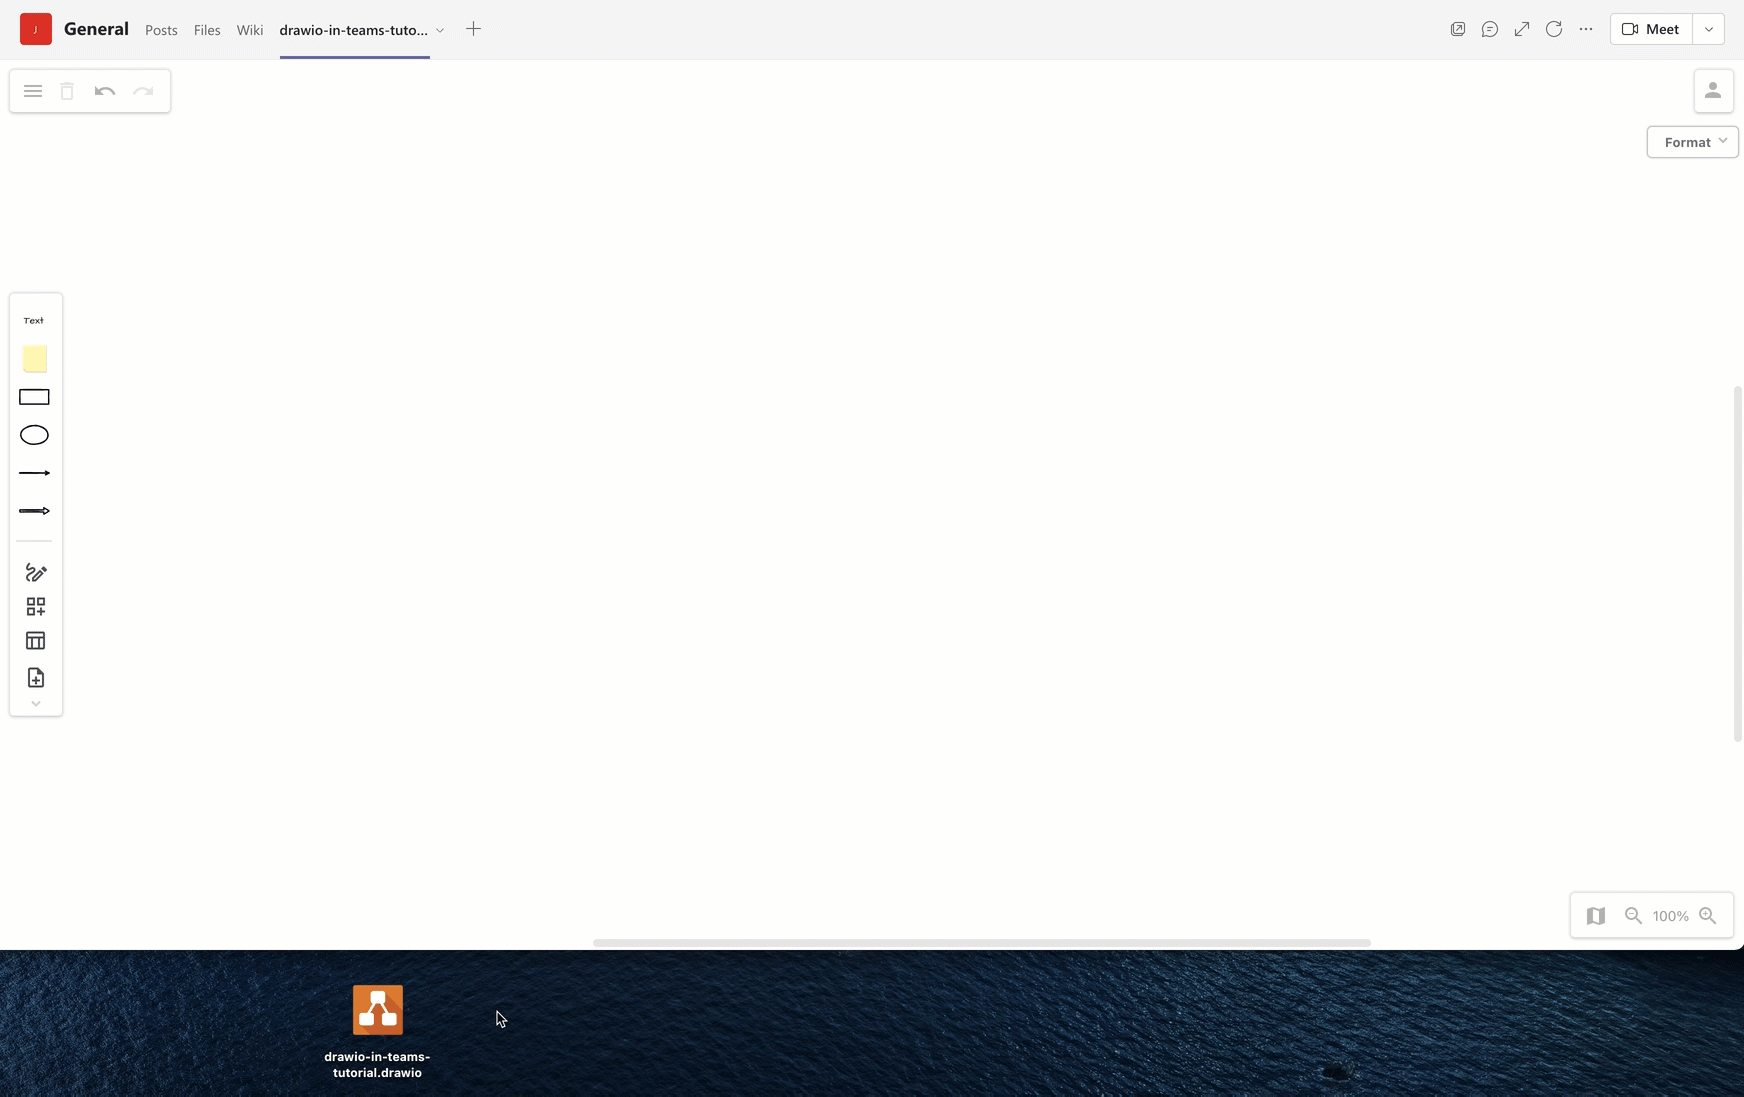
The new tab will be added, and the draw.io editor will load with a new blank diagram.
Add an existing diagram to your channel
- Click Add a tab at the top of your team’s channel, search for and select draw.io.
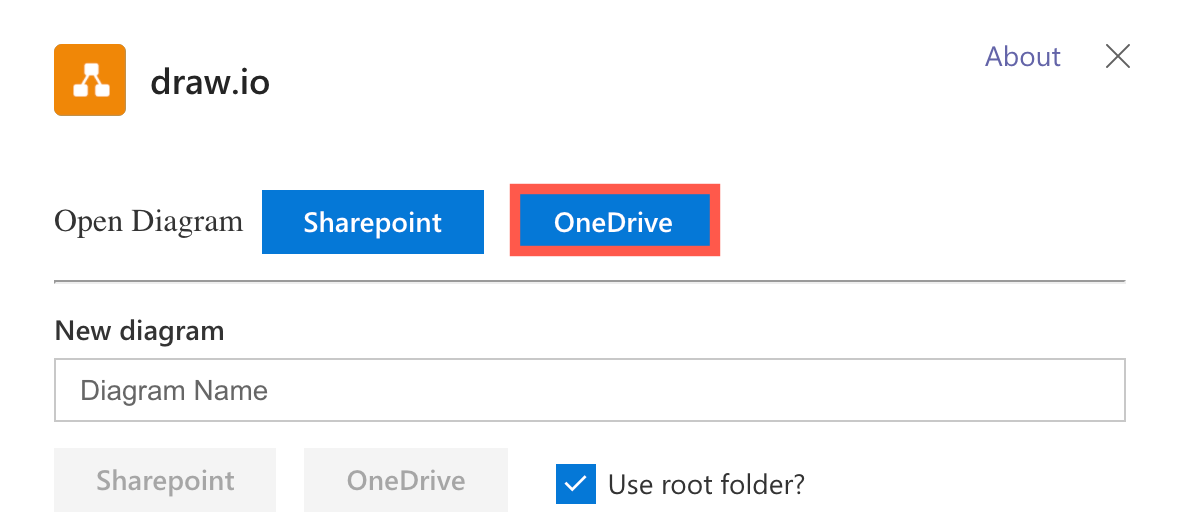
- Using the buttons next to Open Diagram, click on the location where you have stored your diagram file.
- Browse to its folder and select the diagram file, then click Open.
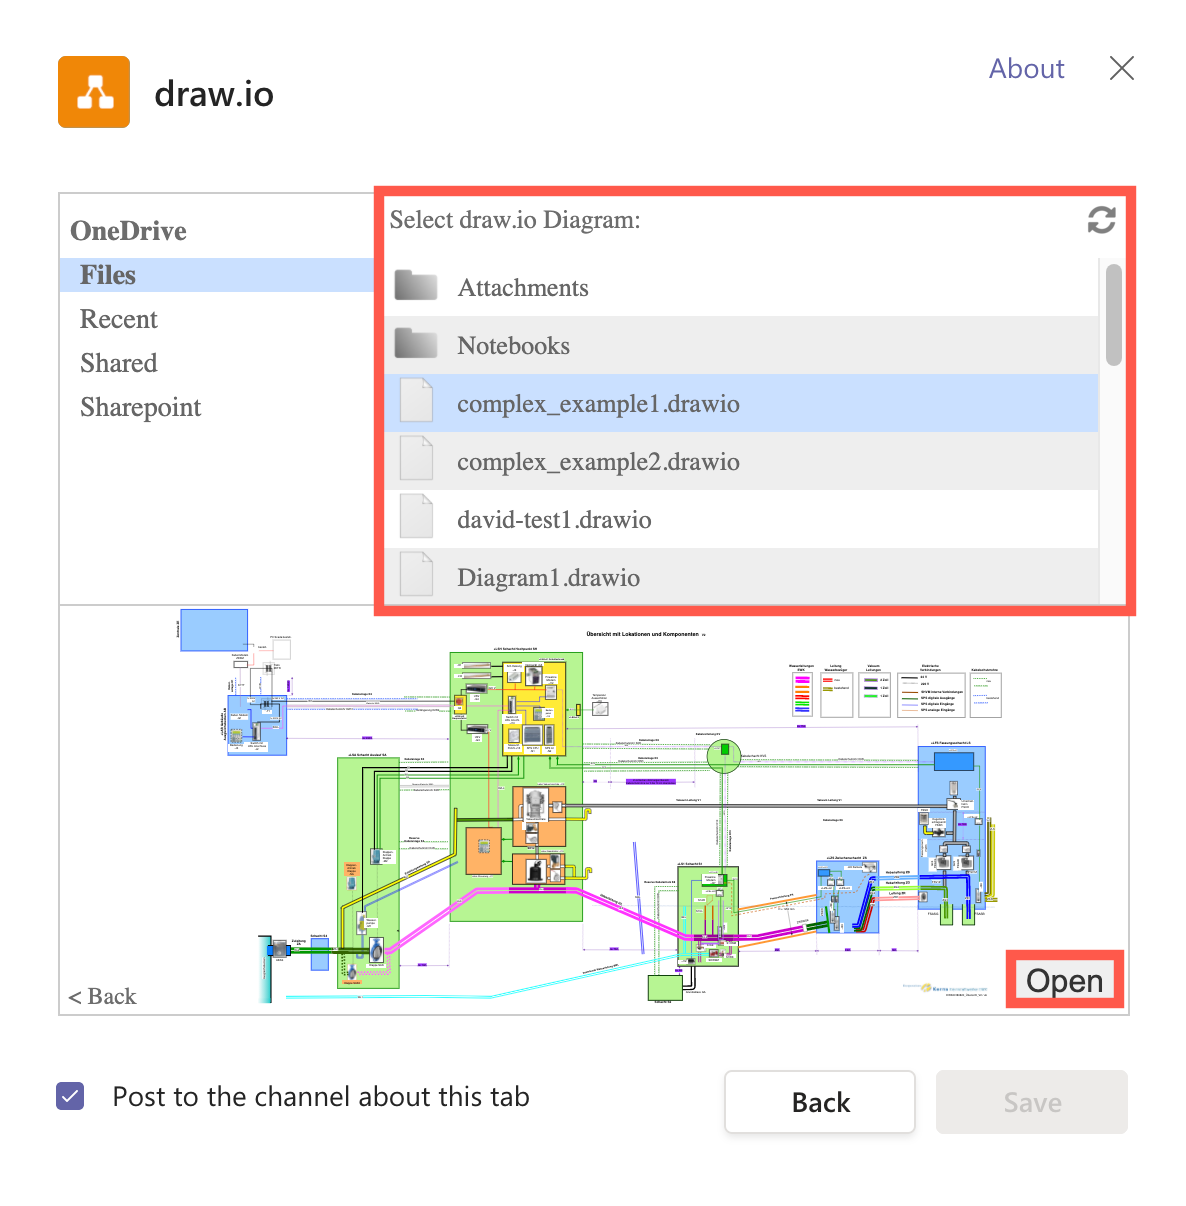
- Choose whether you want your diagram to be Editable and a Post to the channel about this tab published, then click Save.
The new tab will be added, and the draw.io editor will load your existing diagram.
Introduction to the draw.io editor
The draw.io editor in Teams uses the simpler Sketch editor theme by default so it feels like an easy-to-use whiteboard.
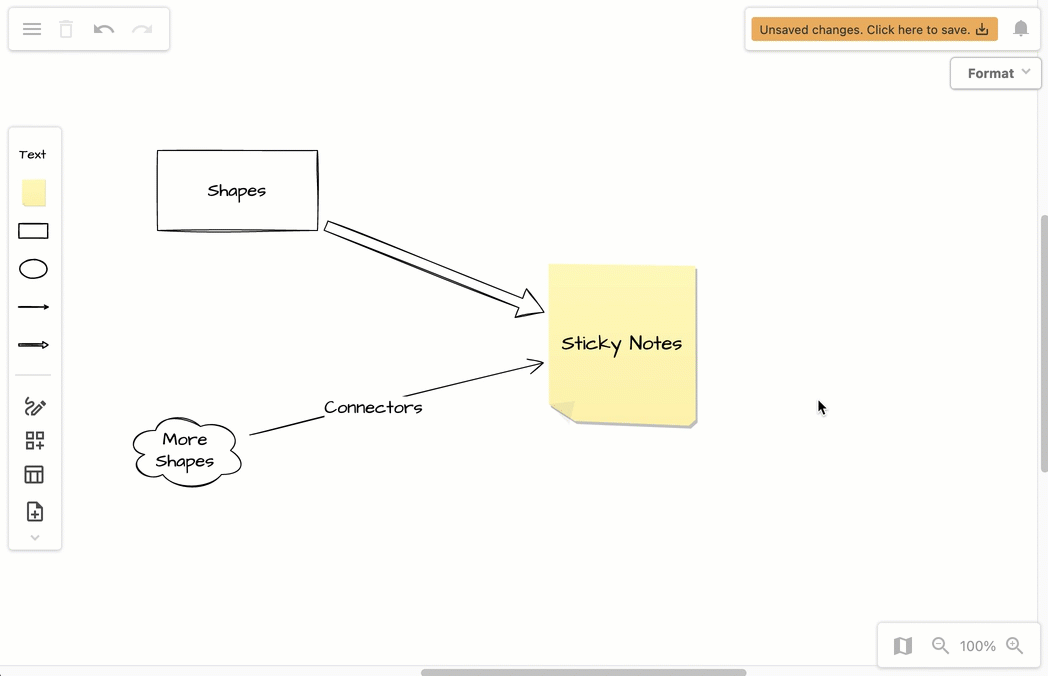
- A toolbar on the left contains the most common shapes and connectors.
- Another toolbar on the bottom right allows you to move around the canvas.
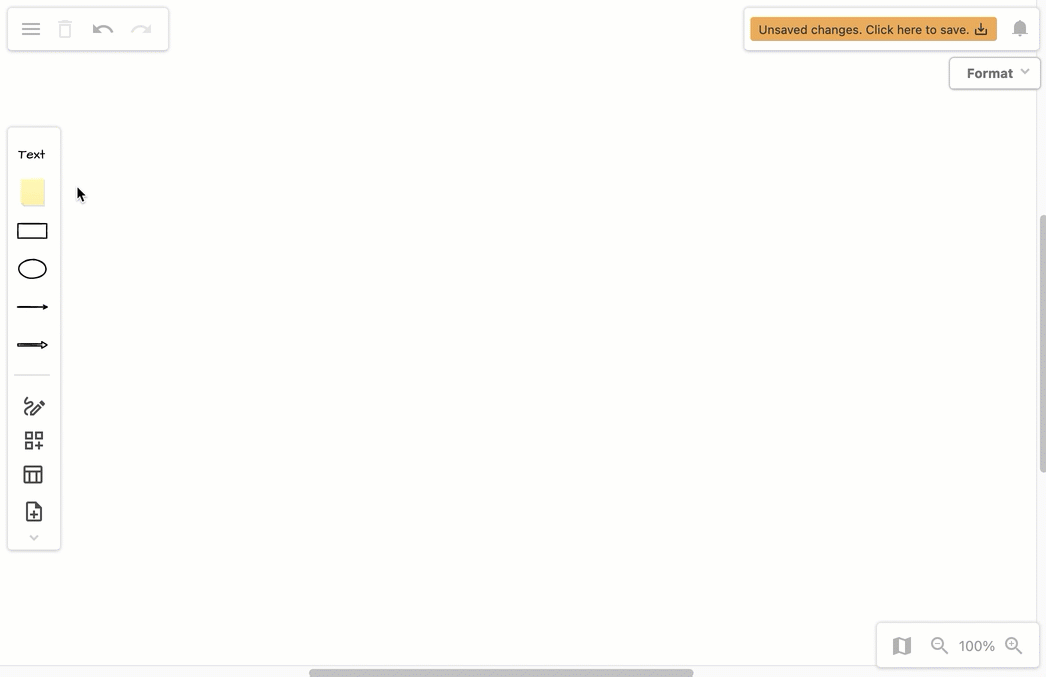
- Click the draw.io logo for the menu. The notification bell in the top right indicates when your diagram has auto-saved.
Further diagramming tools and options are located in floating panels, that are minimised or hidden by default. You can move these around the canvas to maximise your diagramming space.
Getting started with draw.io in Teams
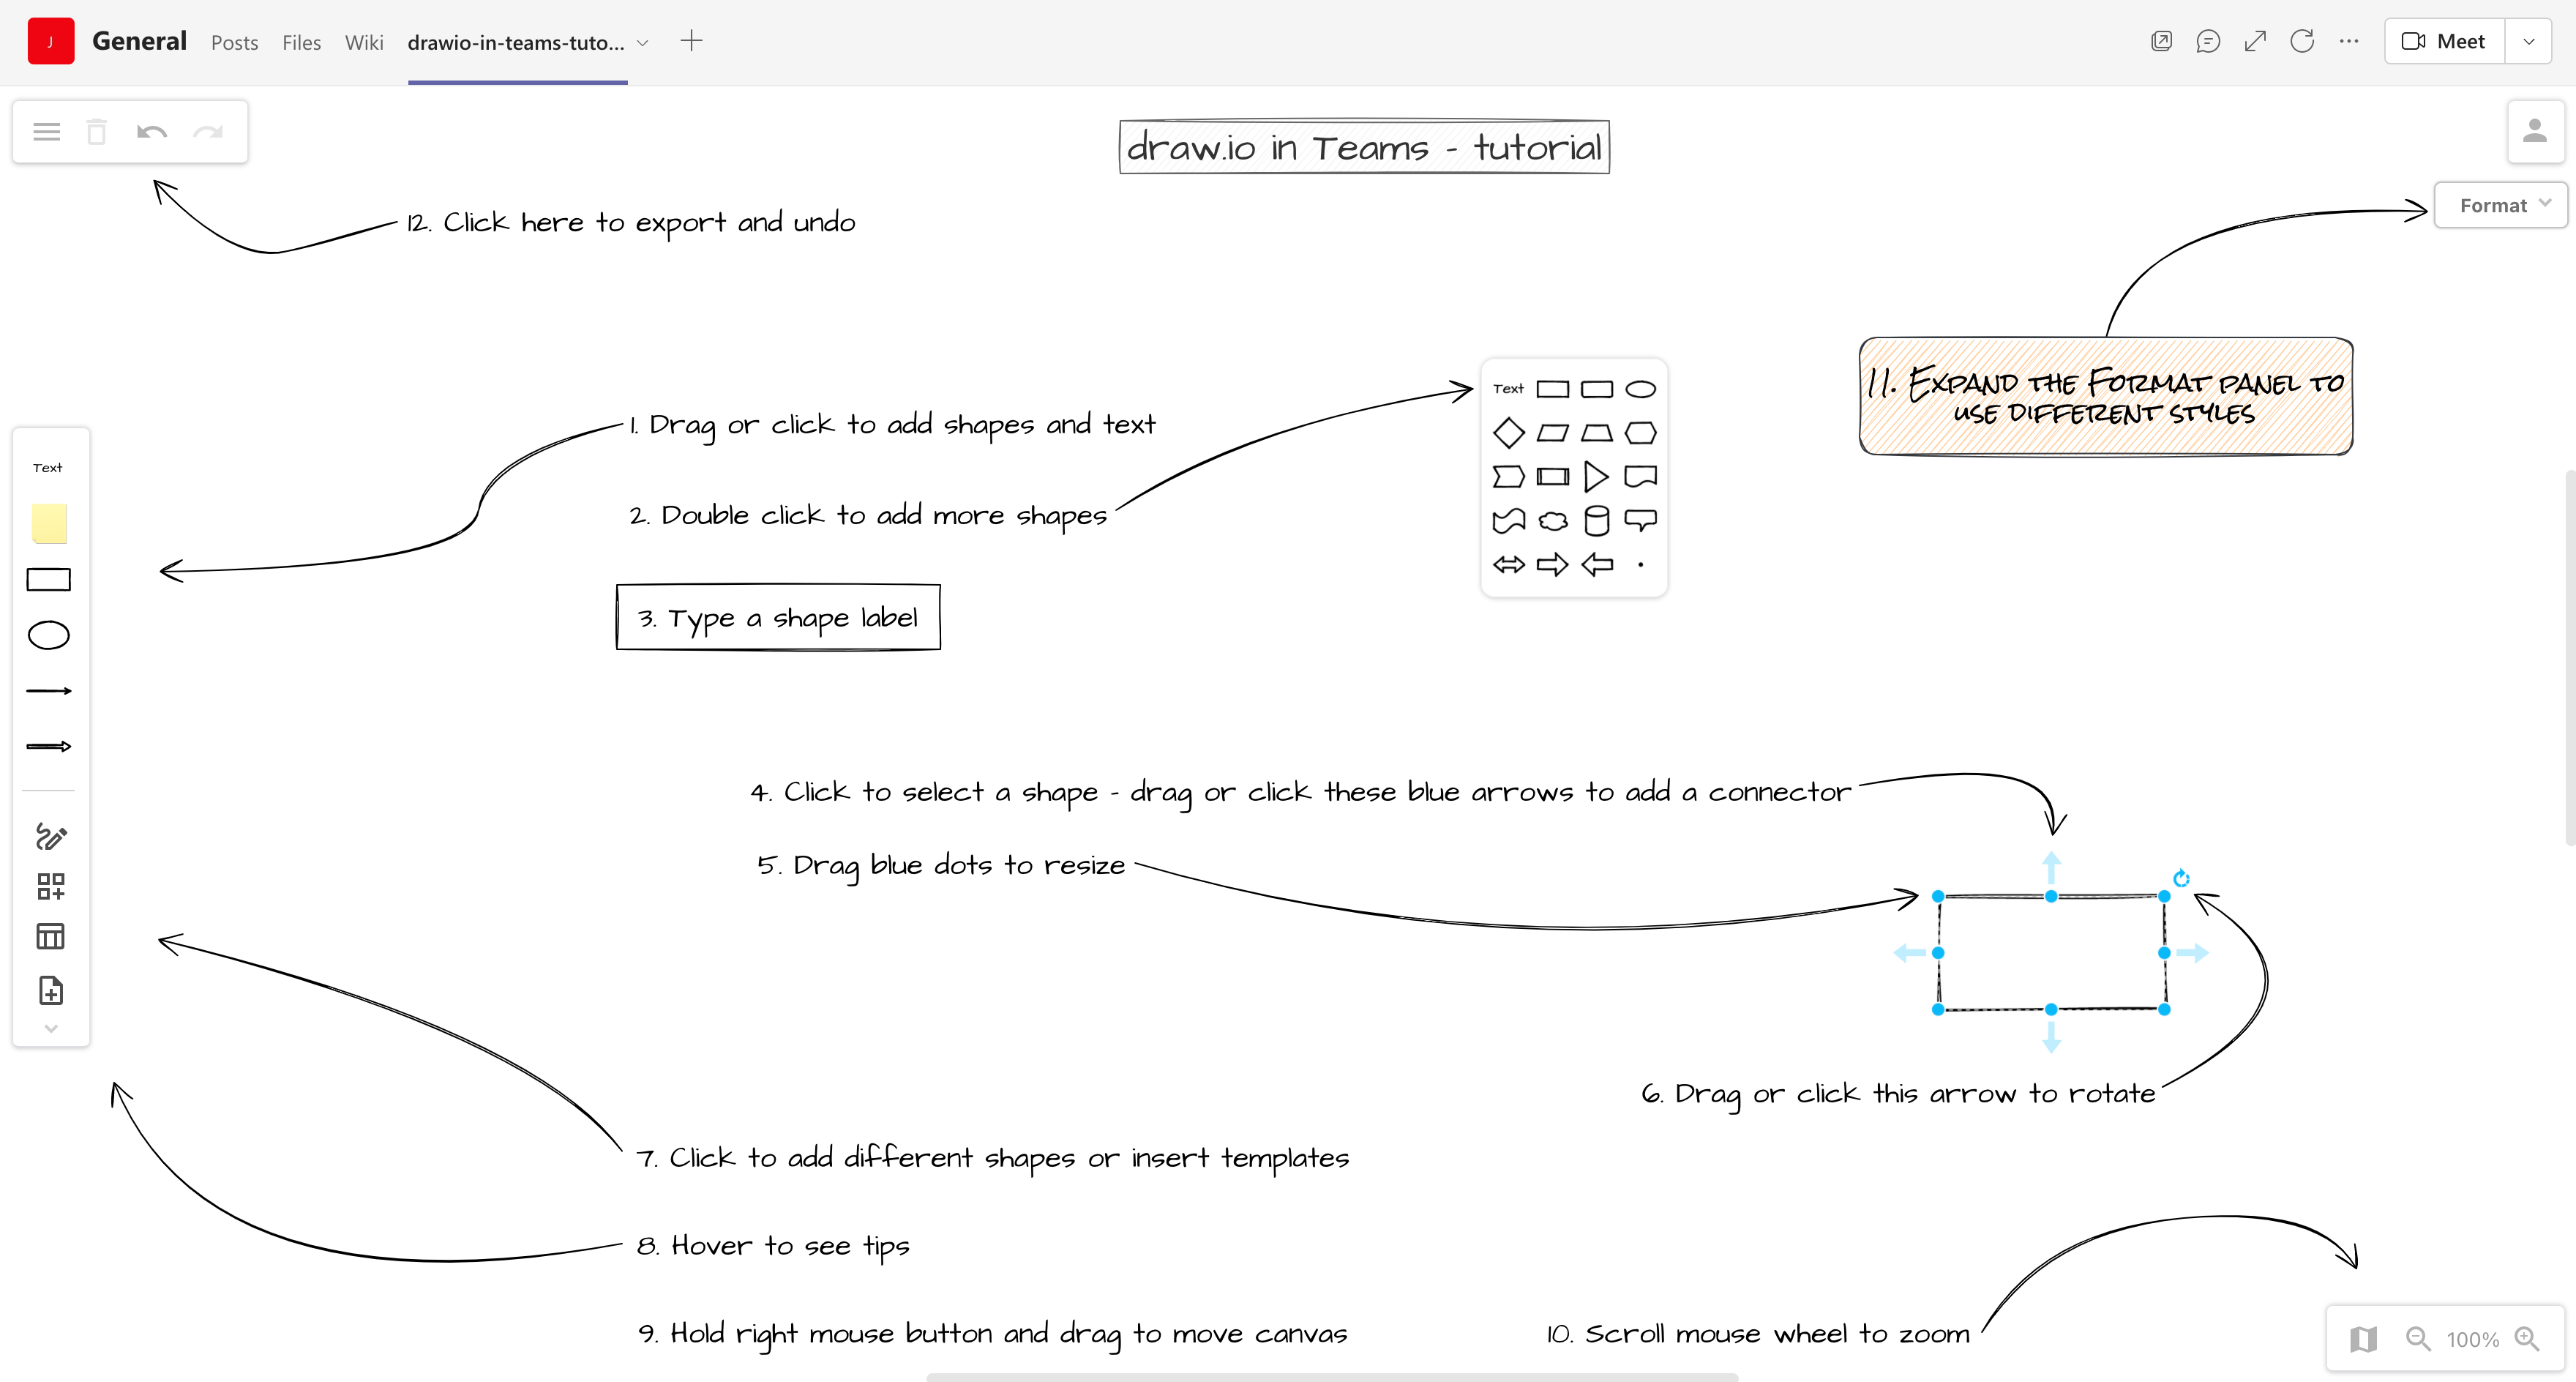
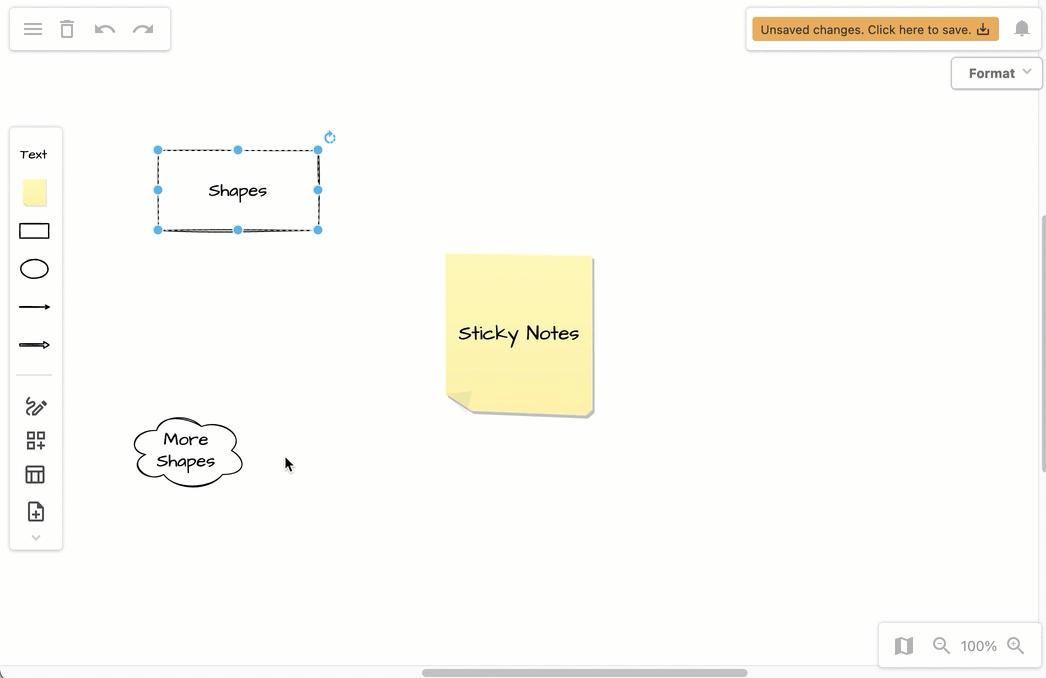
Drag or click on a shape, sticky note, text, or connector in the left toolbar to add it to the canvas.
Alternatively, double click on a blank area on the canvas and select from a list of common shapes.
When you add a shape to the canvas, start typing to add a text label.
Click on a shape on the canvas to select it. You’ll see blue dots around the shape, a blue arrow in the top right, and when you hover over the shape, four blue direction arrows.
- Click on one of the four blue direction arrows to add and connect a shape in that direction.
- Alternatively, drag a connector from one of the four direction arrows and drop it on another shape to connect them.
Learn more about connectors
Drag one of the blue dots to resize the selected shape, just as you would resize an image in a document.
Drag the arrow in the top right to rotate the selected shape.
Click on the three tools at the bottom of the toolbar on the left.
- The Freehand tool opens a floating panel that lets you draw a shape with your mouse, pen or finger.
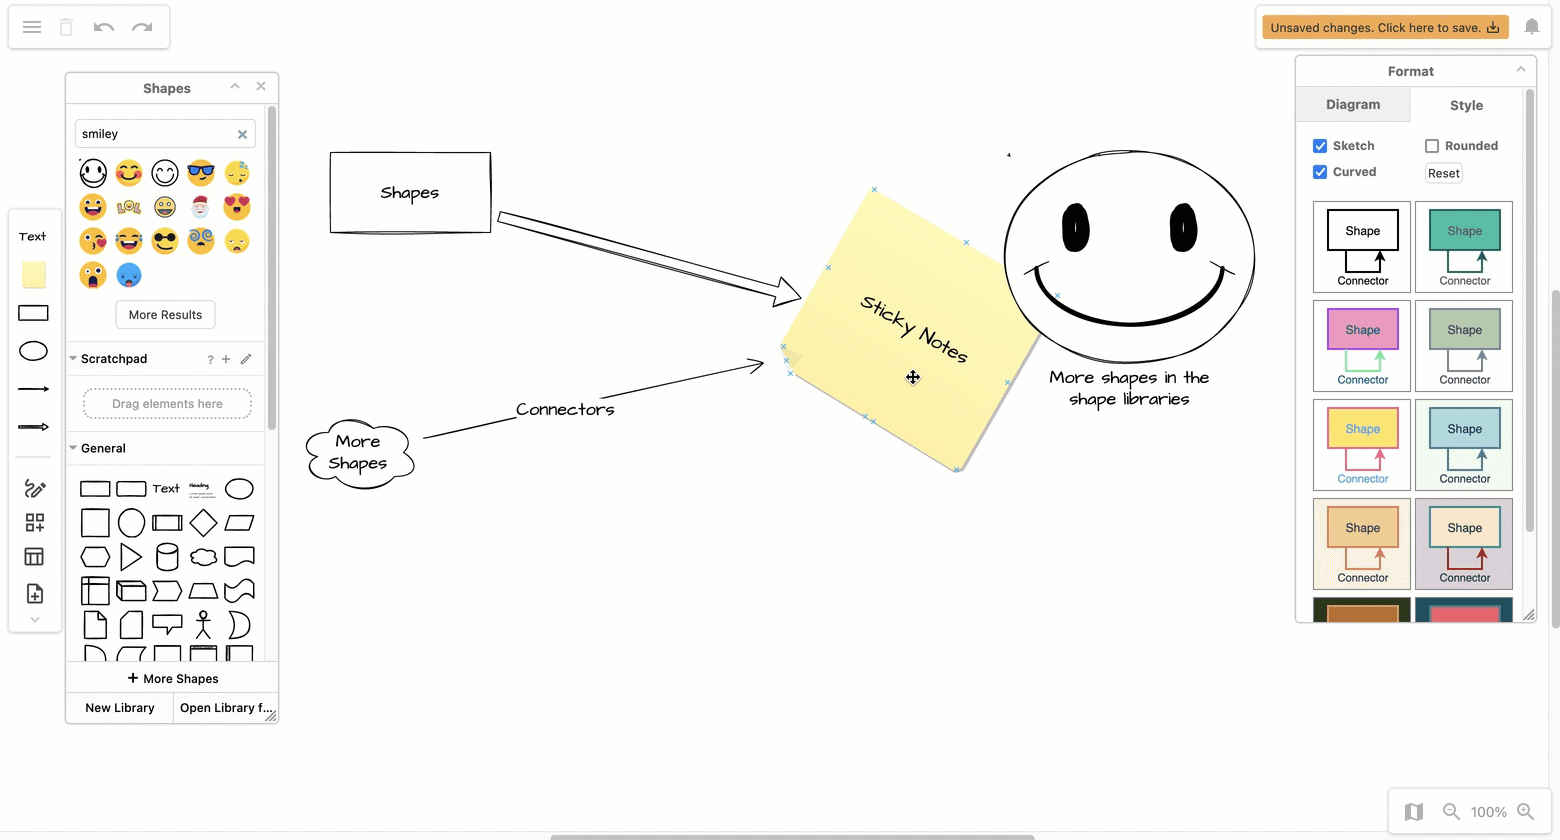
- The Shapes tool opens the shape library panel, where you can search for shapes and enable specialised shape libraries for specific types of diagrams.
- The Templates tool opens the template manager where you can preview, select and insert any of the many diagram templates.
If you feel a bit lost, hover over any part of the draw.io app to see a tooltip.
Hold the right mouse button and drag to move the diagram canvas around.
- Alternatively, click on the Outline tool in the bottom right to open a panel with an overview of the entire canvas. Drag the blue area in the Outline panel to move to another location on the canvas quickly.
Use the mouse wheel or click on the Zoom tools in the bottom right to zoom in or out. Click on the number to return to 100%.
Select a shape or connector and click on the Format floating panel title. Depending on what you have selected, different options will be available.
- Style tab: Change the outline and fill colours and shape styles. If you selected a connector, you can change the arrow ends and line style.
- Text tab: Change the font, text colours and size.
- Arrange tab: Set a specific angle for the rotation, or values for the shape size. Bring overlapping shapes forward or backwards on the canvas.
Learn more about shape styles
Click on the draw.io logo in the top left to export and print your diagram and set various preferences for the editor.
Tip: you can right-click on the canvas or on a shape or connector to open a context menu that lets you select and manipulate shapes and connectors, add links and metadata to shapes and connectors, and set various options.
Import a diagram file to Teams
You can drag and drop diagram files into the draw.io editor in teams to import them. This works for draw.io files, as well as diagrams in other formats.
If your team members are new to diagramming, import the following visual diagram.net tutorial into your Teams channel to help your team members get started quickly.
Right-click to download this tutorial diagram from our GitHub repository
Import a diagram: Add a new diagram tab as described above, and simply drag the diagram file from your device onto the canvas to import it.
- Alternatively, click on the draw.io logo to open the menu, select Import from, then select the location or format you want to import.
- Add images to the canvas in a similar way - drag and drop, or import them via the menu.
Zoom out (Ctrl or Cmd + scroll wheel) and drag the canvas (right mouse button) to position the tutorial so that it lines up with the draw.io editor in your Teams browser or app window. Click on the zoom percentage in the bottom right to center and display the entire diagram.
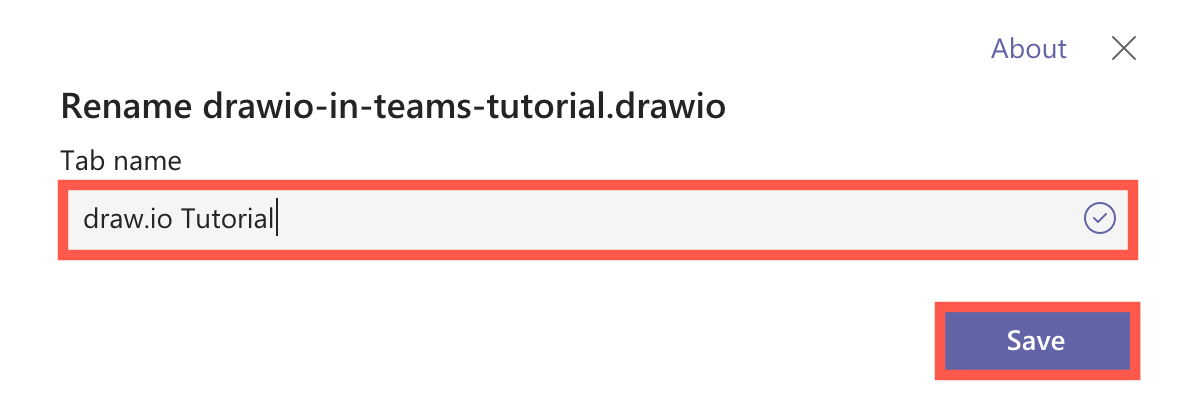
Rename a diagram tab in Teams
- Click on the down arrow next to the diagram tab’s title, and select Rename.

- Enter a new name for your tab and diagram and click Save.
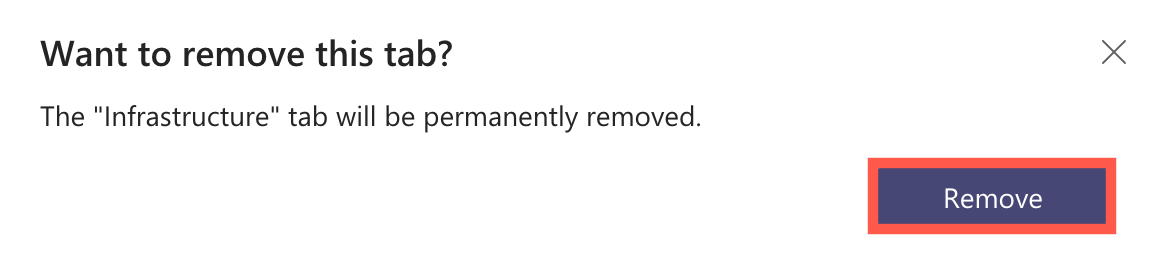
Remove a diagram tab from Teams
- Click on the down arrow next to the diagram tab’s title, and select Remove.

- Confirm you want to remove the diagram tab.
Note: This does not remove your diagram file from your Cloud storage location - it only removes the diagram tab. To add it again, follow the steps to open an existing diagram in a Teams tab at the start of this tutorial.
Add a diagram to a conversation in Teams
- Click on Start Conversation, then click on the draw.io icon.

- Select your diagram or add a new diagram following the same steps as for adding a diagram tab above.
- Send your message to the conversation channel. A thumbnail preview of the first page of your diagram will be displayed in the message, but a new diagram tab will not be added to your team’s channel.
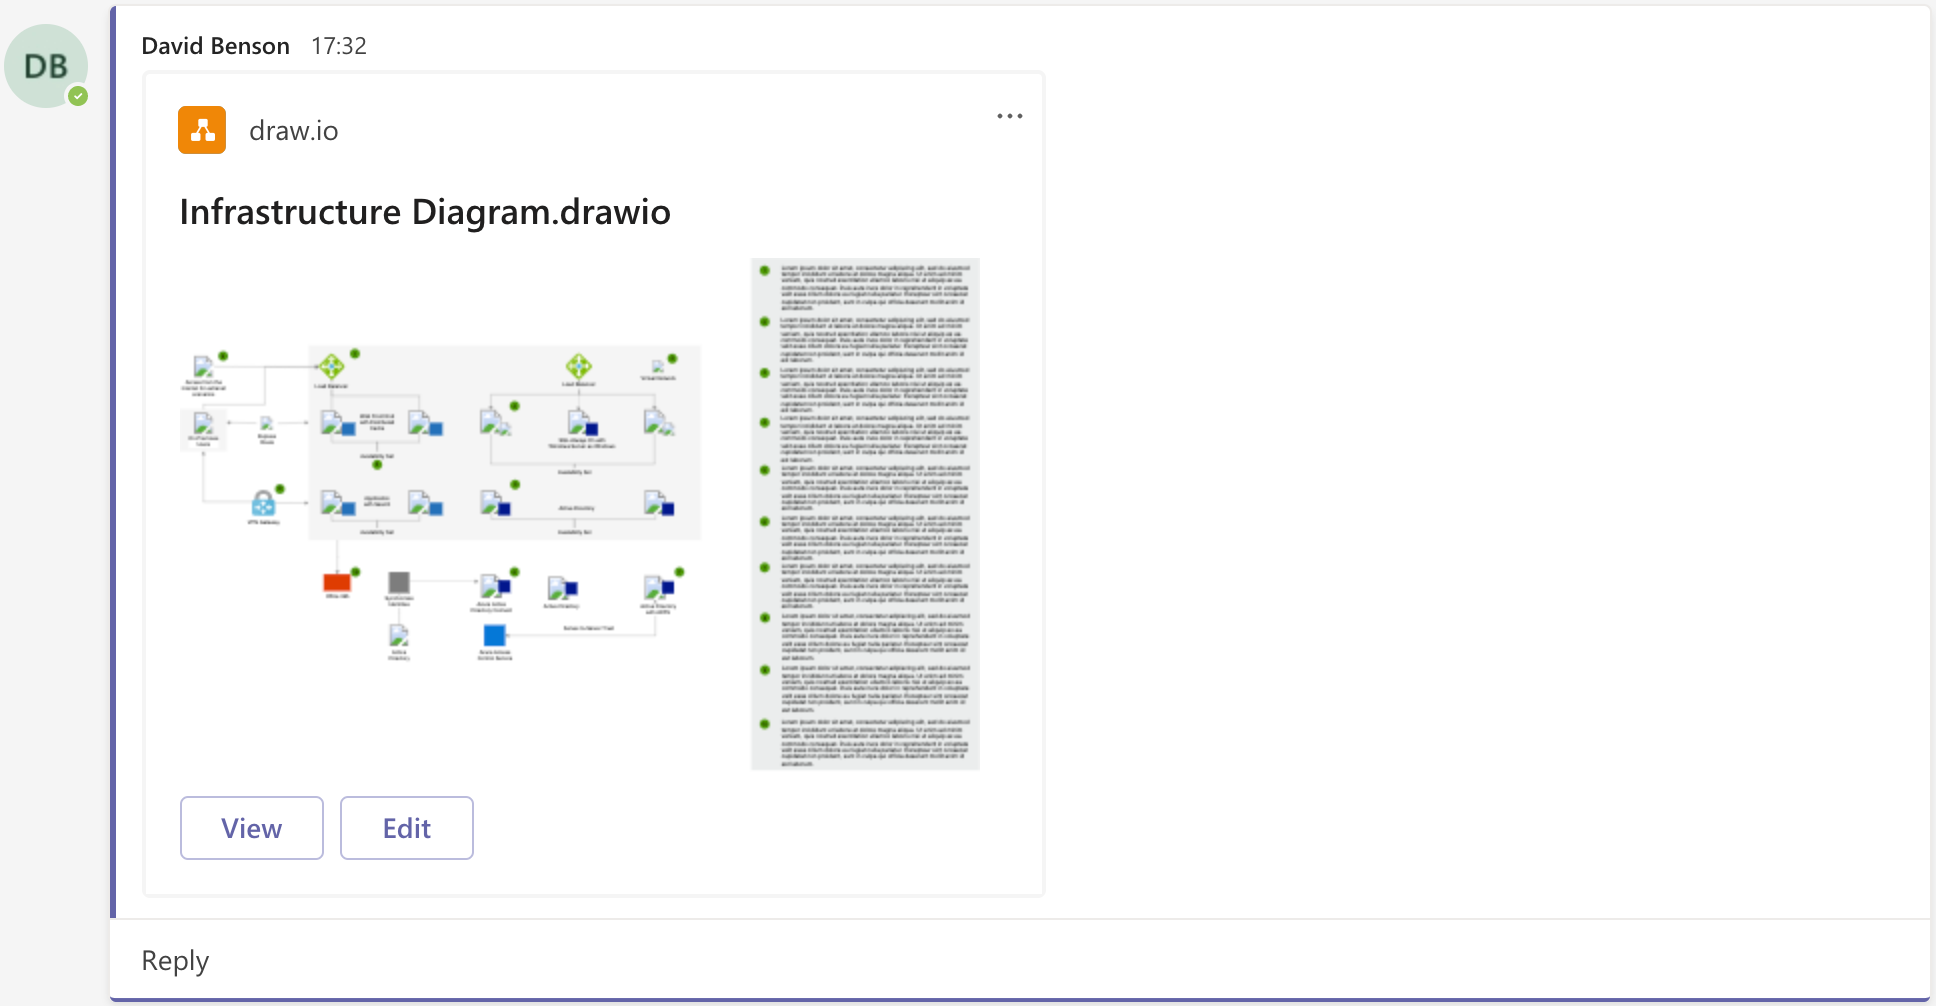
- Click on Edit to open the diagram file in the draw.io editor.
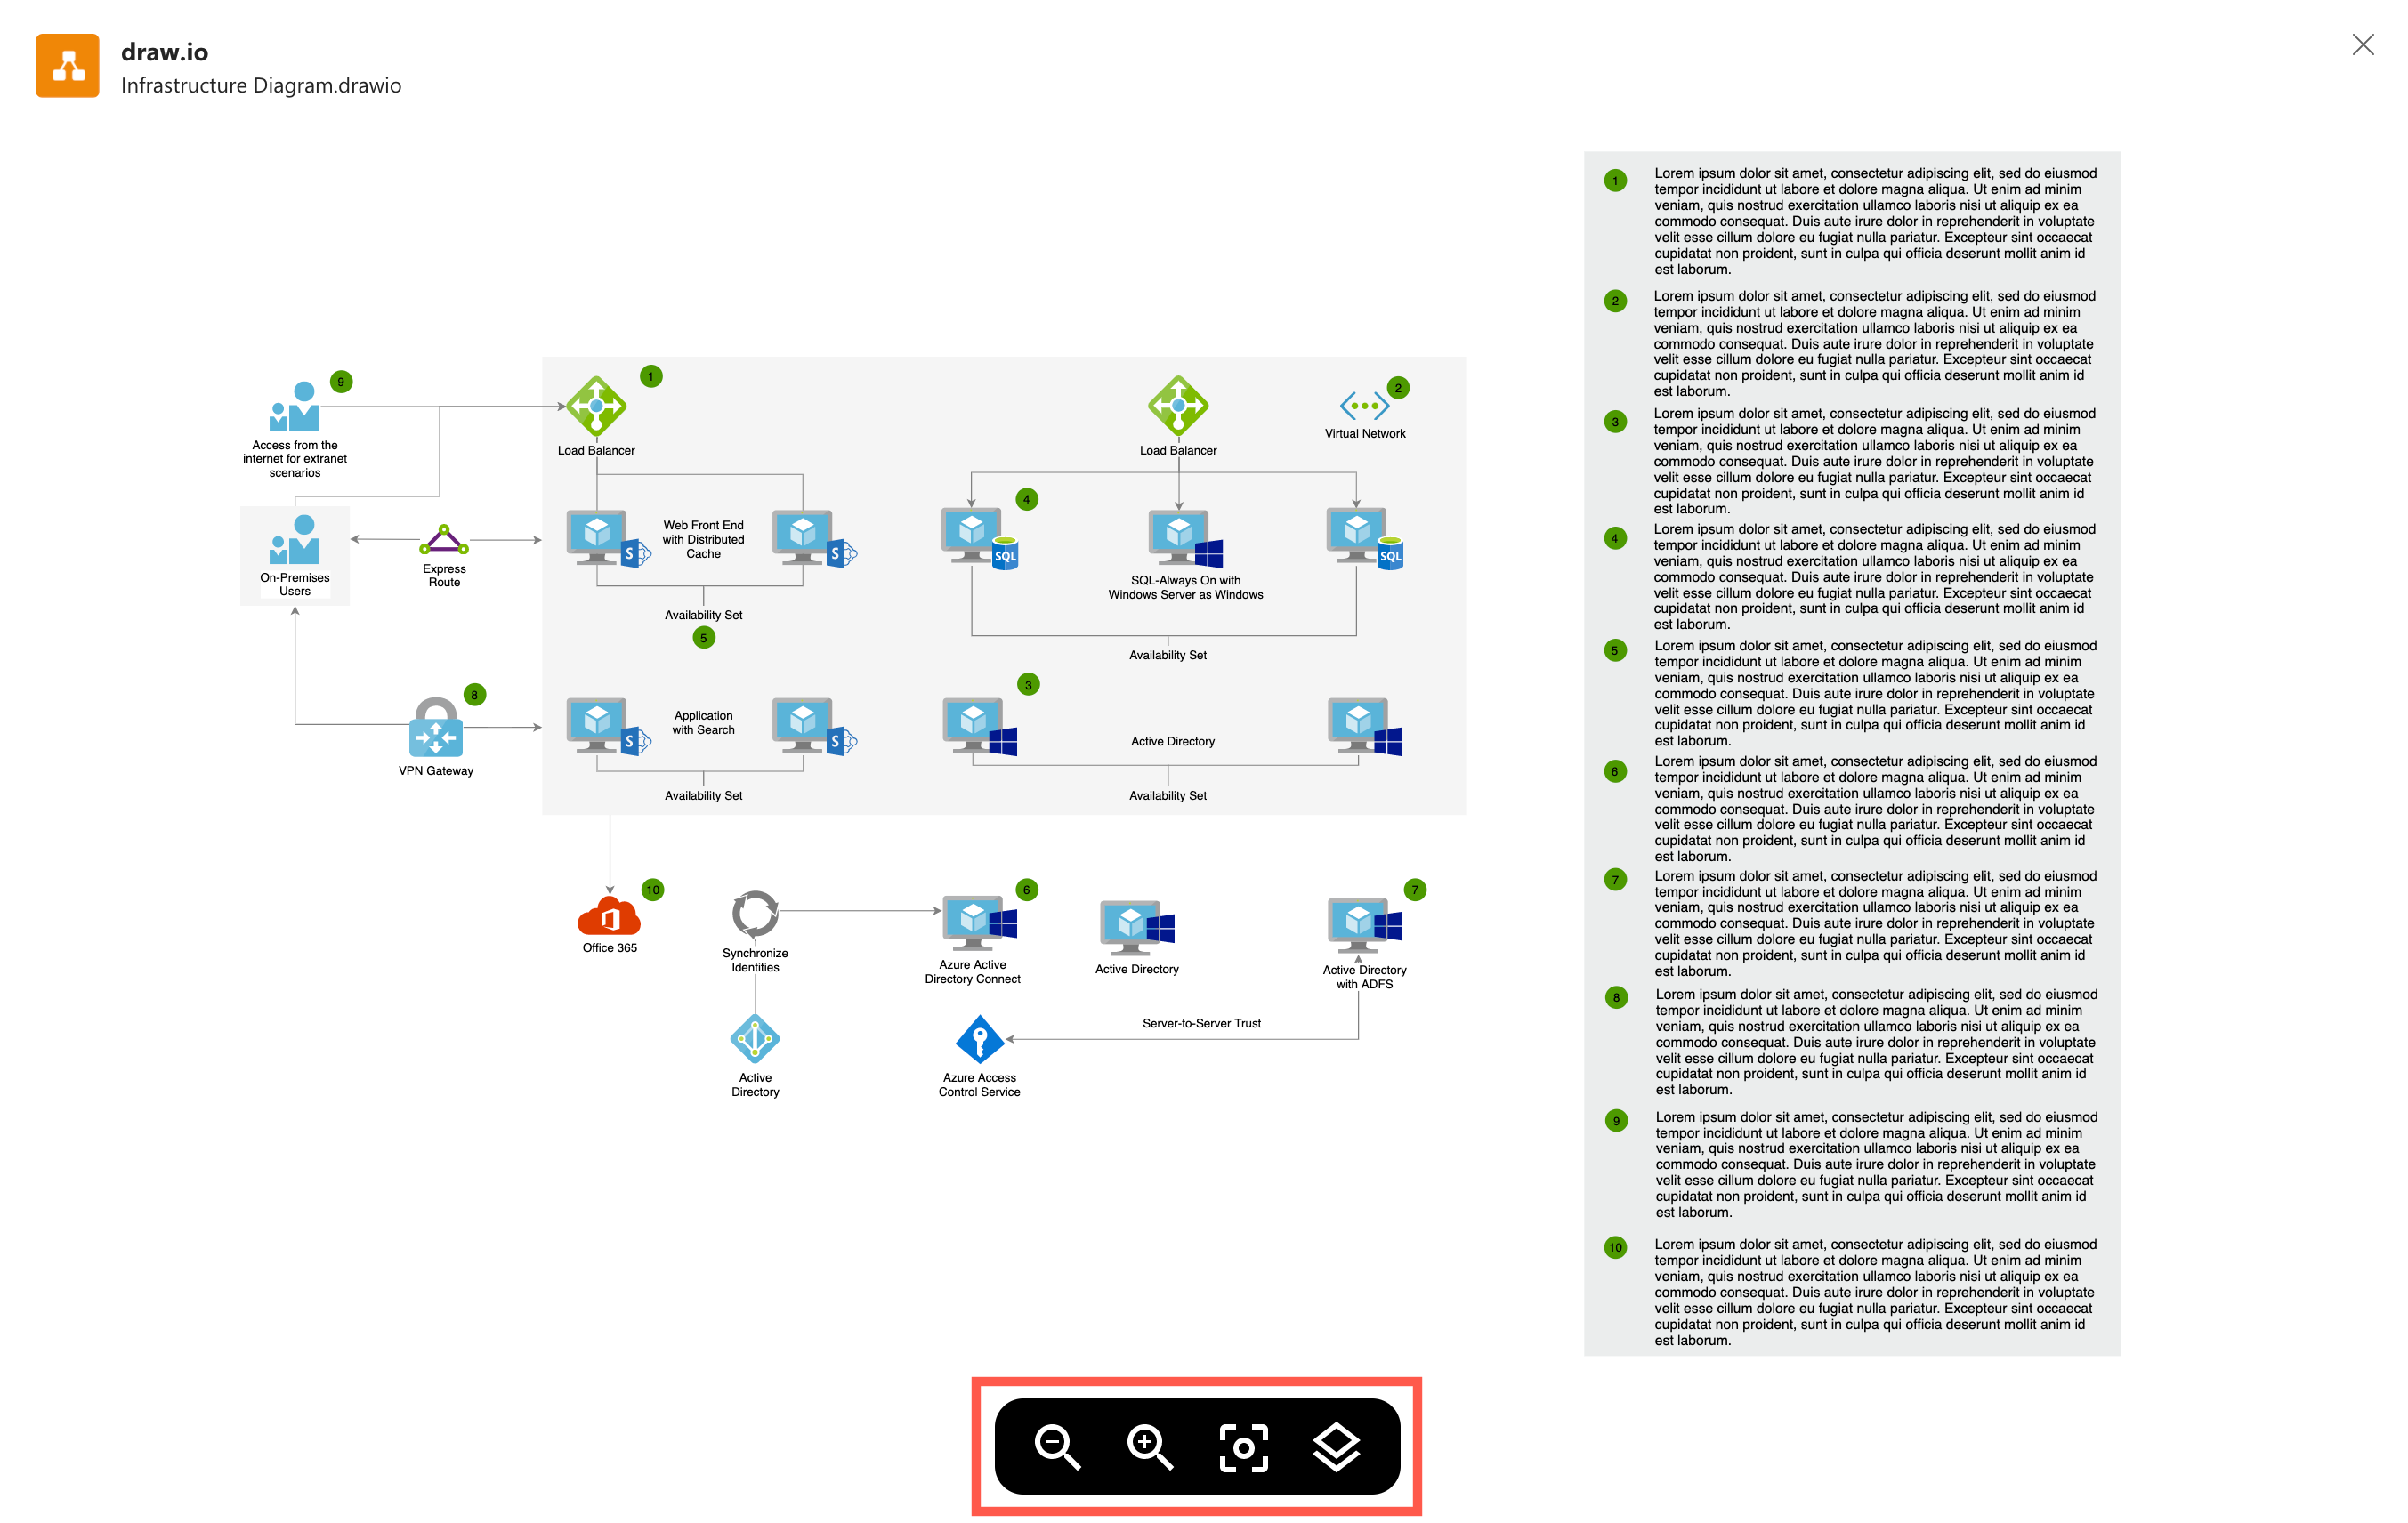
- Click on View to see a larger view of the diagram - you can step through pages, click on embedded links in the diagram and hide or display layers using the toolbar that appears when you hover over the diagram.
- Zoom in and out with the magnifying glass tools in the toolbar.
- Click and drag with the left or middle mouse button to move the canvas around.
Note: If you don’t see the draw.io icon underneath the conversation entry field, click on the three dots ..., then search for draw.io in the list of apps. Click on draw.io and follow the remaining steps above to add your diagram to the conversation.
