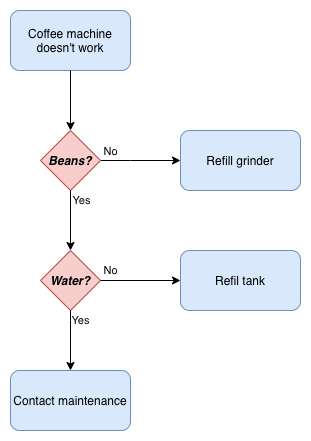
The draw.io diagram editor
The draw.io apps, integrations and our online editor are the leading solutions for drawing technical diagrams and web based sketching.
Store diagrams anywhere
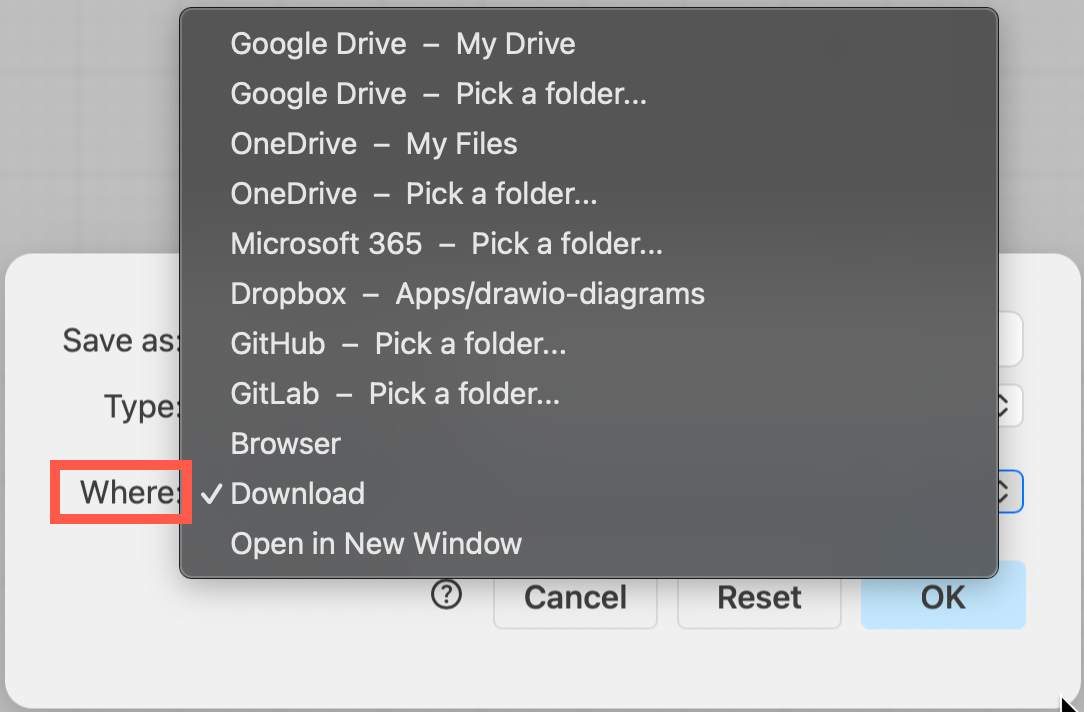
As a security-first diagramming app, we provide the diagramming functionality and you choose where to store your diagram data. With the online editor, you can use various online storage platforms, your browser, or your local device. Alternatively, diagram fully offline with our standalone desktop app.
draw.io integrations
draw.io apps integrate with many storage and documentation platforms, including Atlassian Confluence Cloud and Jira Cloud, Google applications, GitHub and GitLab, Microsoft applications, Notion and more.
The draw.io diagram editor looks and works the same no matter where you are using it. You can open a diagram created in one draw.io integration in another.
Diagram editor layout
Like most diagramming apps, the items you see in the toolbar and the panels around the drawing canvas are context sensitive. Tools and options in dialogs and panels will be available depending on the type of element(s) you selected on the drawing canvas.
Tip: Hover your mouse over any button, tool or option in the draw.io editor to see a tooltip.
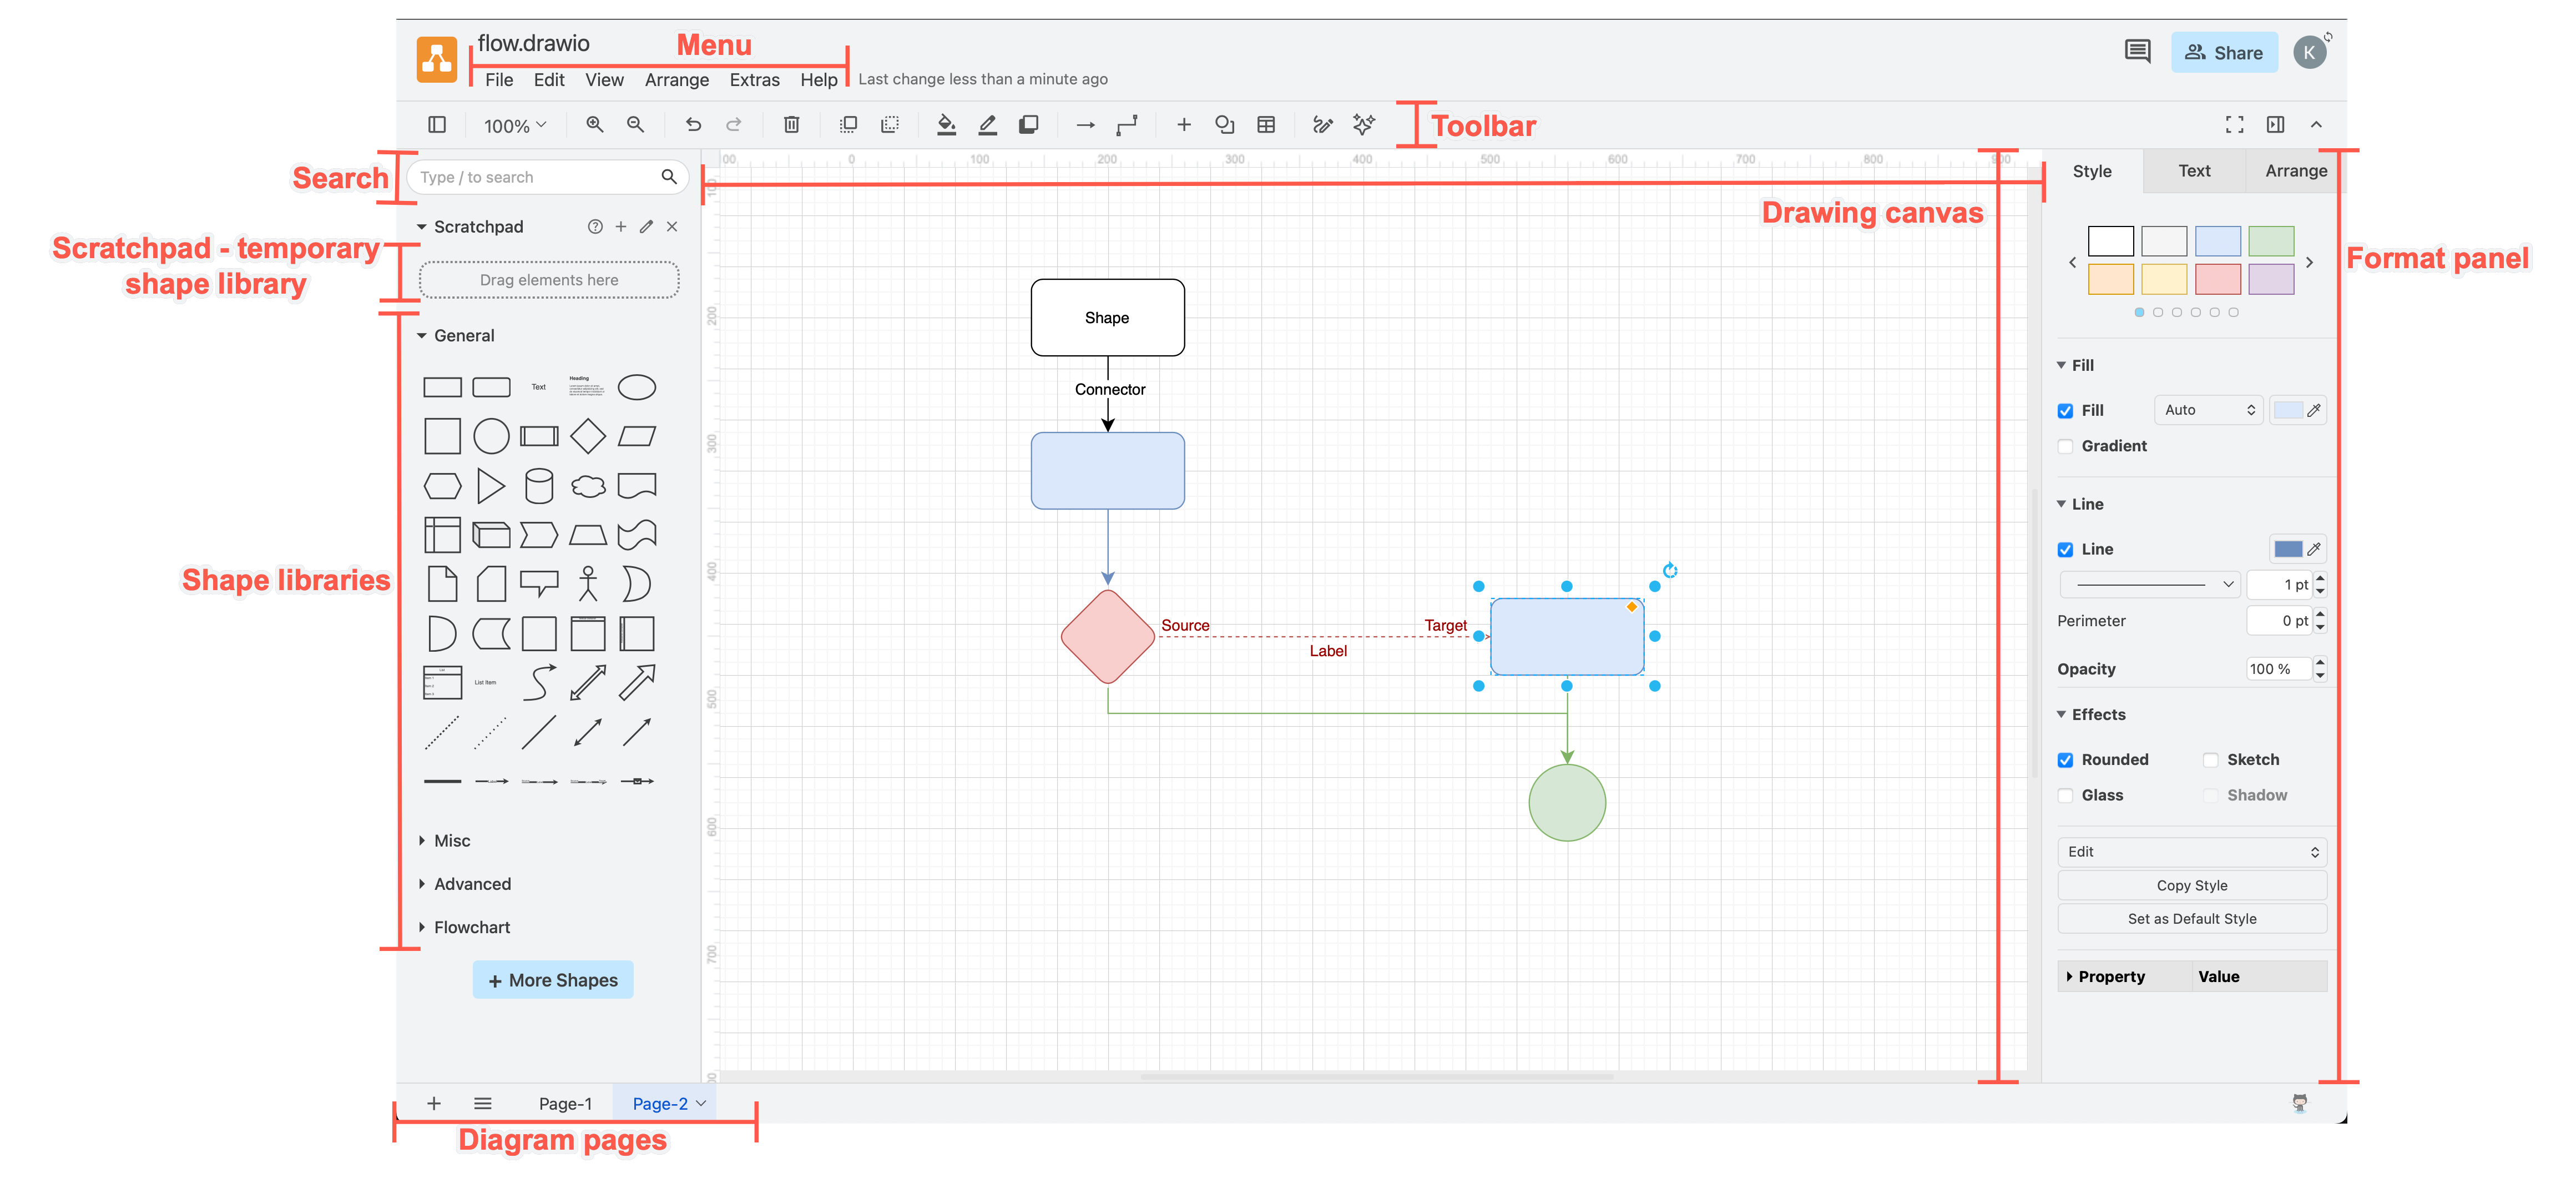
As draw.io has different editor themes, the menu and toolbar may be in different locations. Rest assured, all the draw.io features are available in every editor theme.
Menu
Depending on what you have selected in your diagram, some of the menu entries may be hidden or not greyed out. For example, you can't edit a shape's style if you have selected a connector
- File - work with the diagram files (new, open, import/export, and print), as well as open or custom create shape libraries.
- Edit - select and edit the shapes and connectors in your diagram and their styles.
- View - hide or display the various panels and helper tools in the draw.io editor including the scratchpad, layers, ruler and more.
- Arrange - group and organise shapes and connectors, insert templates and images, use the automatic layout features.
- Extras - enable a different editor theme, use math typesetting, enable/disable the start screen and autosave, and work with tags or add a custom configuration.
- Help - see the keyboard shortcuts, view support information or download the desktop version of draw.io.
Tip: To the right of the menu is a status message showing if there are unsaved edits or if your diagram has been autosaved.
Toolbar
Use the toolbar to enable or disable editor panels, zoom in and out, undo and redo changes, add shapes and connectors, generate a diagram or draw a freehand shape. Each editor theme has a different set of tools in its toolbar - hover over a tool to see what it does.

Some of the tools in the toolbar need to have the right elements in your diagram selected. For example, the Delete tool will be light grey and disabled if you haven't selected a shape, connector or text on the drawing canvas.
See all the editor theme toolbars
Shapes and shape libraries
Shapes are arranged into logical groups, called shape libraries. Not all of the shape libraries are shown at once as there are simply too many of them. Expand or collapse each shape library in the left panel by clicking on its name.
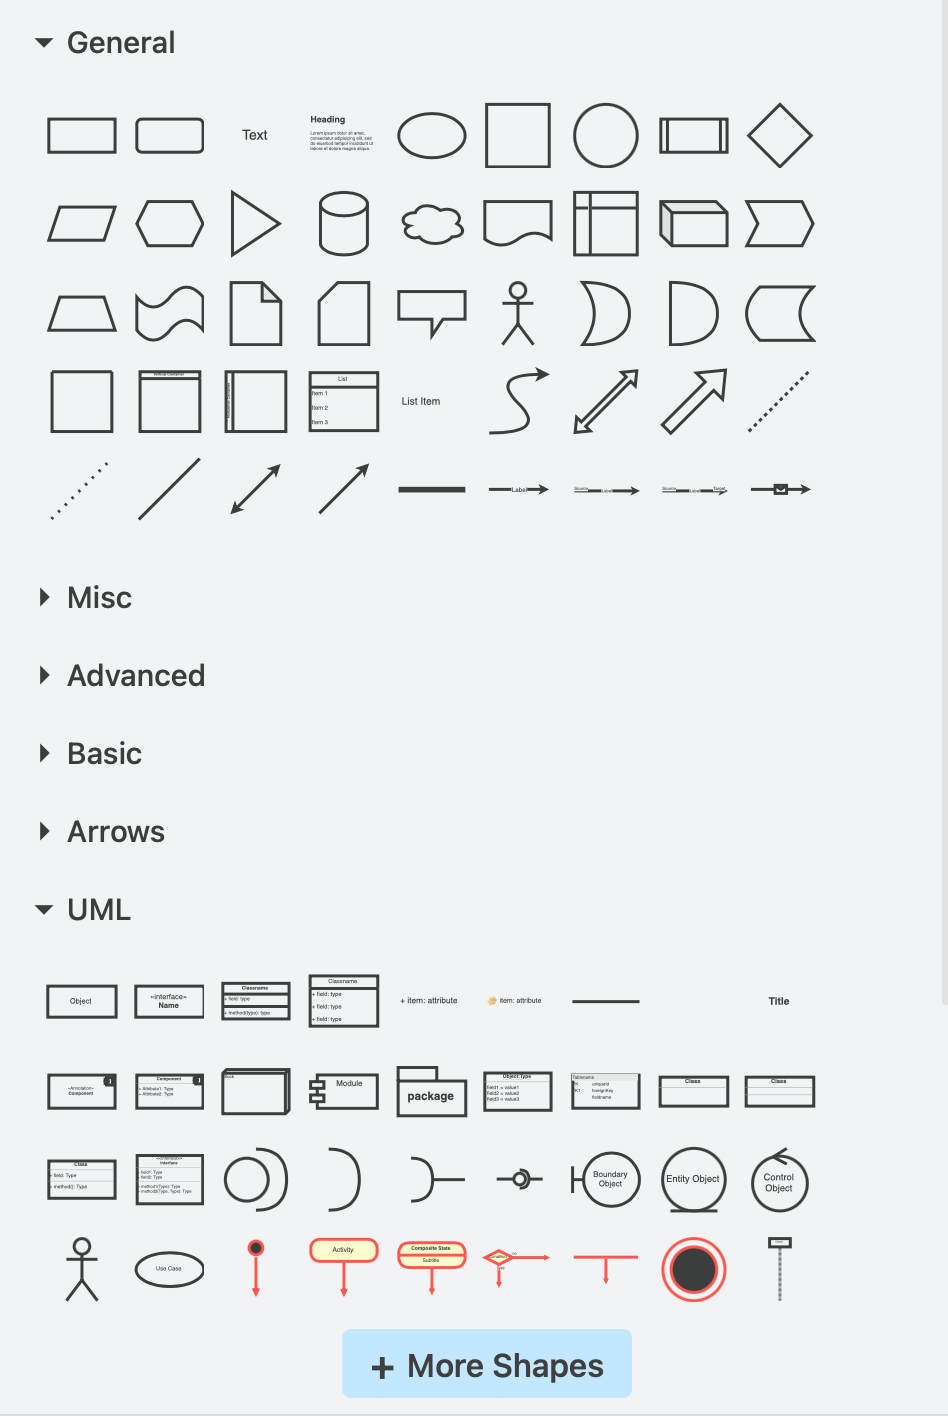
Enable/disable shape libraries
Enable only the shape libraries that you need for the particular diagram you are working on.
- Click on More Shapes at the bottom of the left panel.
- Scroll through the various shape libraries - these are arranged into useful categories for the different types of diagrams. Click on the checkbox next to a shape library's name to enable or disable it.
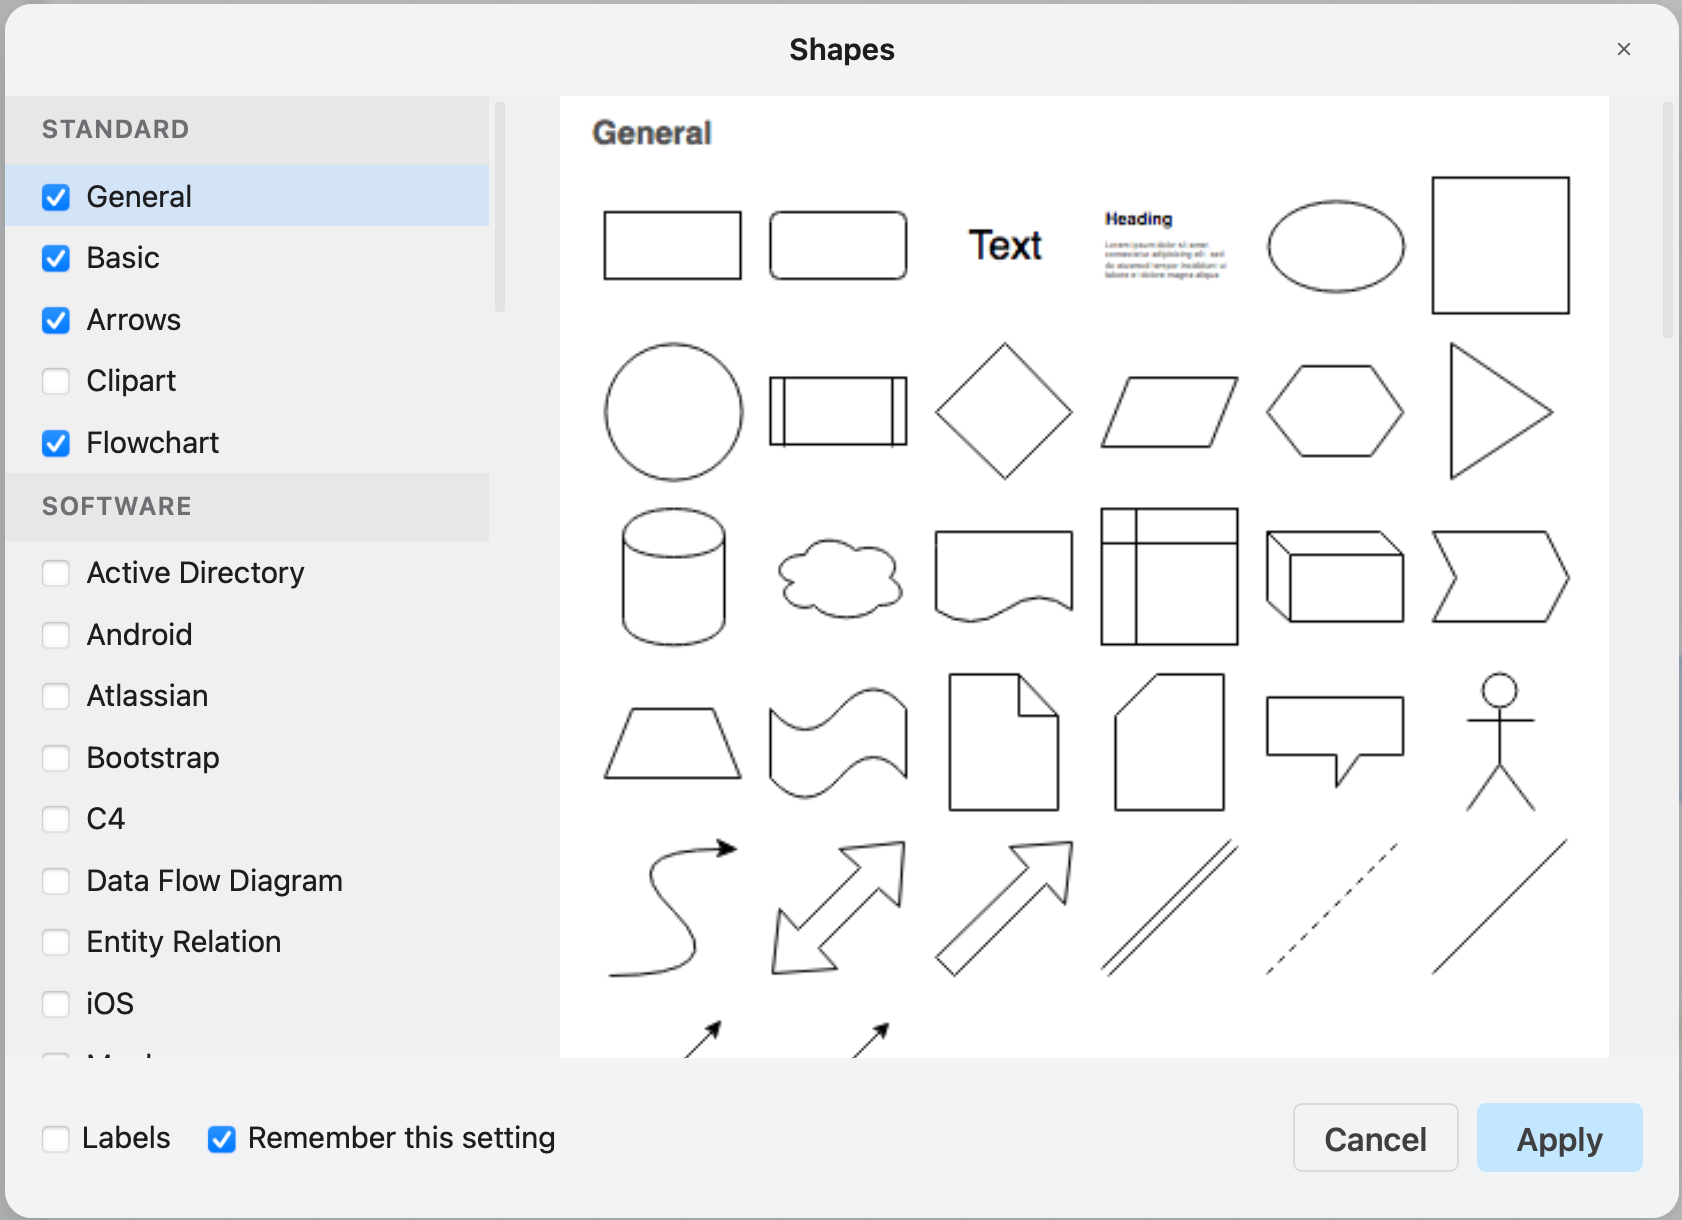
- Click Apply.
Add a shape from the shape libraries to the drawing canvas
Click on or drag a shape from the shape libraries to add it to the drawing canvas.
Scratchpad
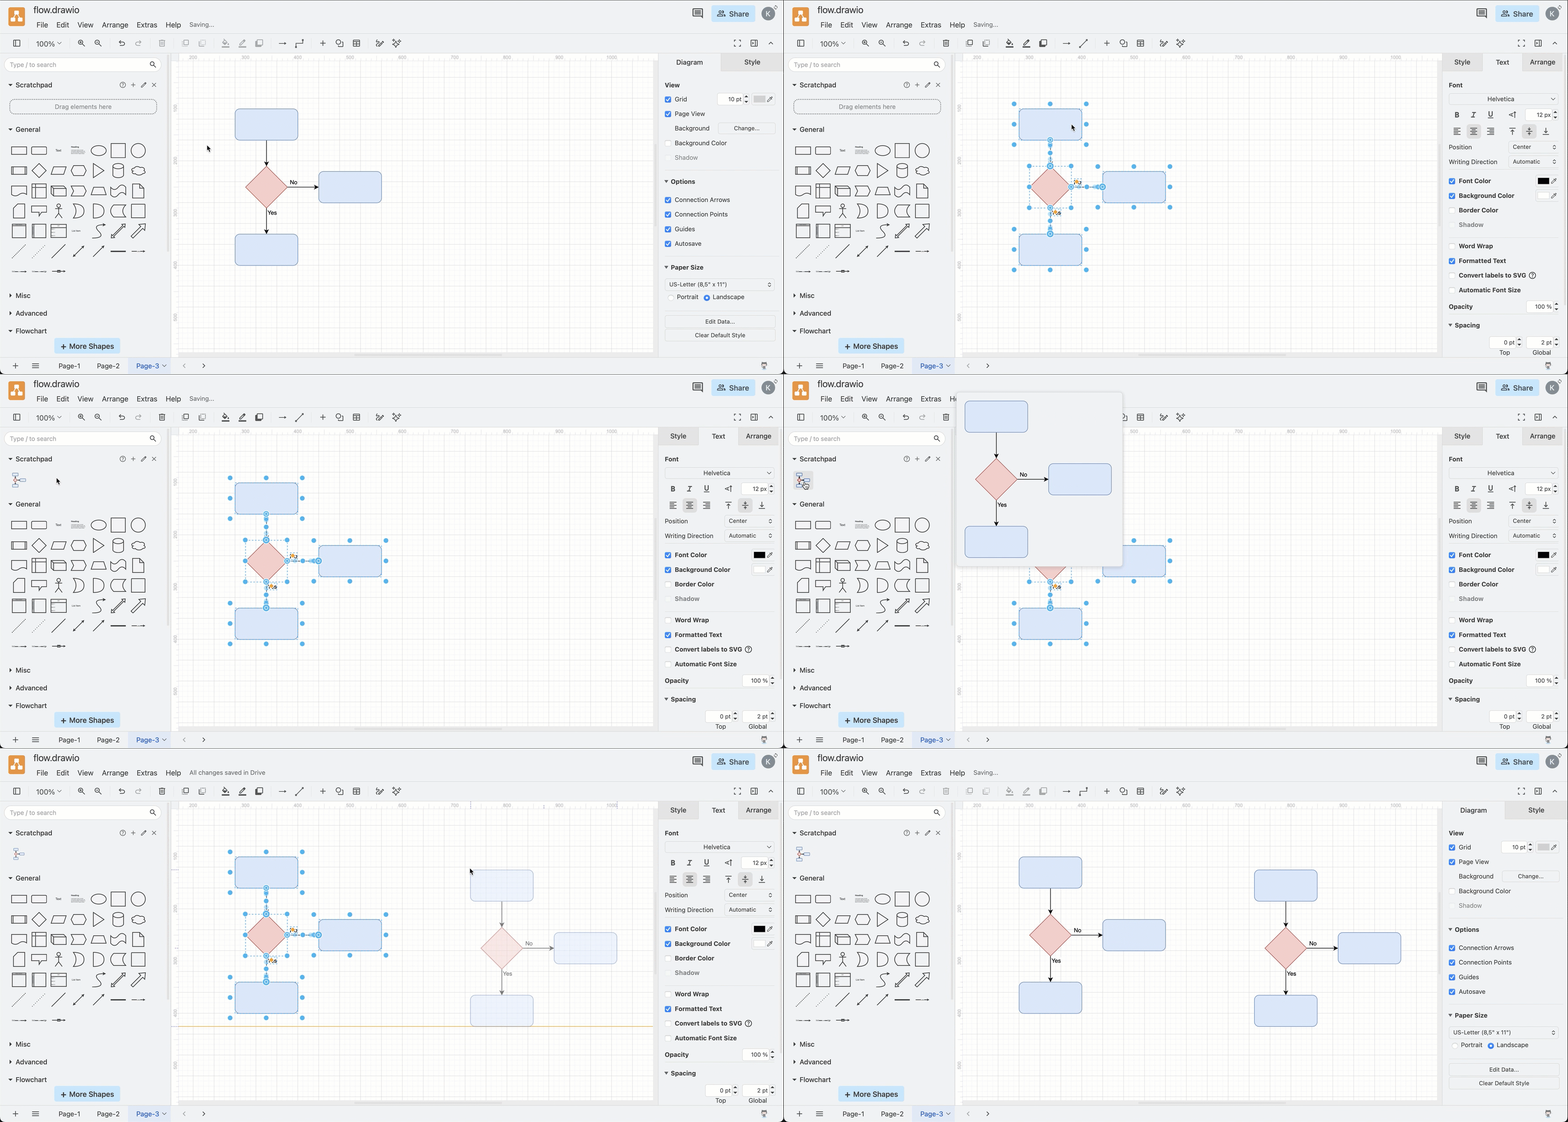
The scratchpad is your personal shape library where you can add the shapes or groups of shapes that you use the most often.
- Drag one or more selected shapes from the drawing canvas onto the scratchpad.
- Click on one of the shapes or groups of shapes you have saved to the scratchpad to add another copy to the drawing canvas, just like you would a shape from the shape libraries.
Search shapes
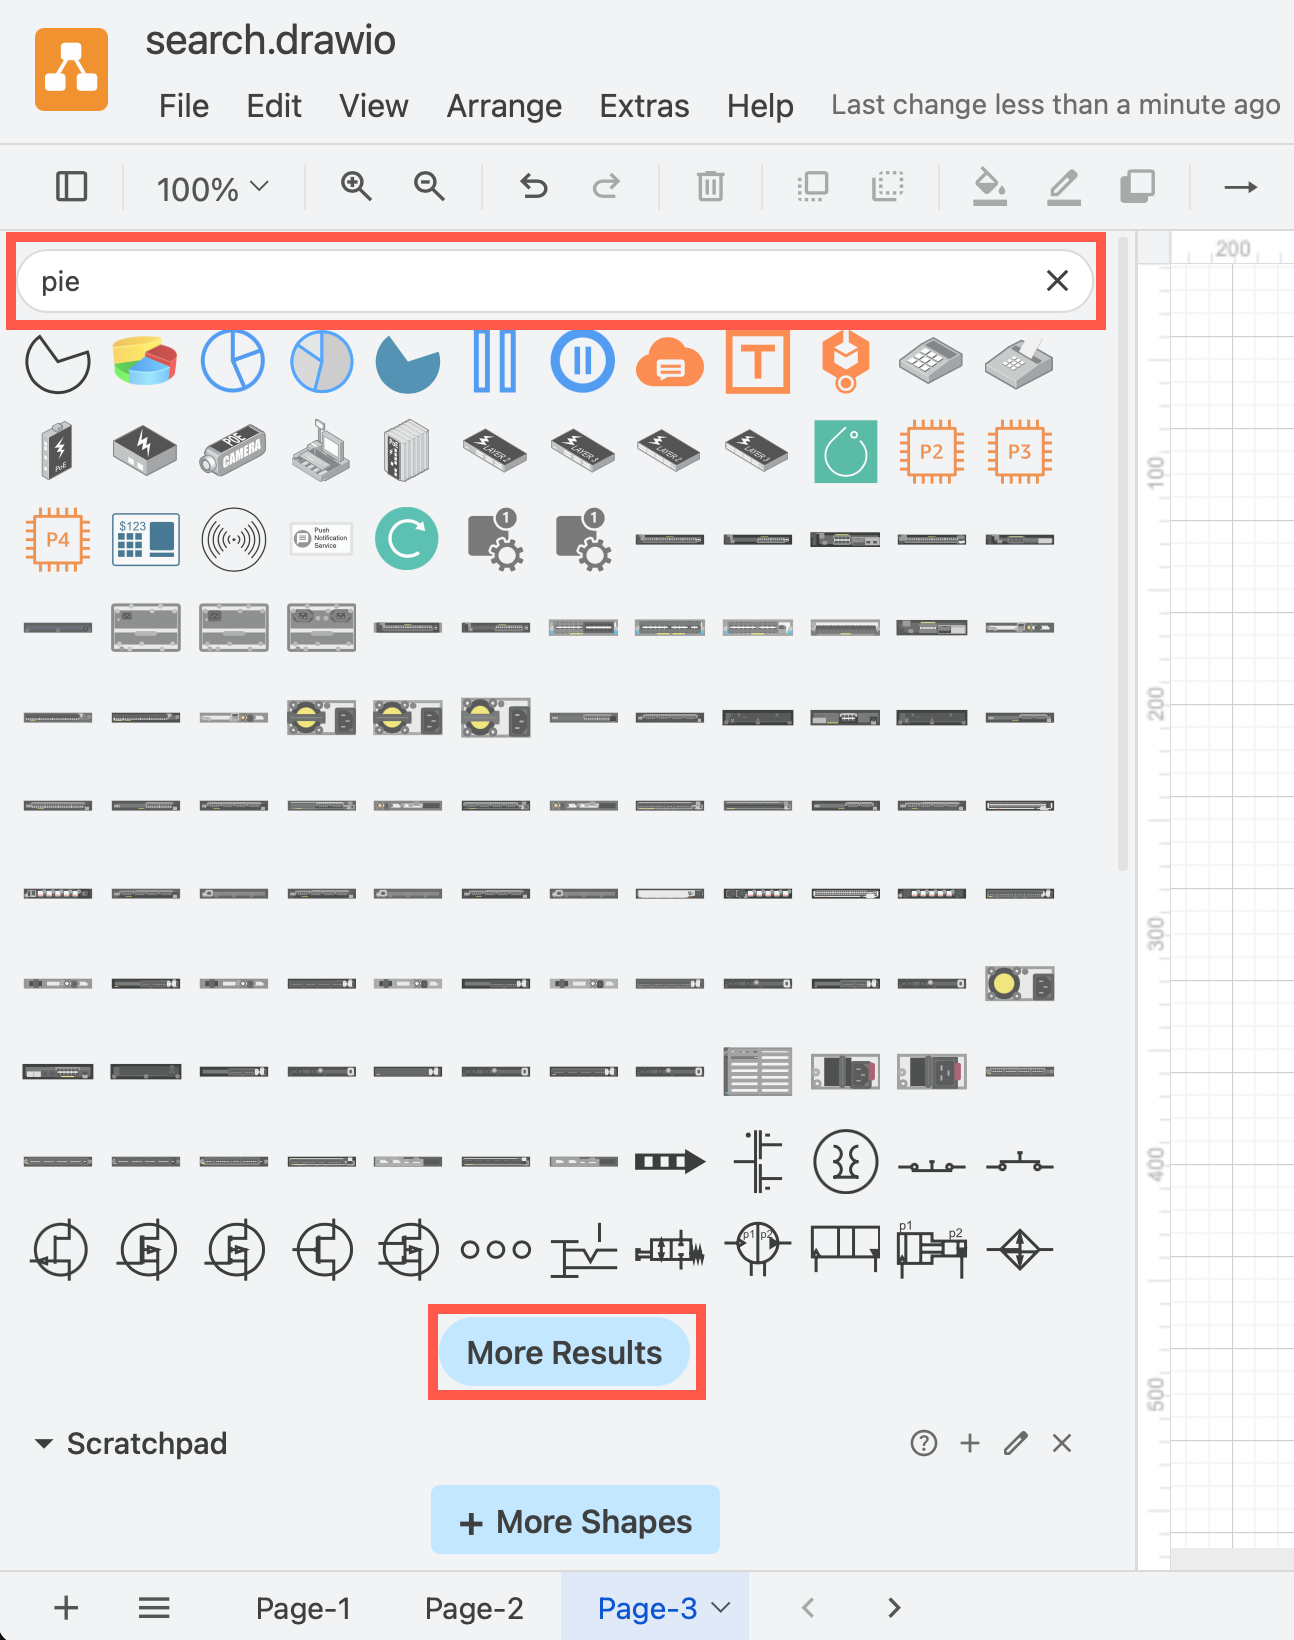
Type the name of a shape into the shape search field, and you'll get a number of matches. This also finds matching clipart shapes if you are online.
Tip: If you don't find the shape you are looking for, try searching for a related word.
Drawing canvas
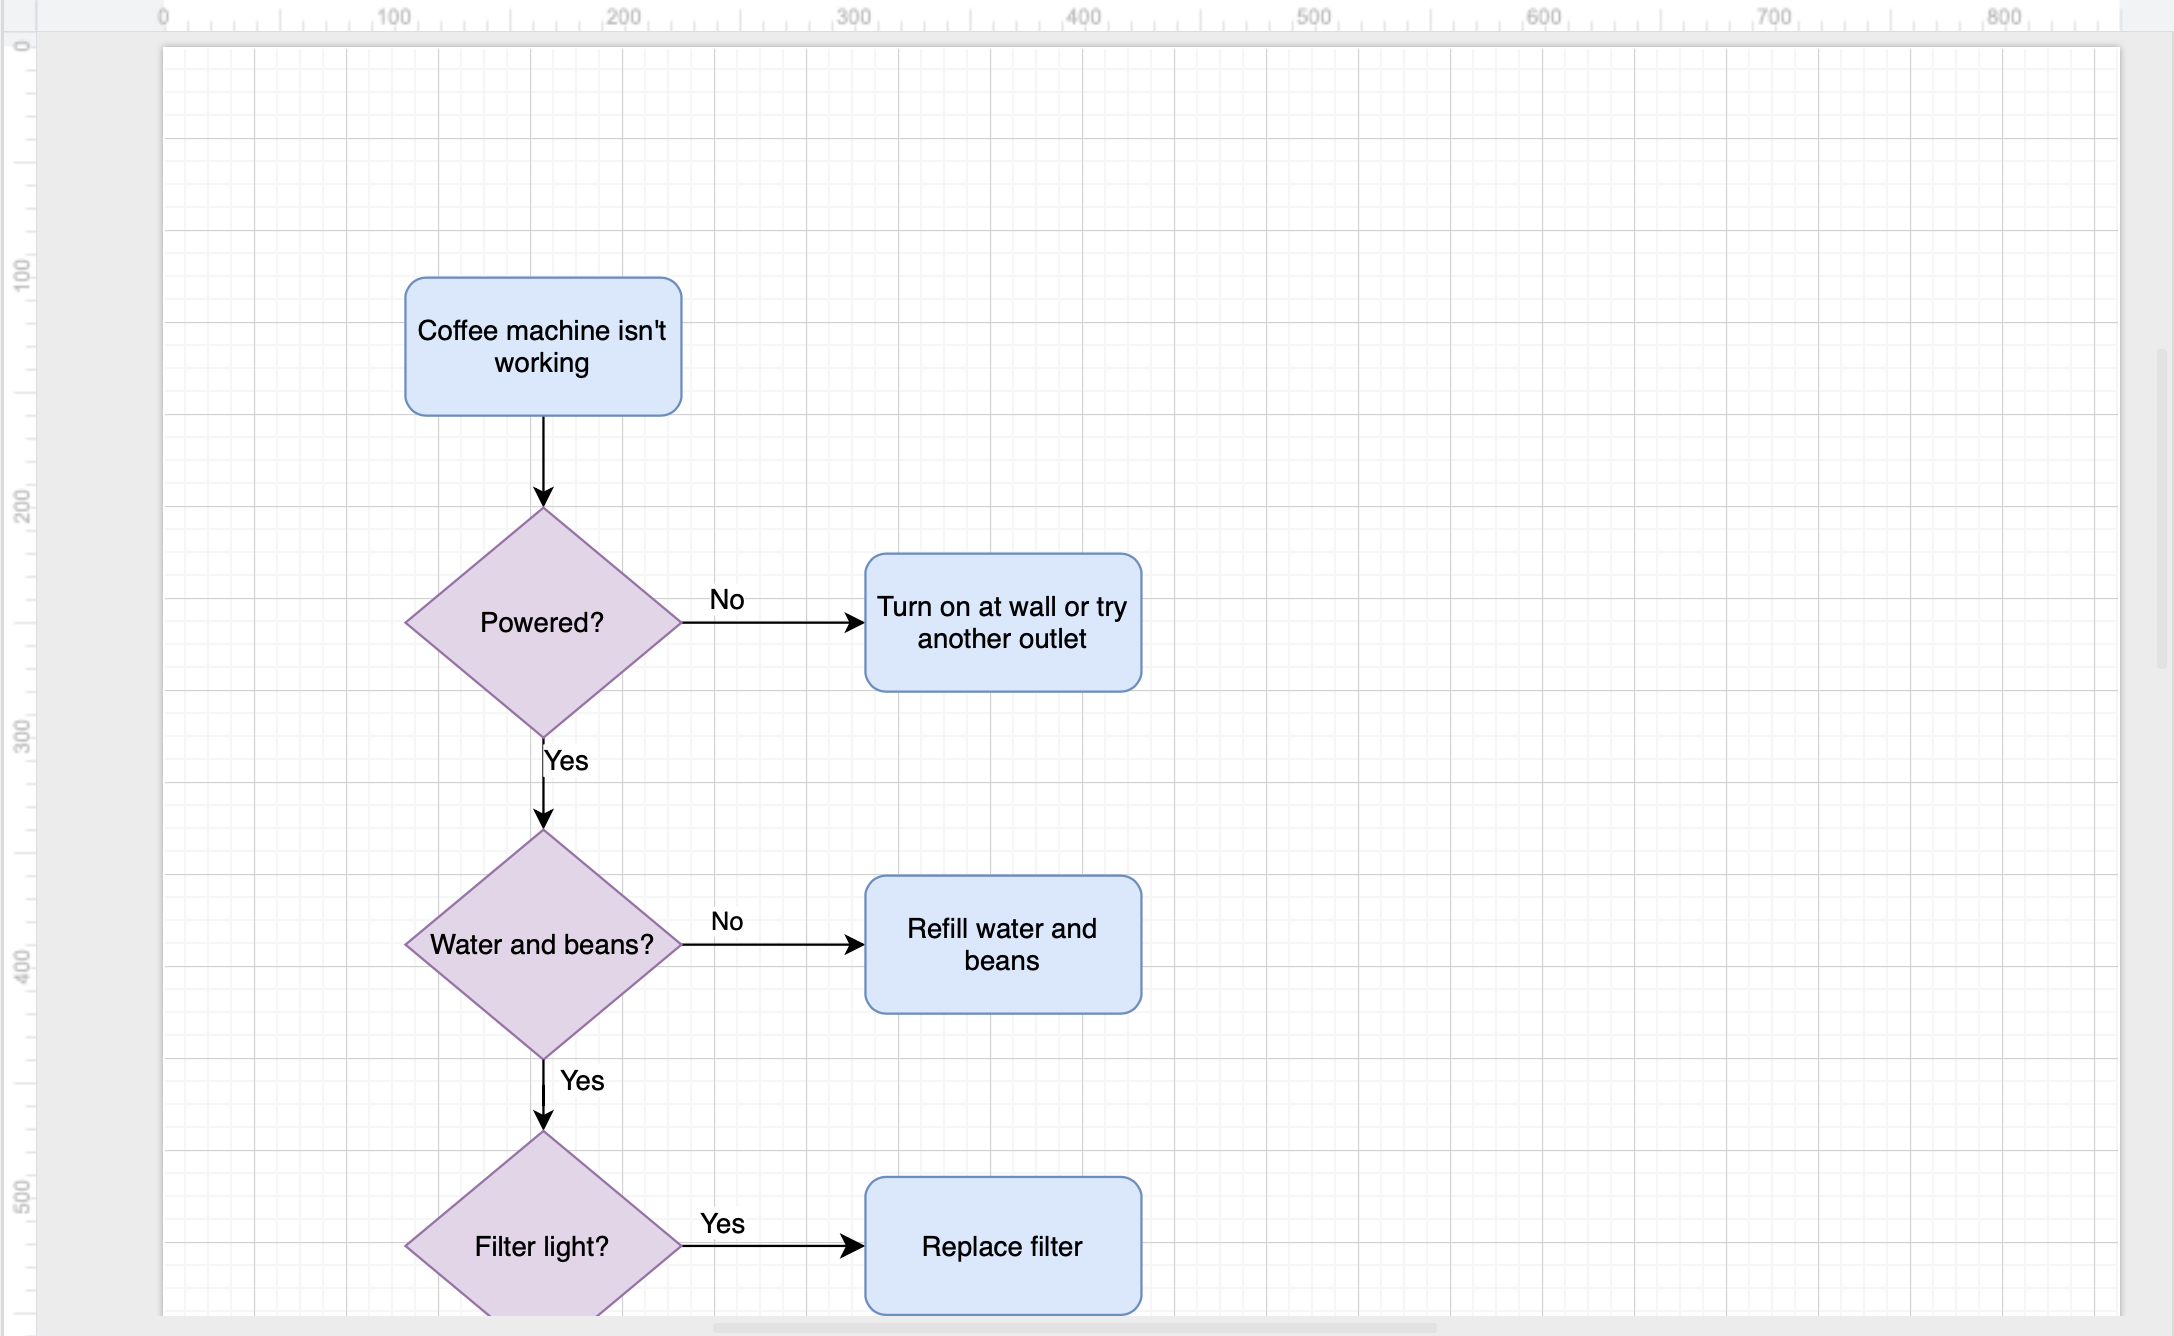
Draw your diagram by placing, connecting and styling shapes on the drawing canvas in the middle of the editor. The drawing canvas displays a grid by default to help you align and space shapes neatly.
- Pan the drawing canvas with the scroll bars or by scrolling with two fingers on a trackpad, or right-click/middle-click in an empty area on the drawing canvas and drag to move the canvas around.
- Zoom in and out using the Zoom In/Zoom Out tools in the toolbar, pinch two fingers on a trackpad, or hold down
Ctrland use the mouse scroll wheel. Enable View > Zoom with Mouse Wheel via the menu to zoom with the mouse wheel without holding down a key. This does not change the size of your diagram.
Tip: Enable the rulers via the View menu.
Move the drawing canvas on touchscreens and in the outline panel
Multi-page diagrams
Organise complex diagrams into multiple pages.
- Click on ⋮ (vertical ellipses) underneath the drawing canvas to access the diagram page menu.
- Click on the page tabs to view that page.
- Add a new page by clicking on + (plus).
Learn how to work with multiple pages in a diagram
Format panel
The format panel on the right contains options and properties that you can change to arrange and style your shapes, connectors, text and diagram.
What you see is context sensitive. For example, when you click on a connector, you will see additional styling options that can only be applied to connectors. If you select only text and no shapes or connectors, you'll see only the text styling options.
Style tab
When you have selected one or more shapes, you can change the fill and outline colour of shapes, edit styles, copy and paste styles in the Style tab in the format panel on the right. You can change how a selected connector is drawn - curved, straight or with sharp right-angles, if it is a broken line or solid, whether line jumps are used and which arrows are used at either end of the connector, and more.
Compare the different style options below when a shape is selected (left) and when a connector is selected (right).
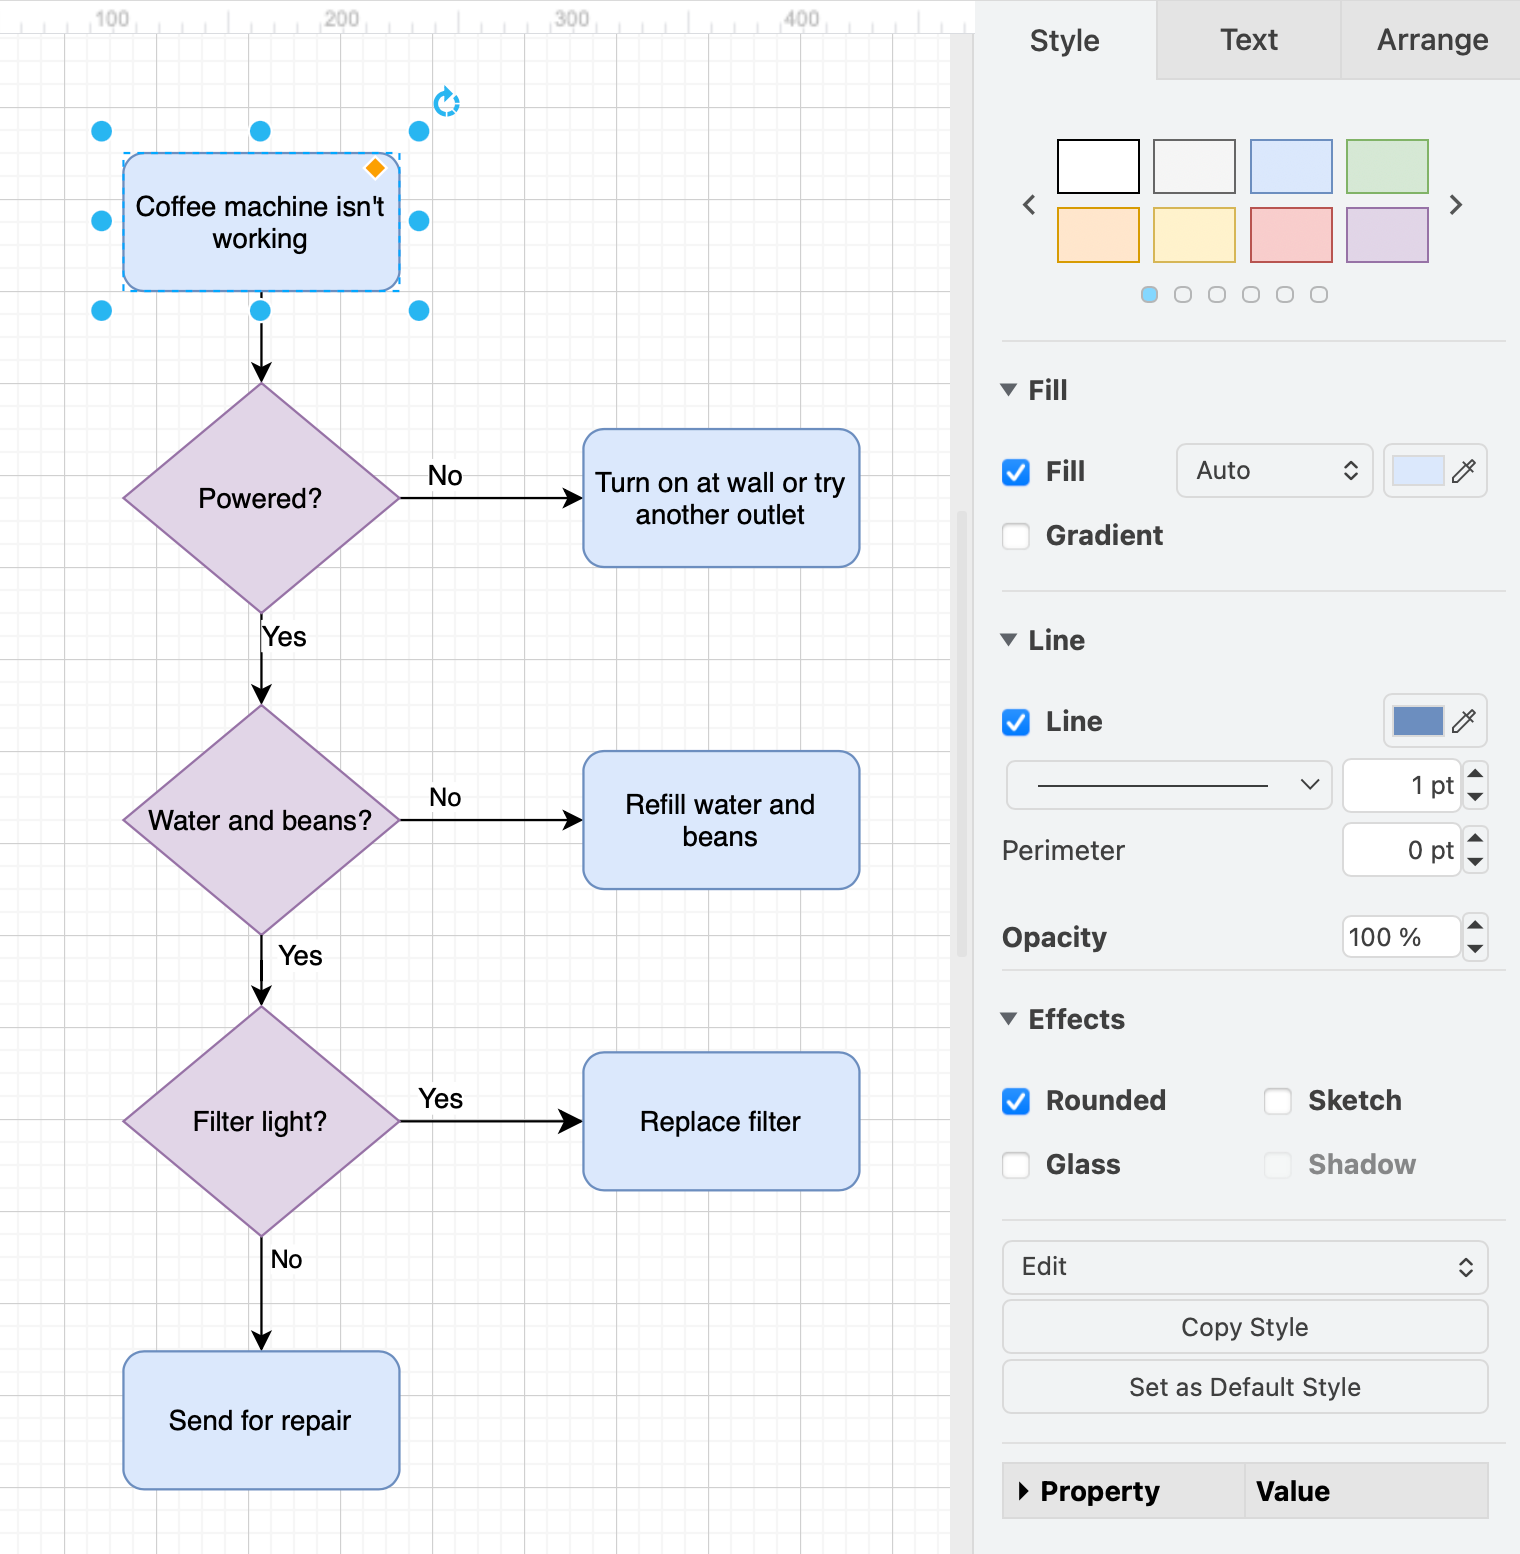
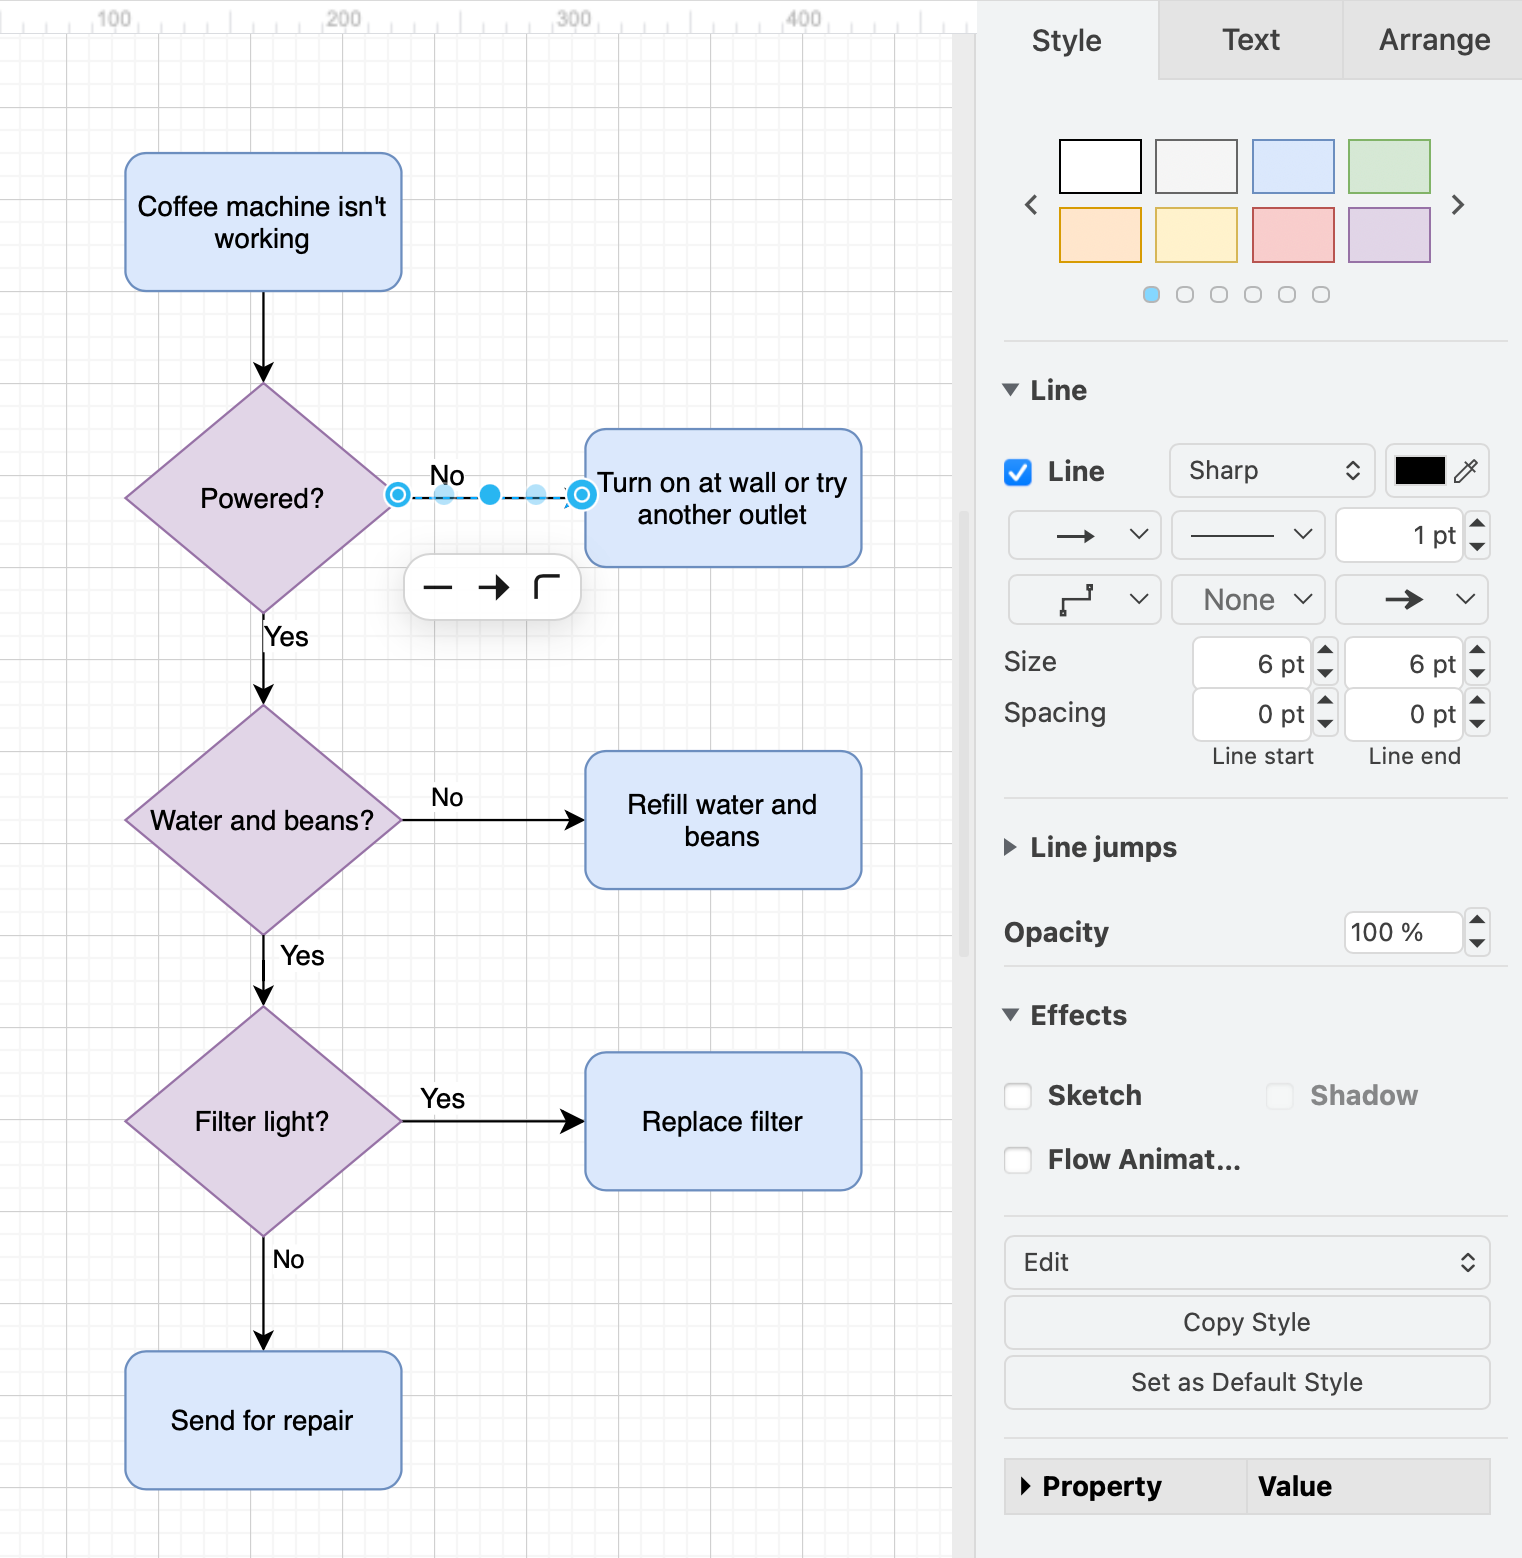
To learn how to work with styles, follow our basic flow chart tutorial.
Text tab
Change the font, size and style of your labels using the Text tab of the format panel on the right. You can also change the vertical and horizontal alignment of the text, the writing direction, the font and background colour and opacity, and add spacing around the text.
Word Wrap and Formatted Text are enabled by default. This lets you style characters and words inside the label text as if it were HTML, which also supports hyperlinks.
Tip: Double click on text to edit the text and select part of a label. Then, only the Text tab is displayed (right) as you are not editing a shape.
Compare the different style options below when a shape is selected (left) and when only some of the text inside a label is selected (right).
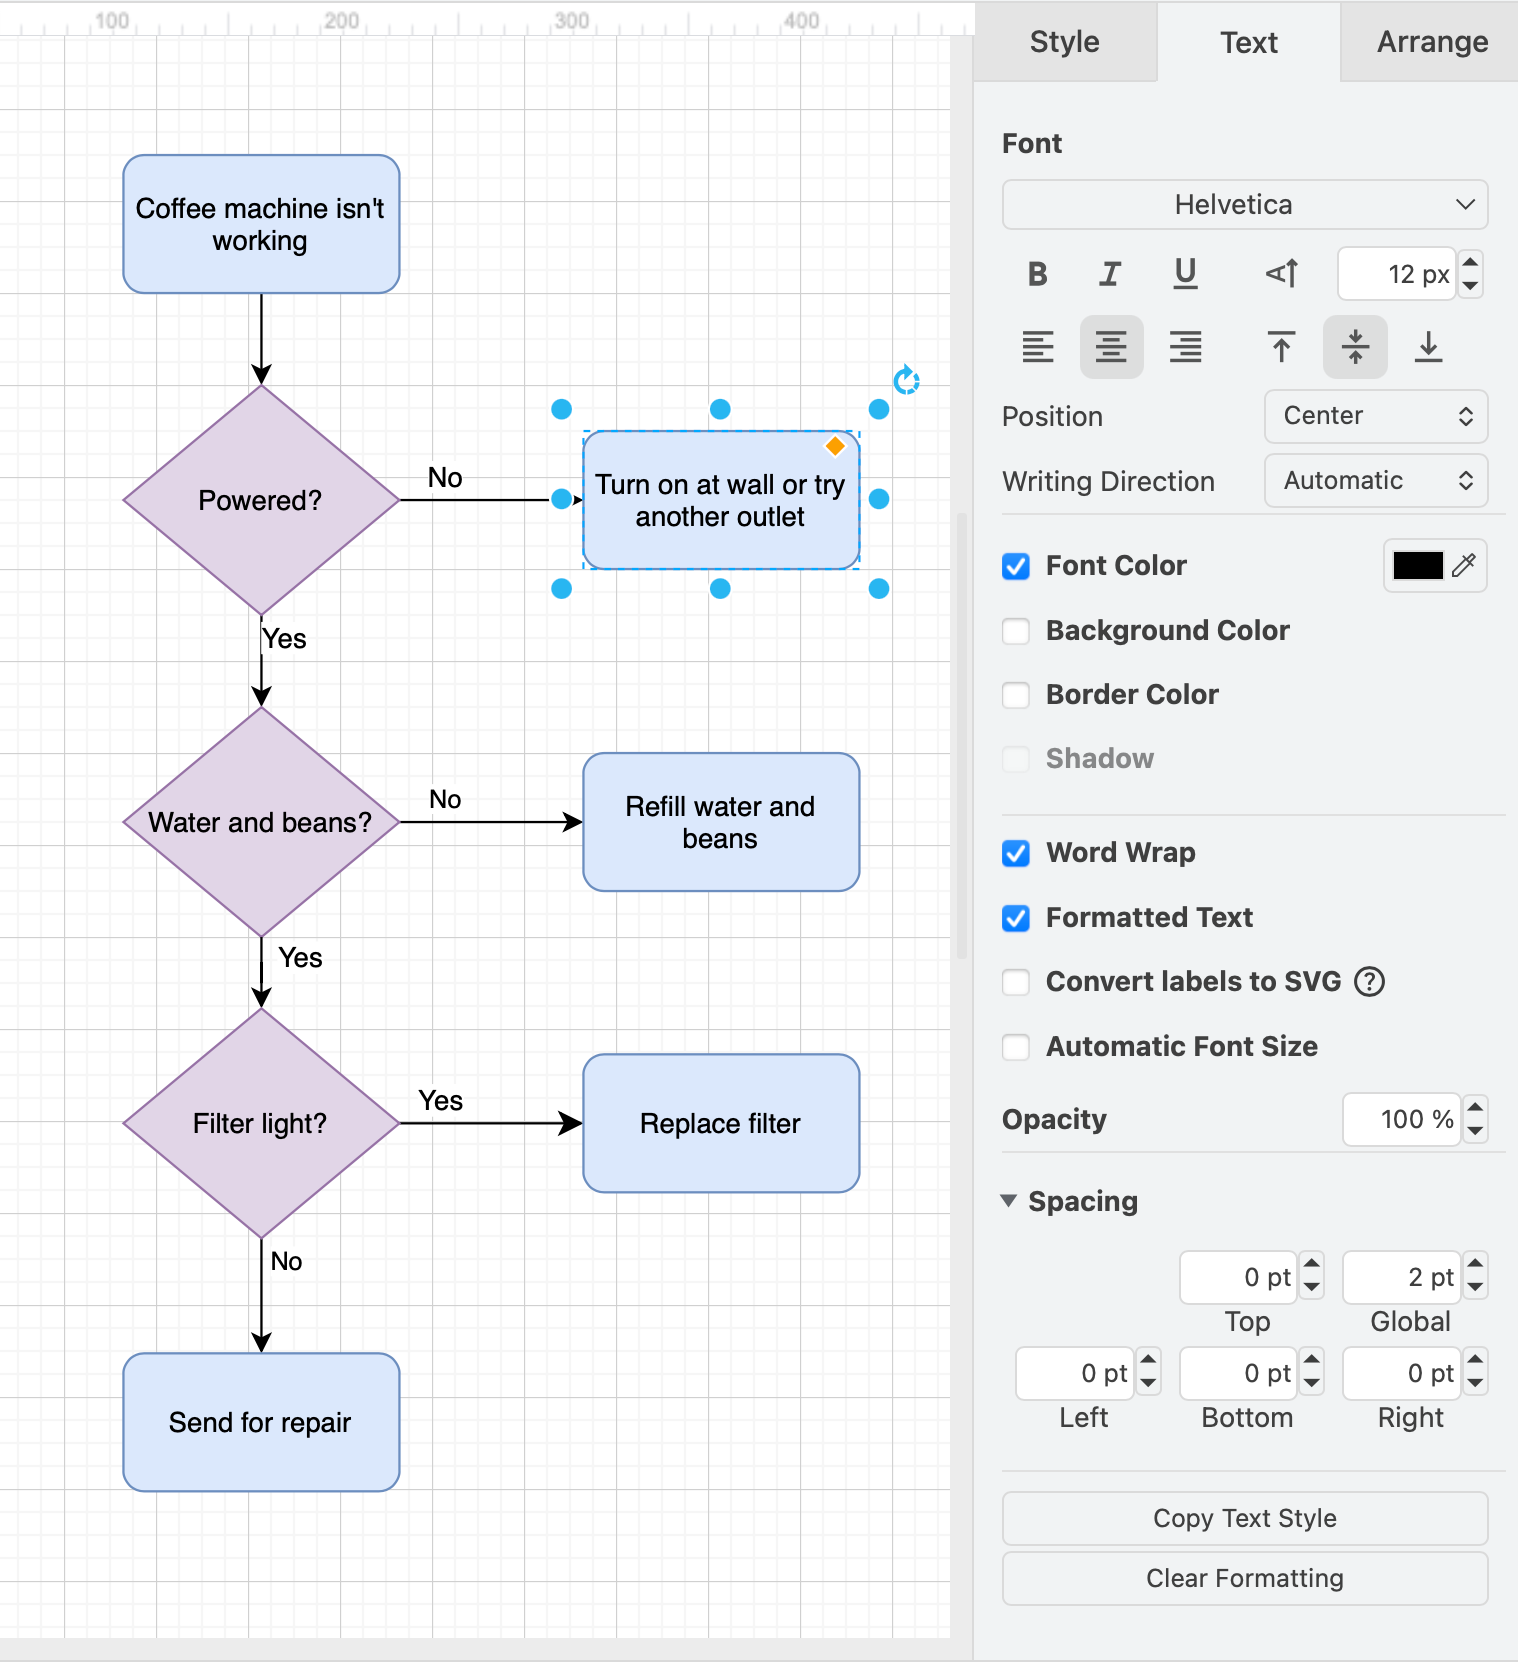
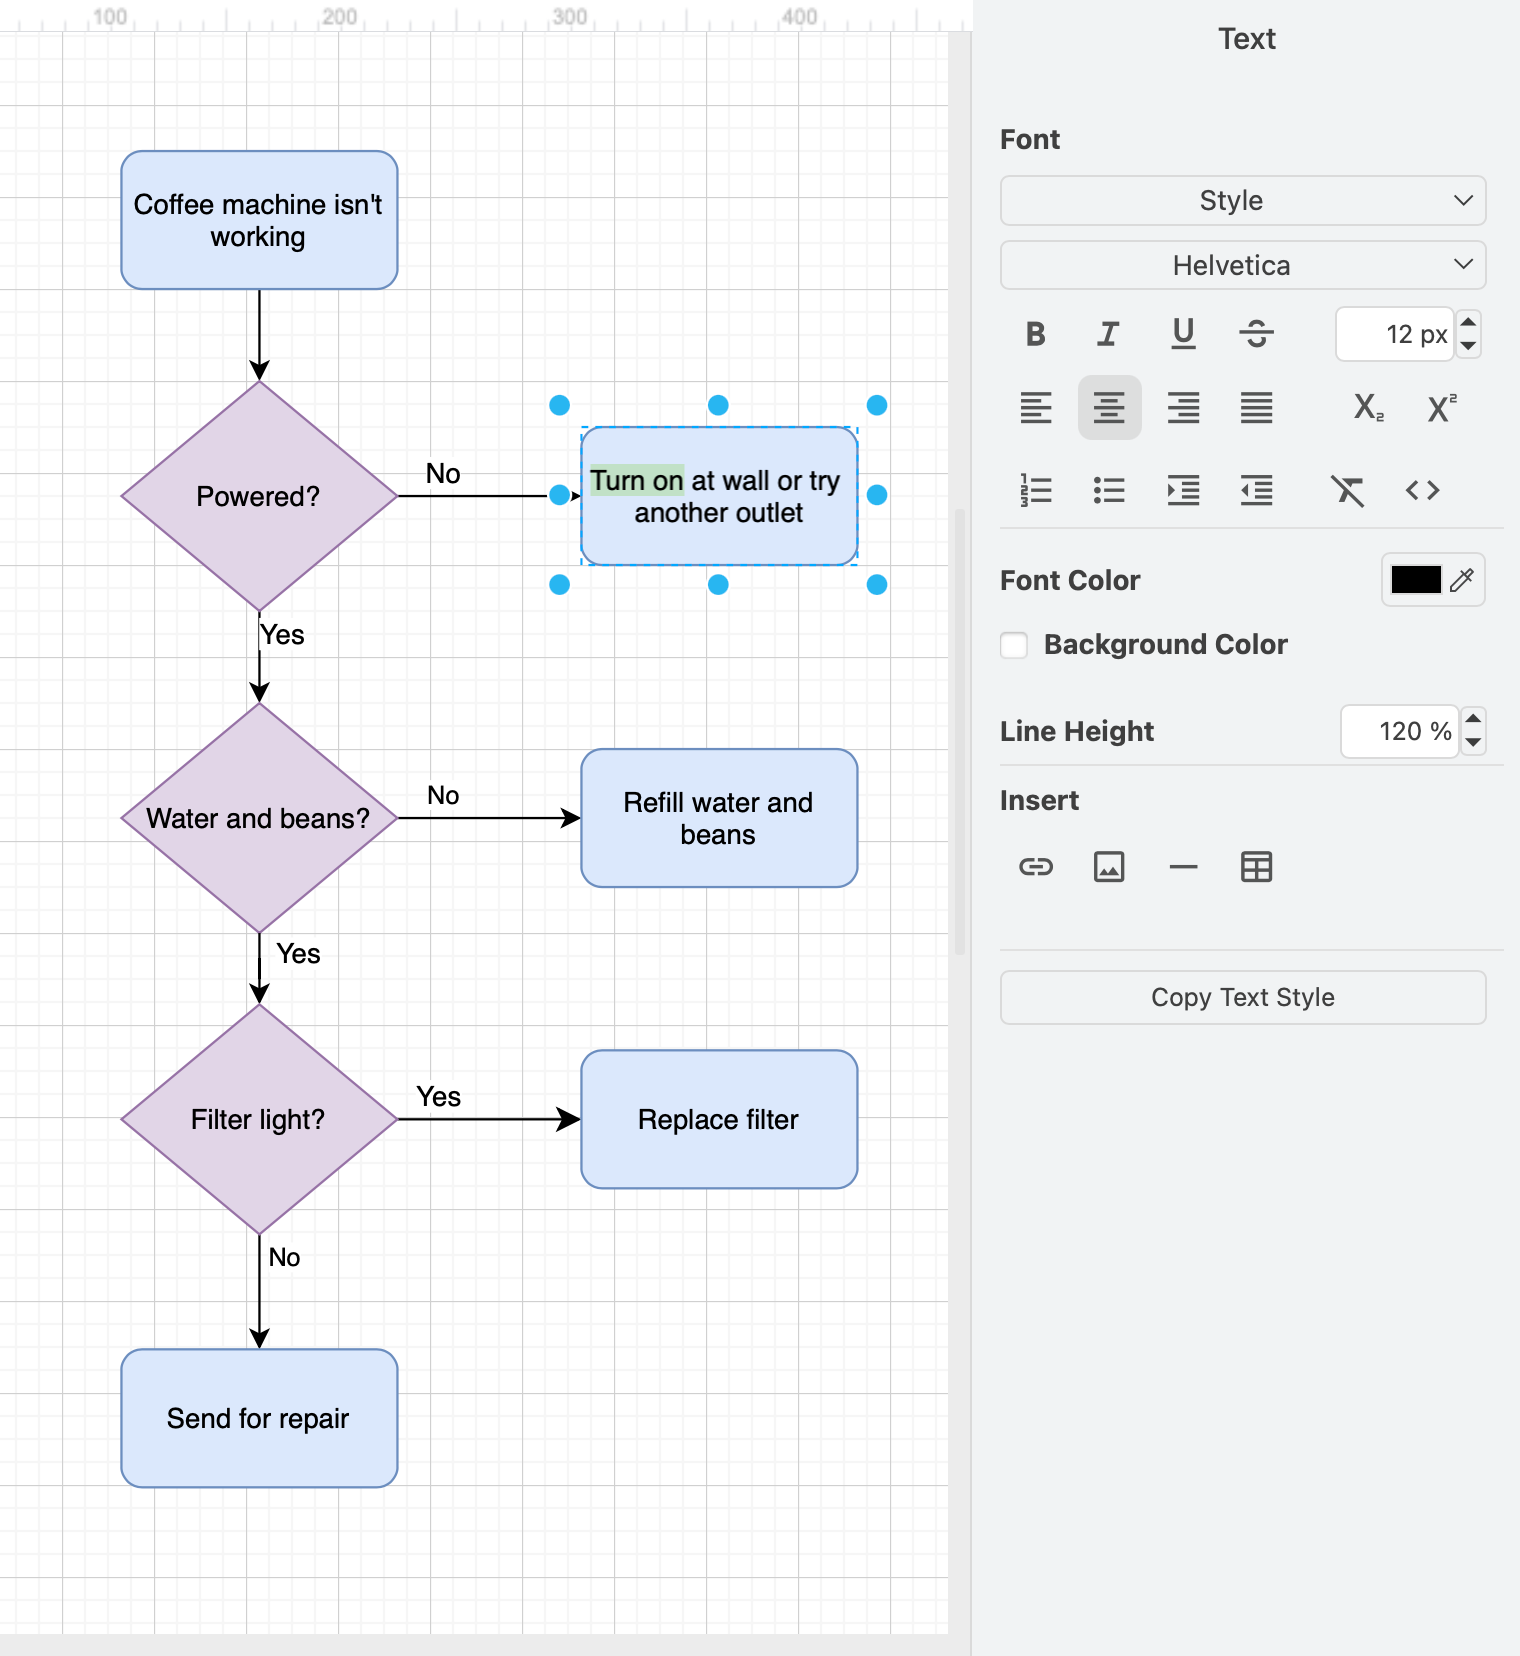
Arrange tab
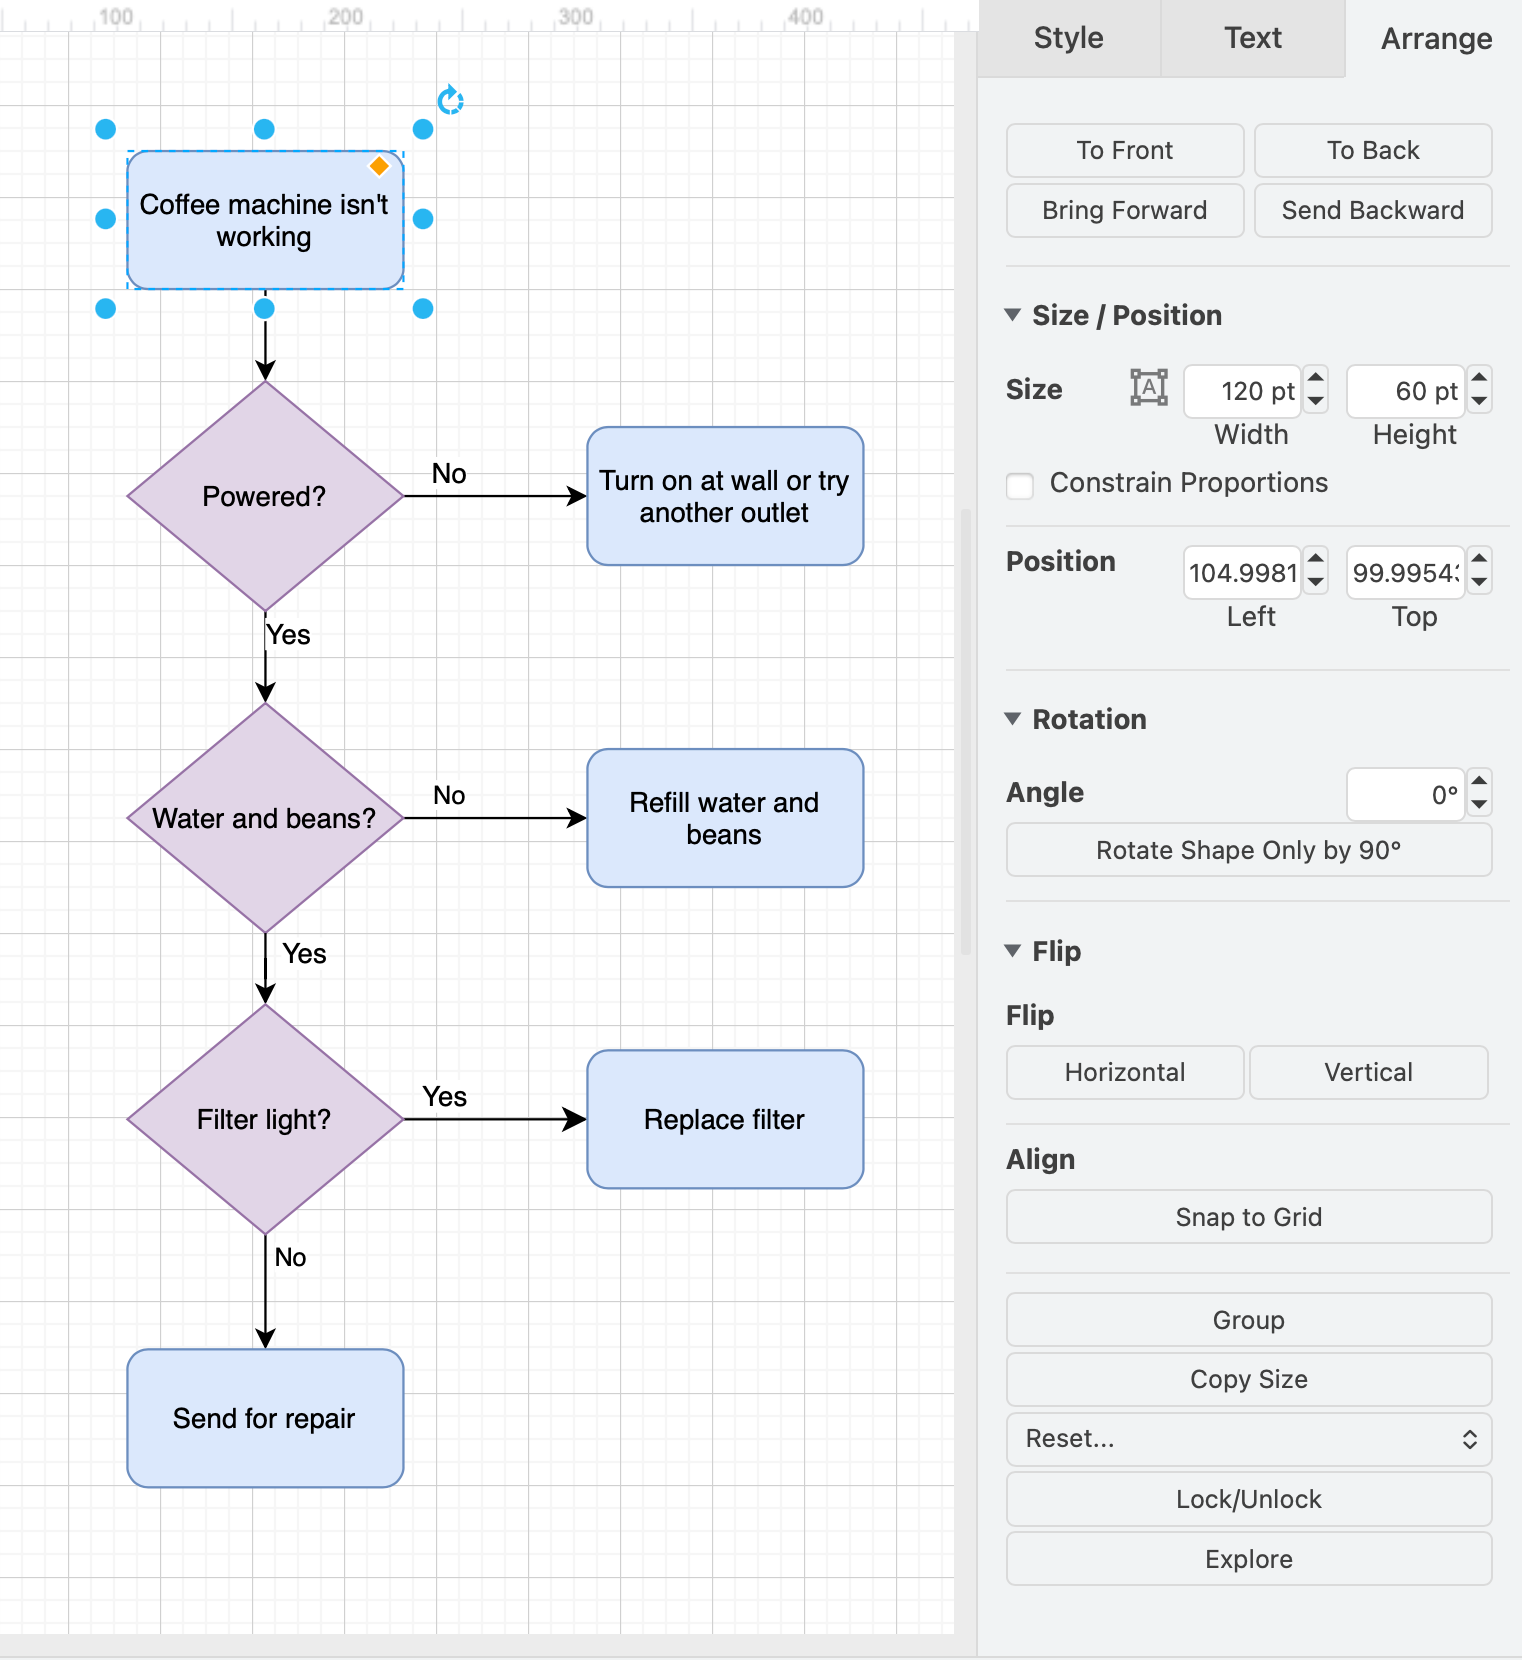
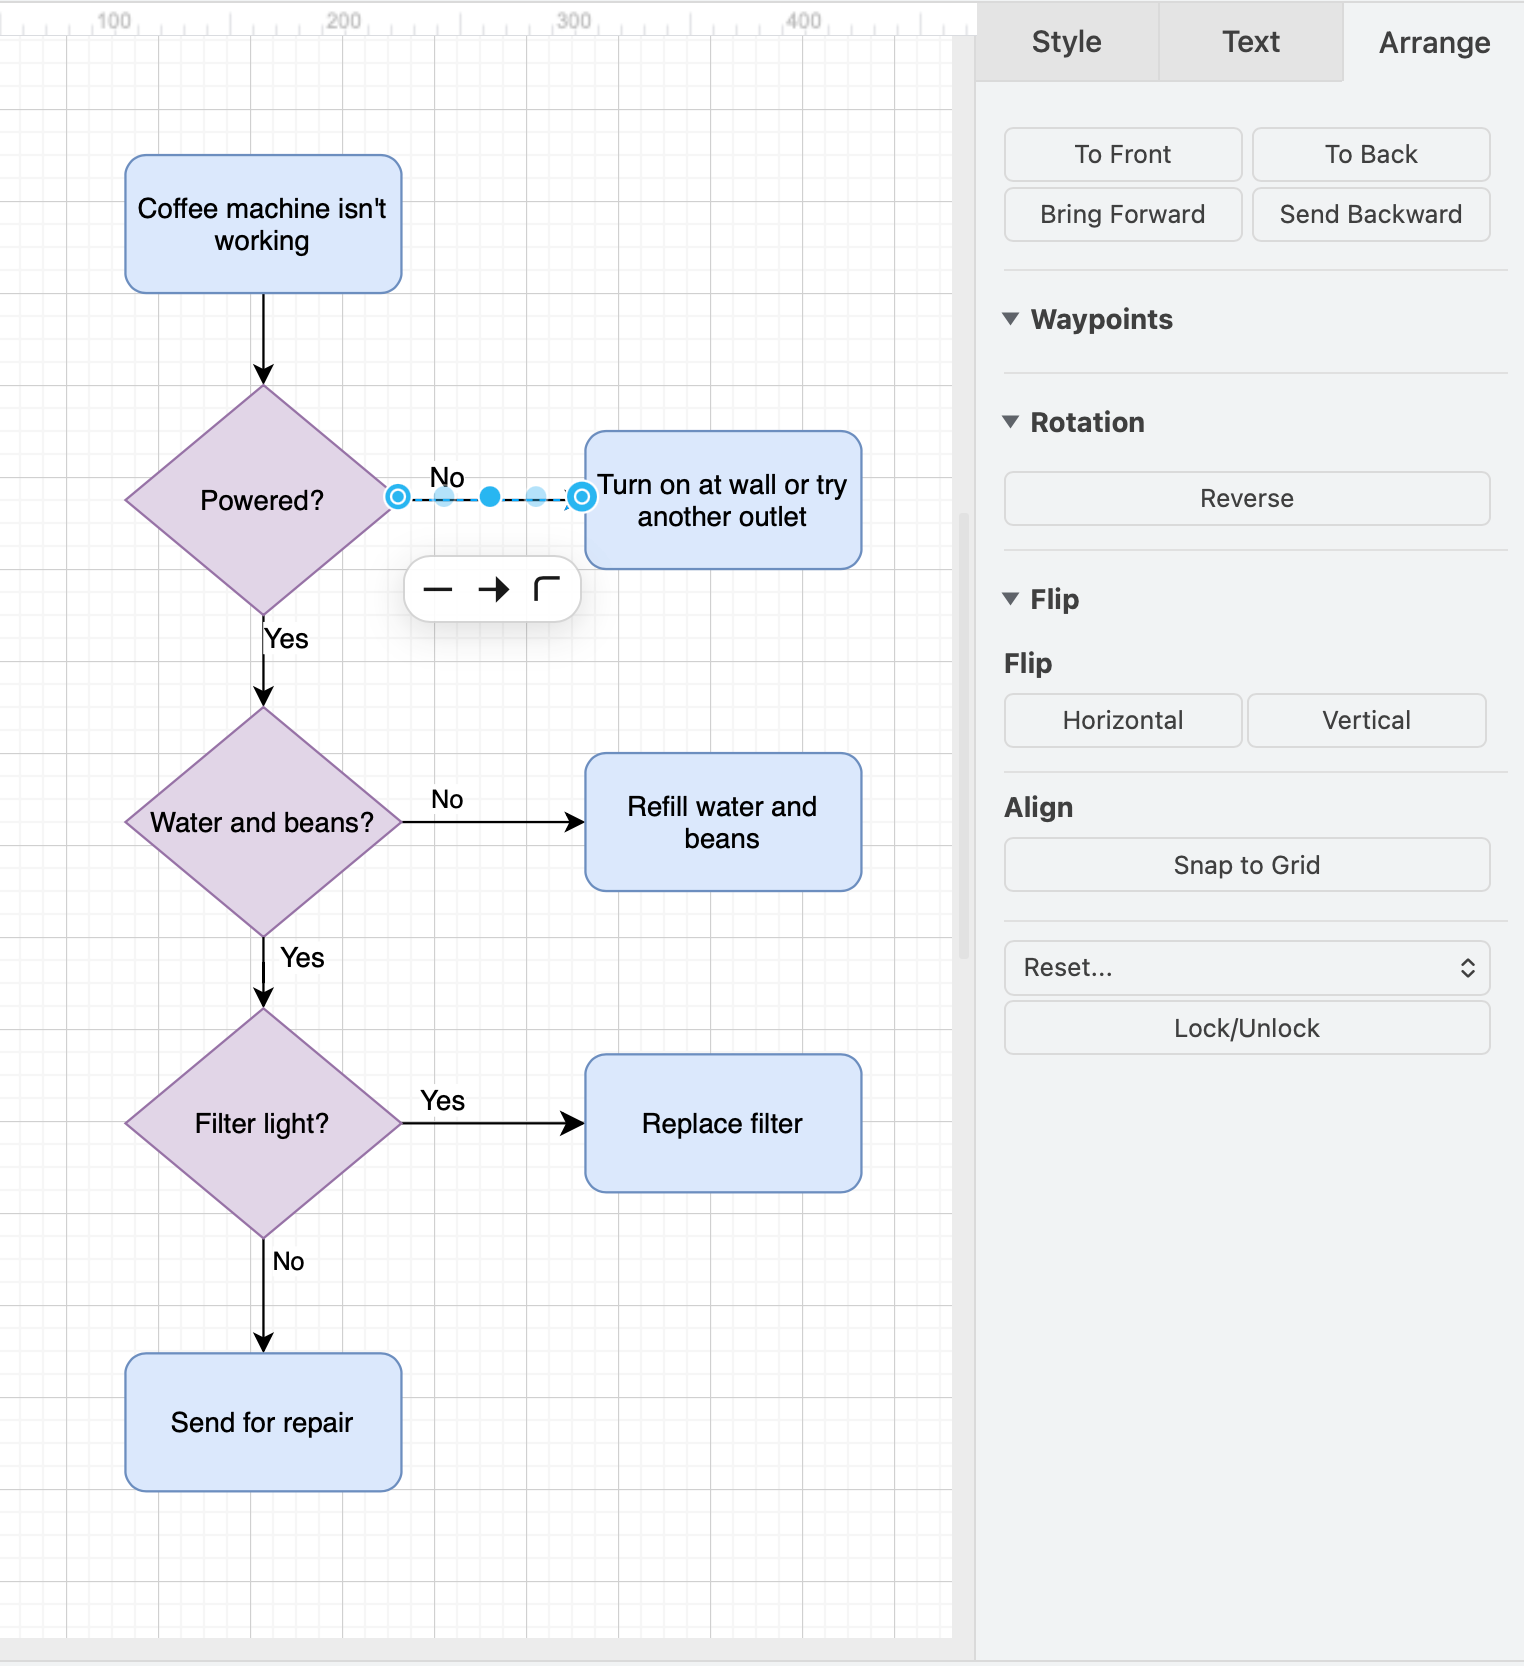
Change the position of shapes and connectors, send them to the front or the back behind other shapes, change their size, or rotate them via the Arrange tab on the format panel.
Click Edit Data to manually edit the selected shape's metadata, or Edit Link to add a hyperlink.
Note: The Arrange tab shows fewer options when you select a connector (right) than when you select a shape (left).
Global diagram options
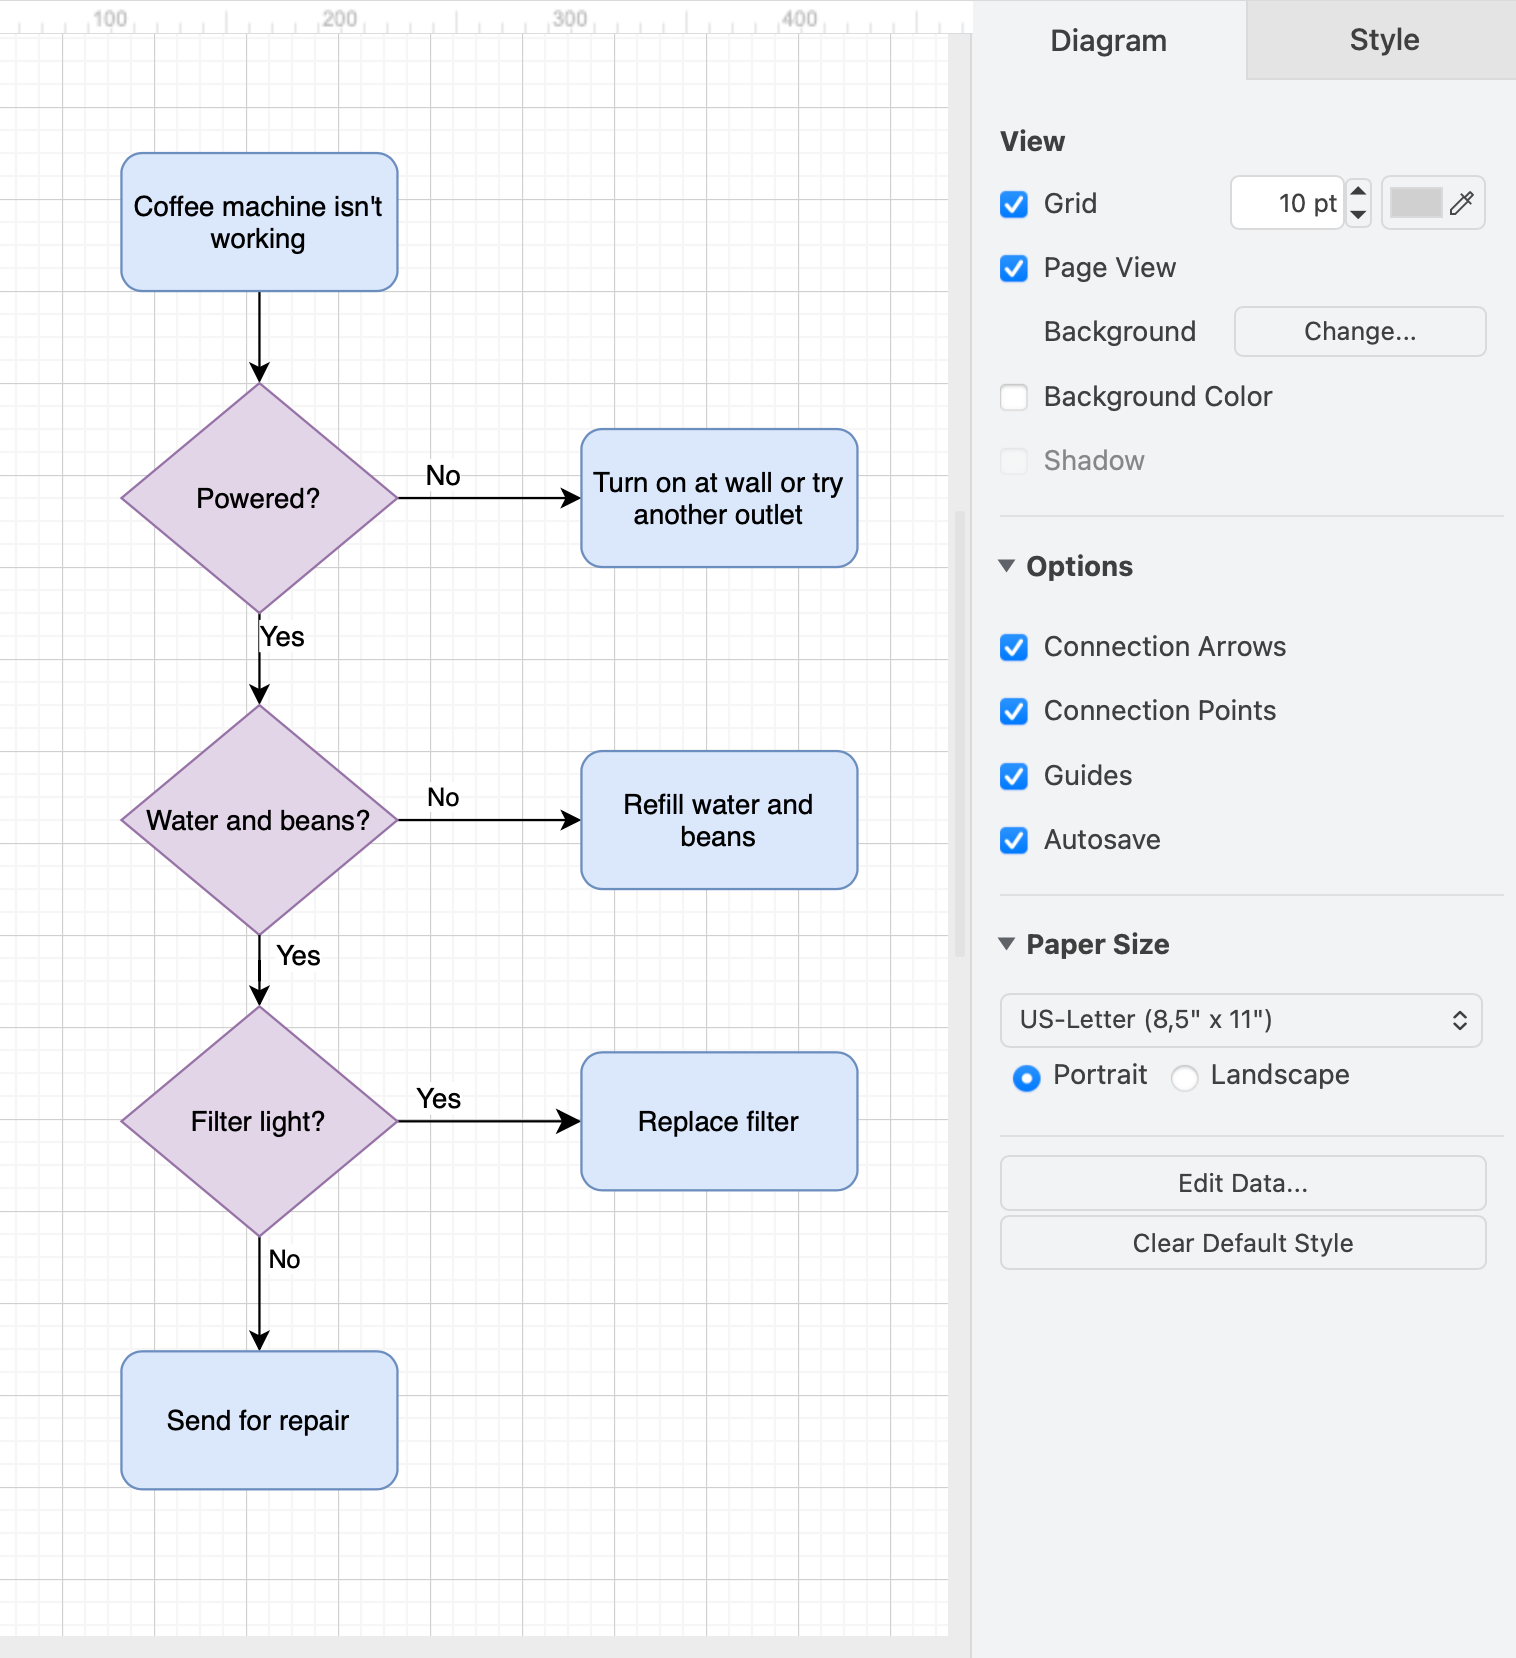
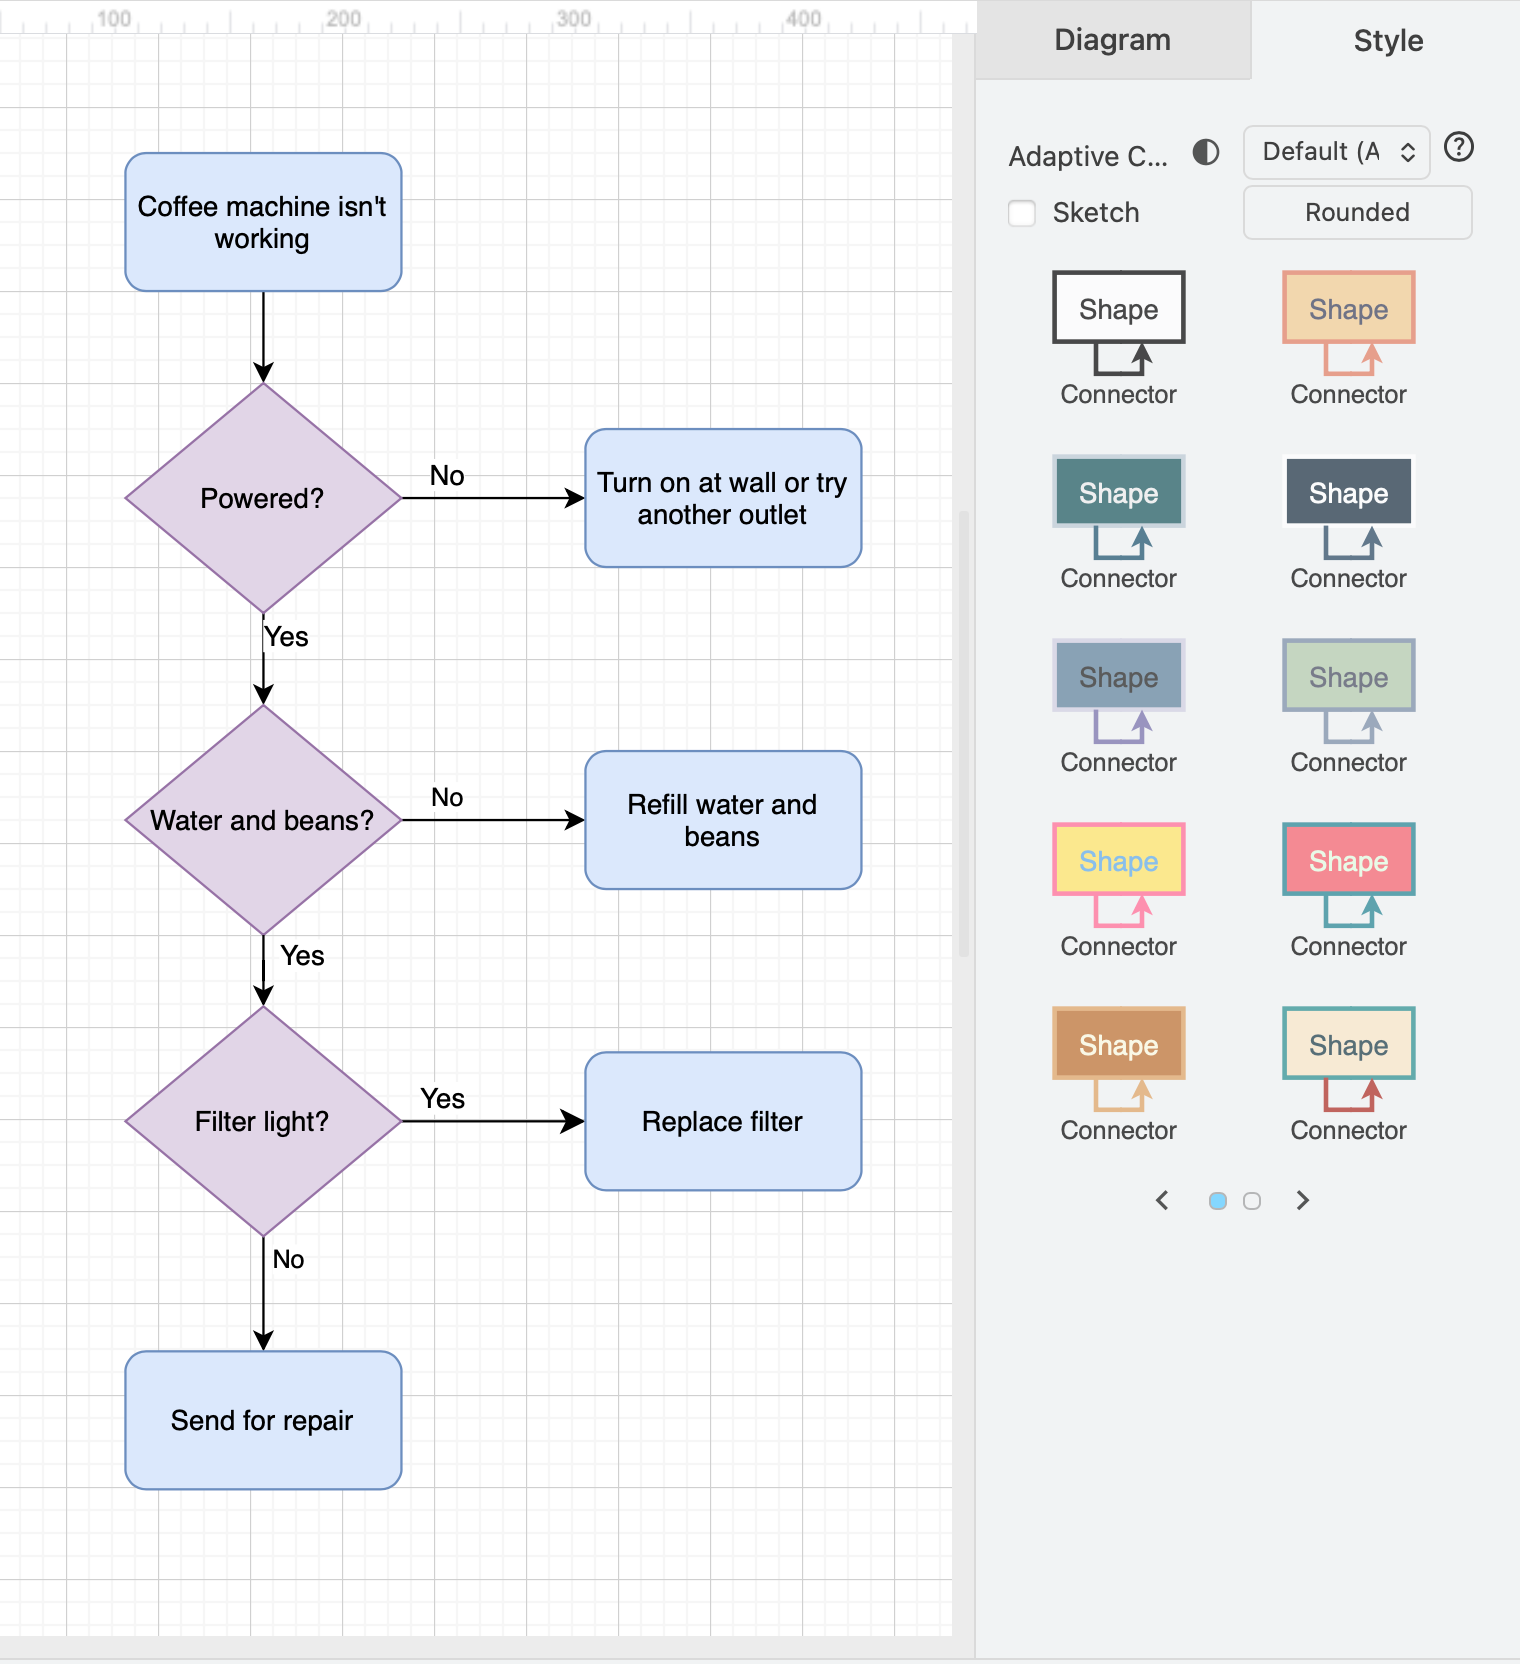
If you have nothing selected, you'll see the options that apply to the entire diagram and the drawing canvas.
- Change the print and drawing canvas options in the Diagram tab.
- Apply a new global style to shapes, text and connectors in the Style tab.
Next step: Draw a flowchart
Now that you know how the draw.io editor works, use the tools and default shape libraries to draw a basic flowchart.