Group and ungroup shapes and connectors
You can group related shapes and connectors, and then work with them as if they were a single shape on the drawing canvas.
- Select the shapes and connectors you want to group, either by dragging a selection box around all of the shapes and connectors, or hold
Shiftand click each shape/connector. - Group the shapes using your preferred method:
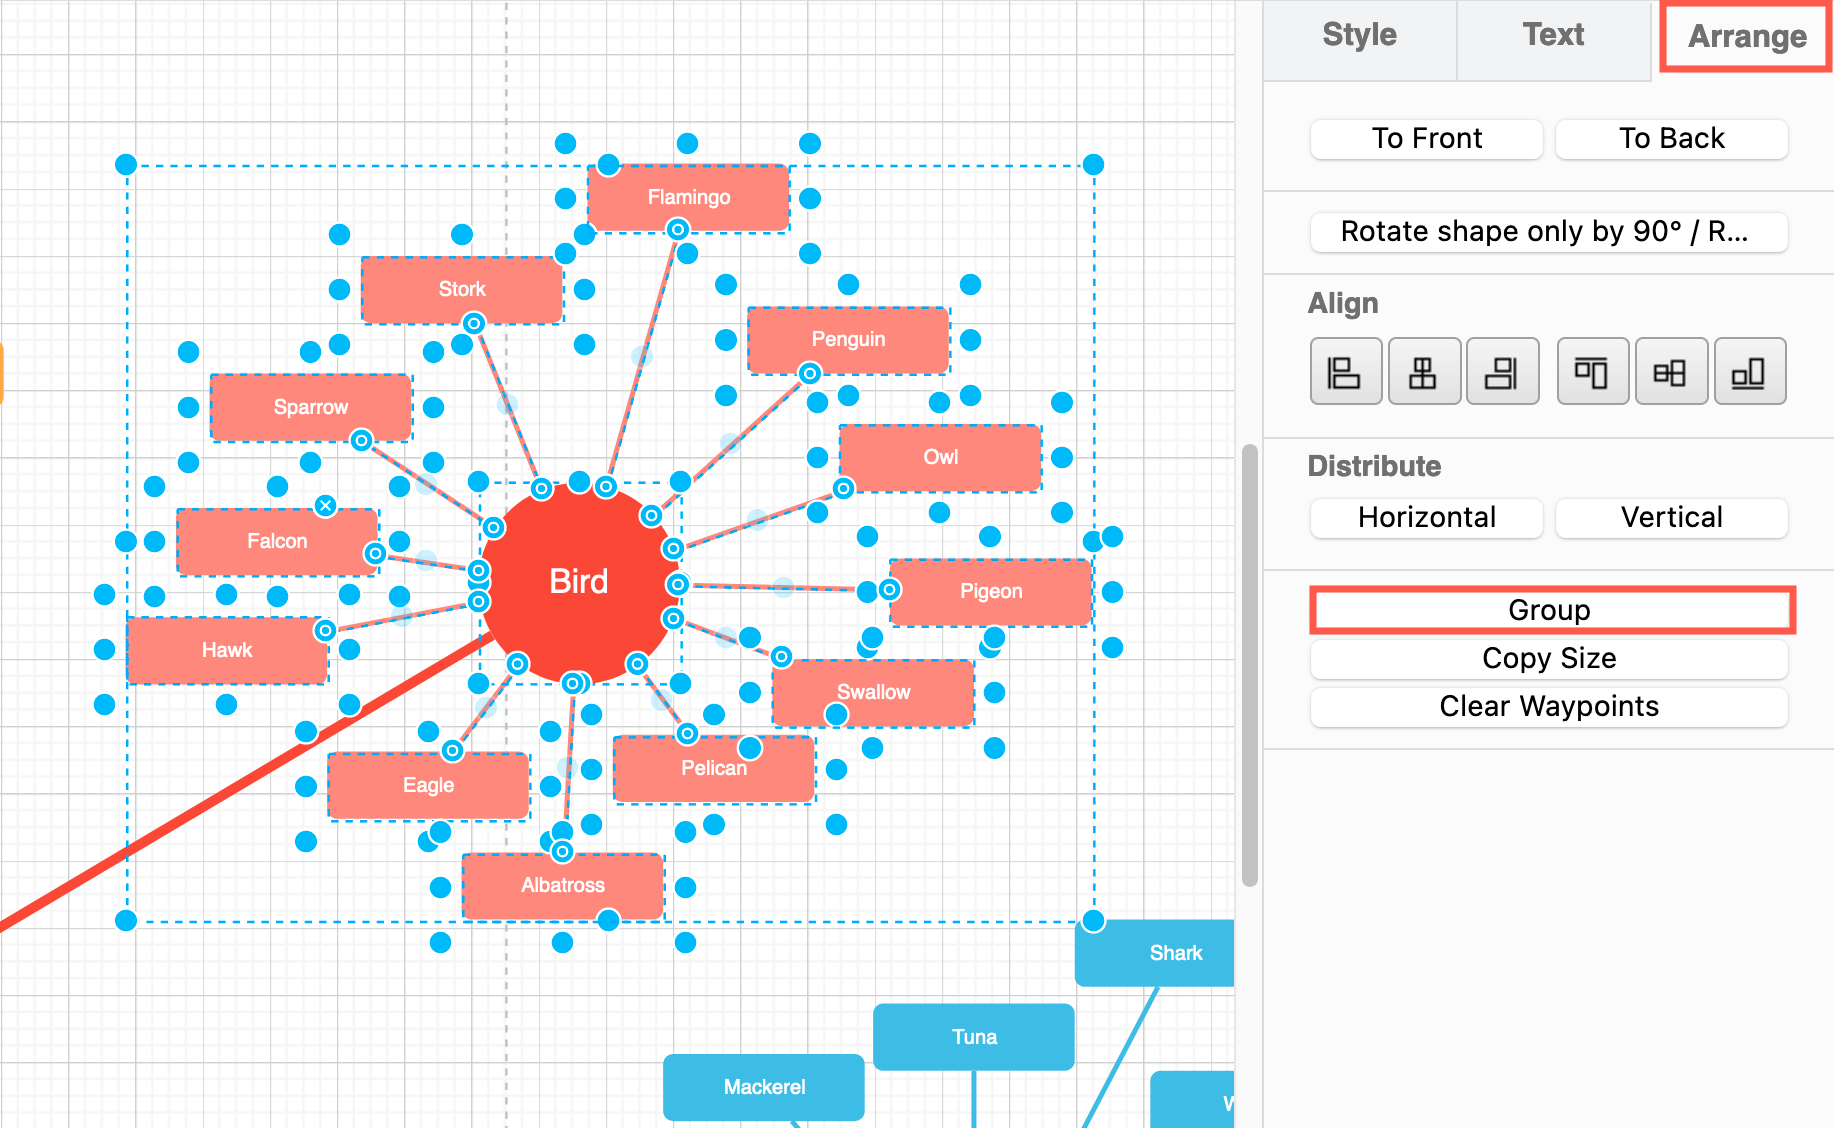
- In the format panel on the right, click on Group.
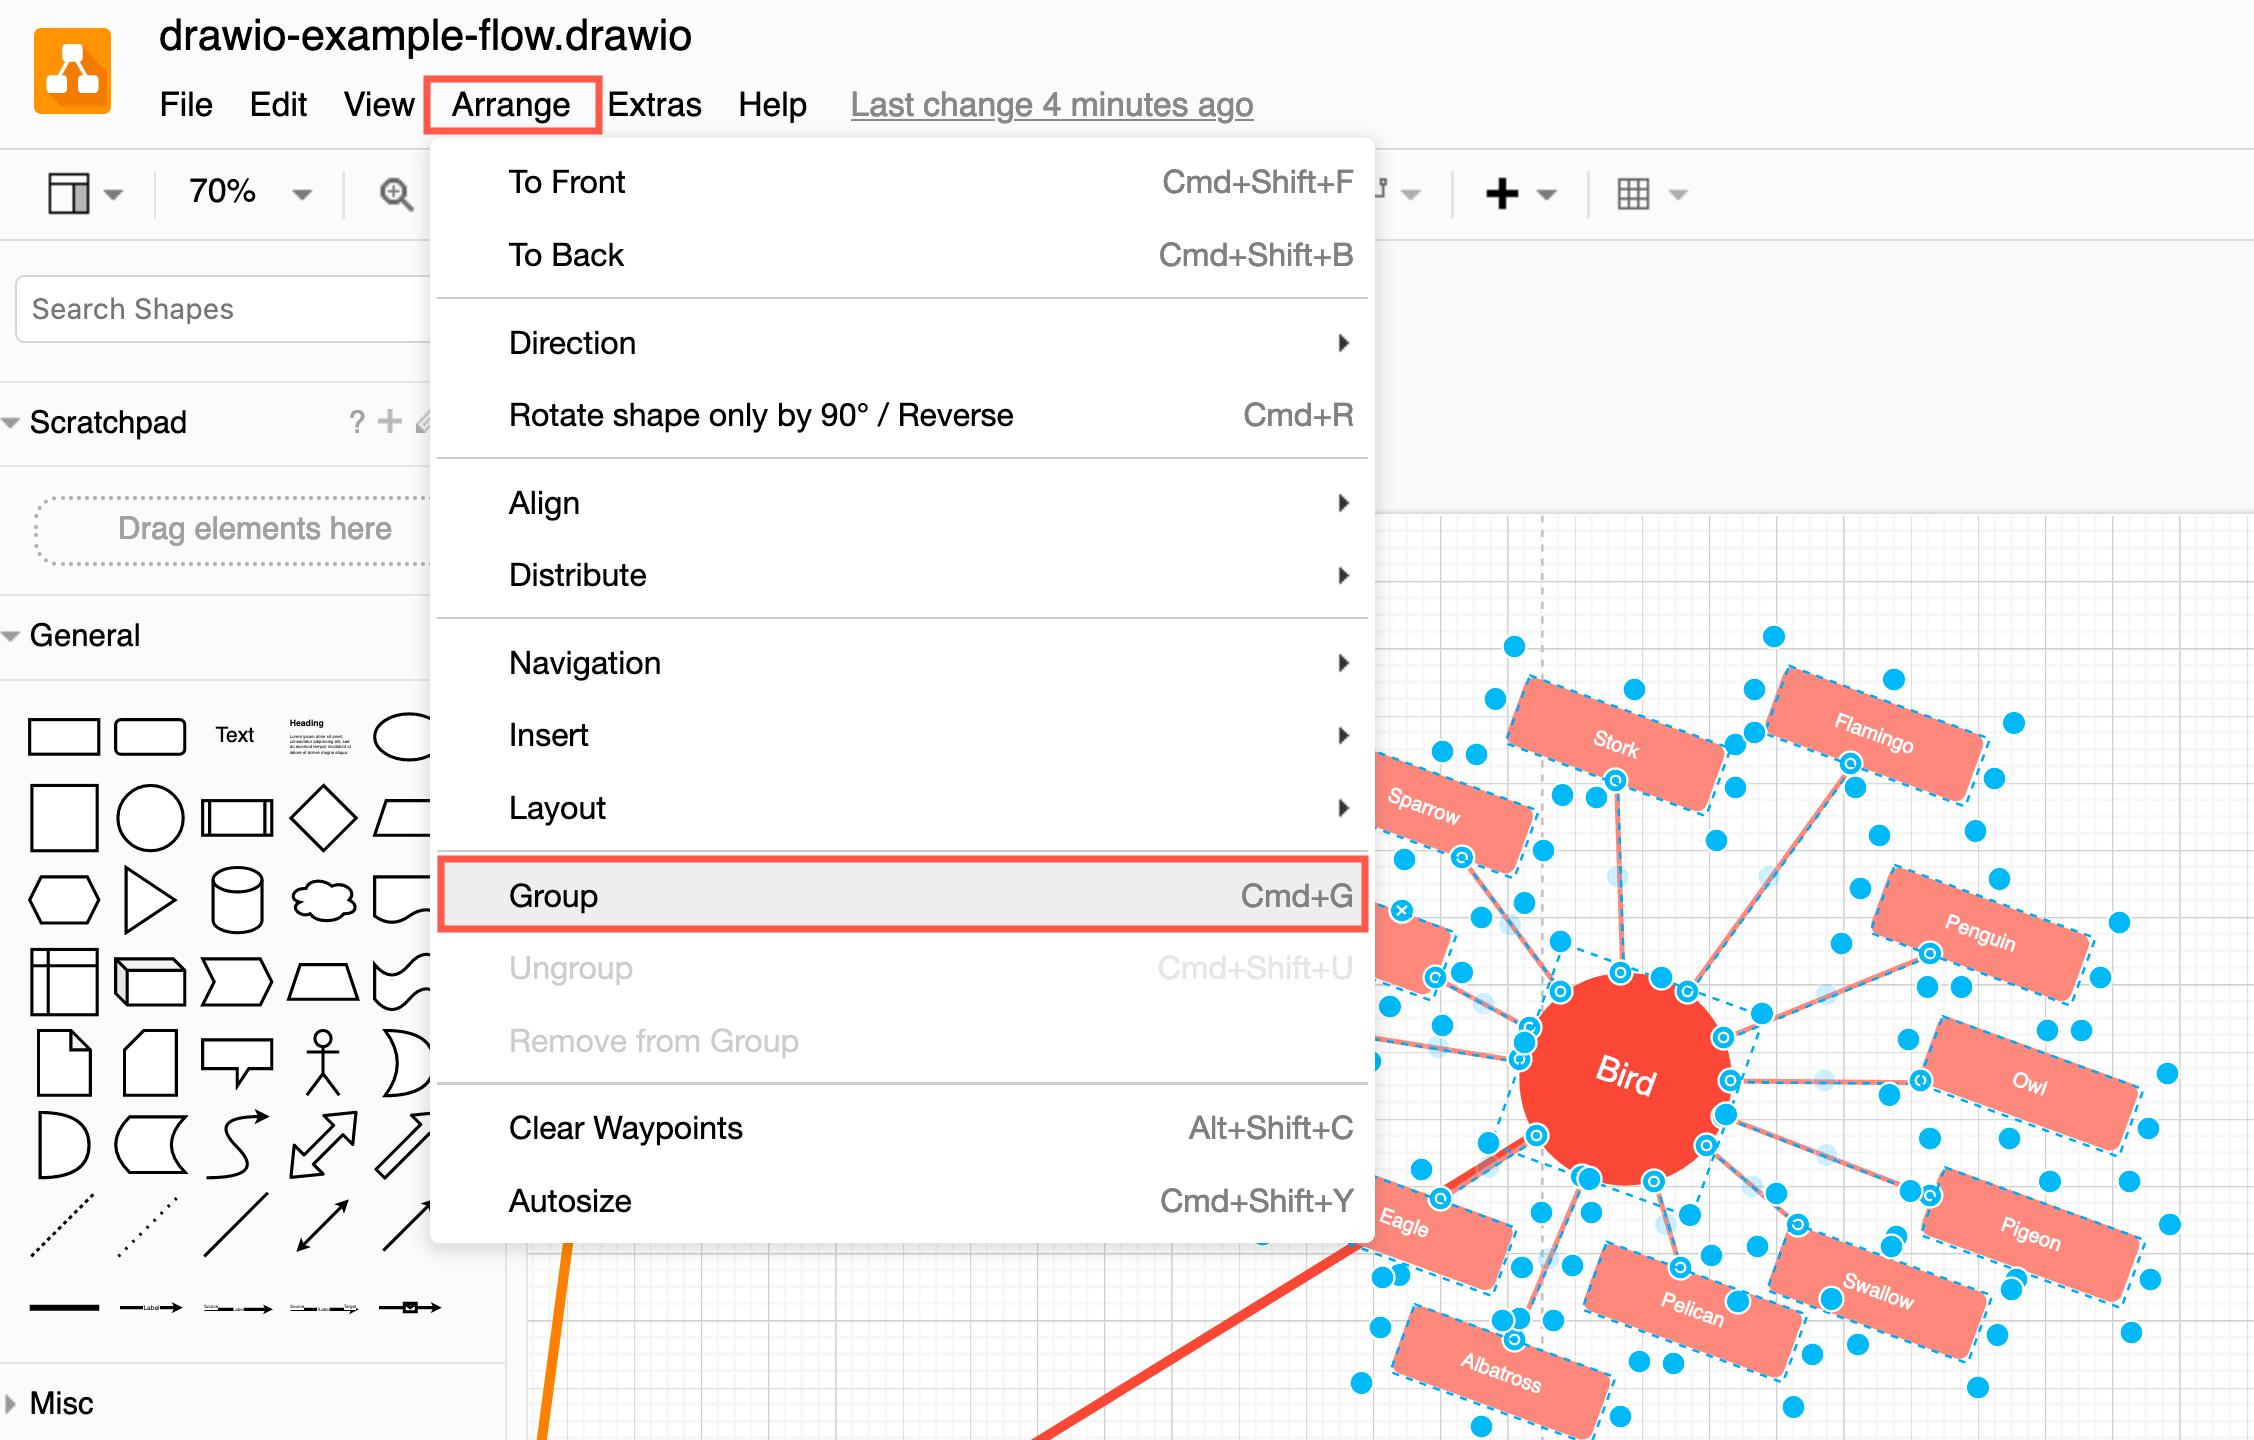
- Select Arrange > Group from the menu.
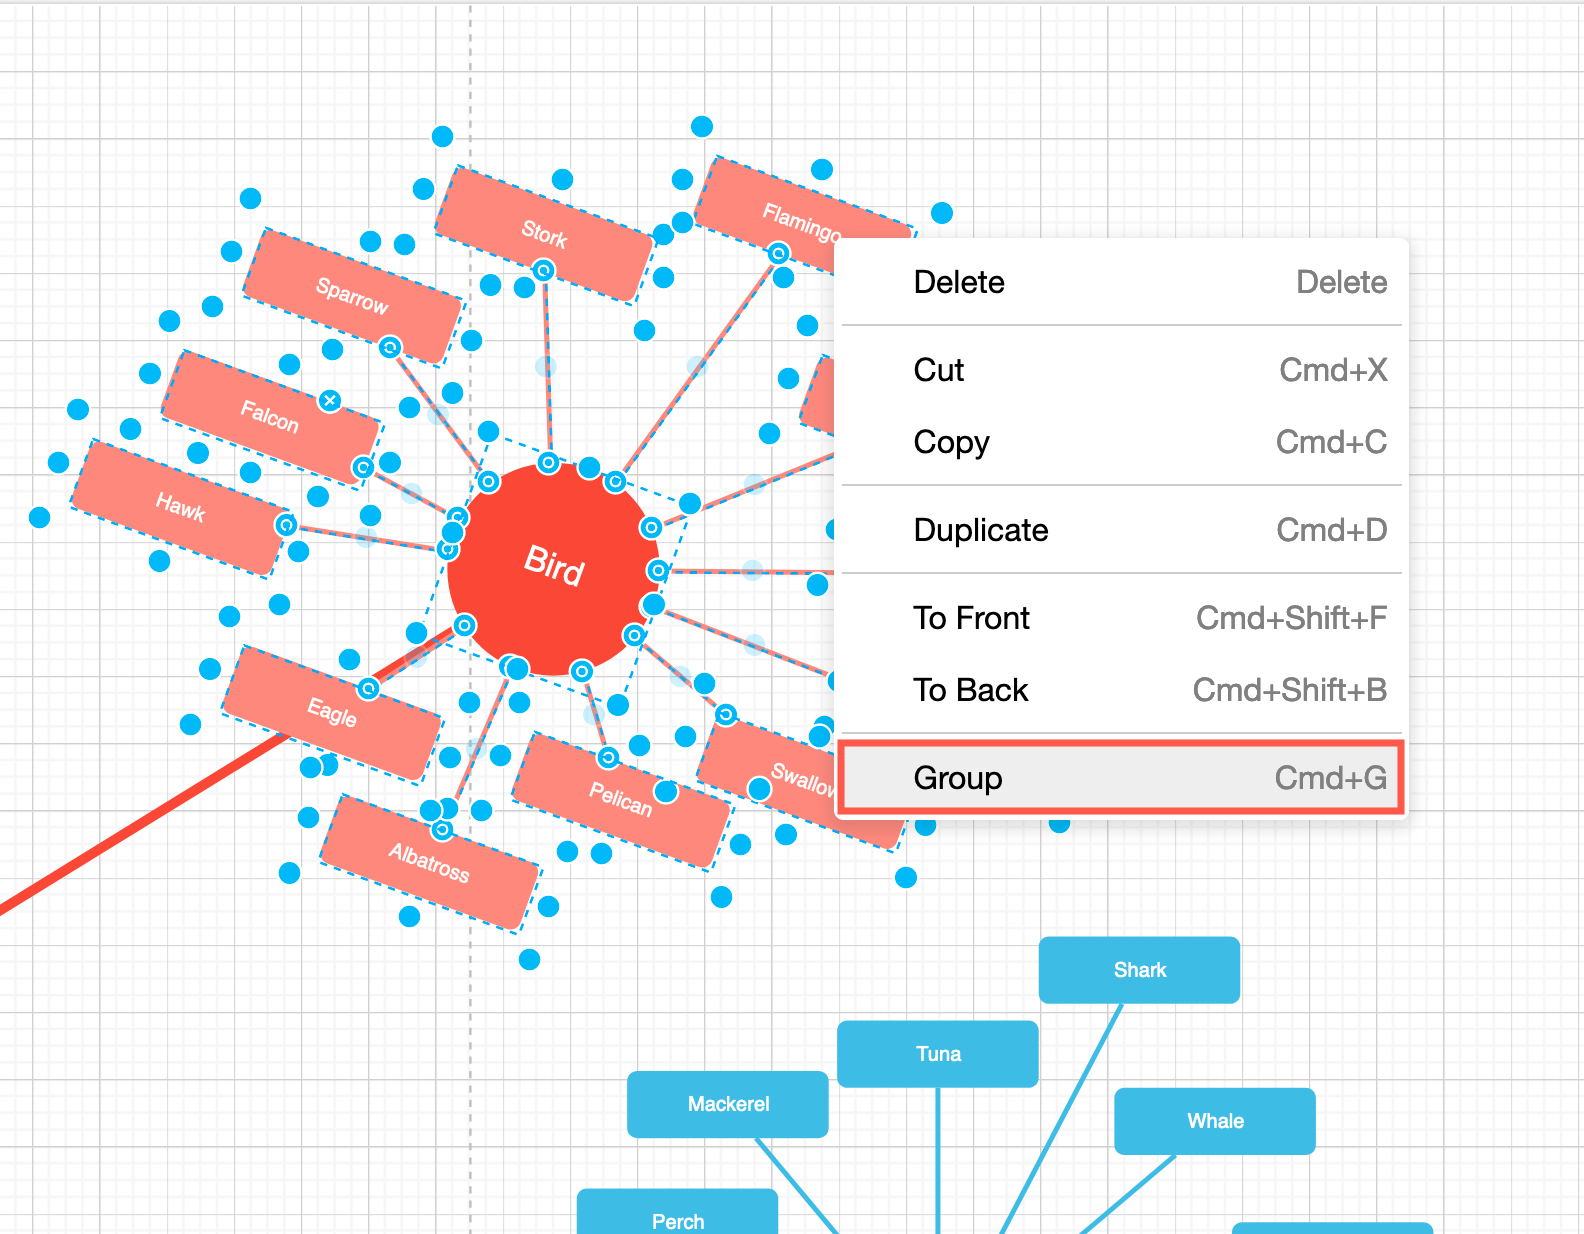
- Right-click and select Group from the context menu.
- Press
Ctrl+Gon Windows orCmd+Gon macOS.
- In the format panel on the right, click on Group.
Work with grouped shapes
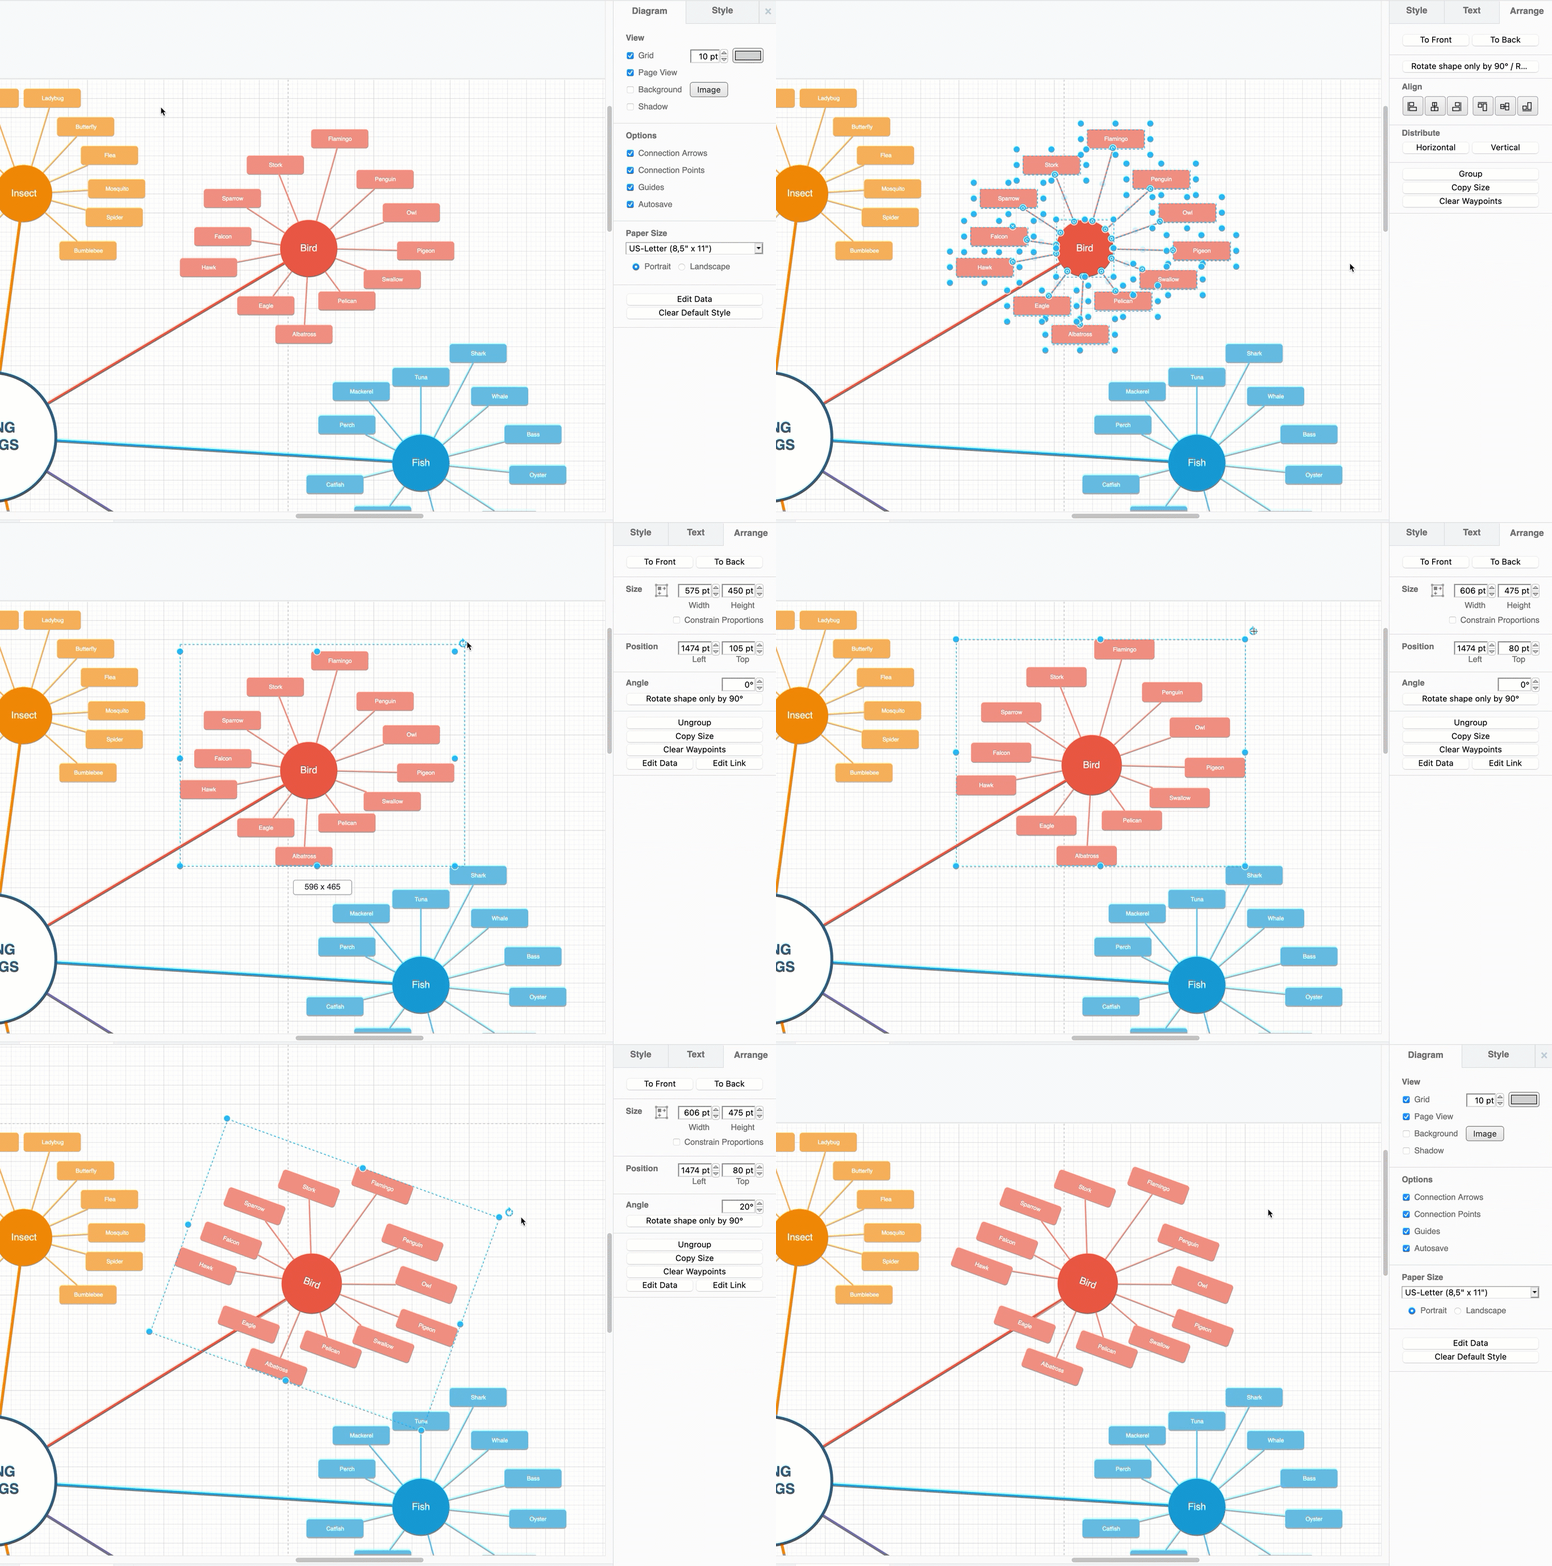
Move: Move the grouped shapes just like you would a single shape by dragging it to a new position on the drawing canvas.
Resize: Now that your shapes and connectors are grouped, you can drag the corner or side grab handles to resize all of the shapes within the group, relative to each other.
Rotate: Drag the rotate symbol in the top right corner to rotate all of the shapes in the group around a central point.
Ungroup shapes and connectors
- Select the grouped shapes.
- Click on Ungroup in the Arrange tab of the format panel.
Alternatively, select Arrange > Ungroup from the menu, right-click on the group and select Ungroup, or press theCtrl+Shift+U/Cmd+Shift+Ukeyboard shortcut to break apart the group.
Add and remove cells from a group
- Add a cell to a group — drag the cell over the group. A green outline indicates a valid drop target. The dropped cell becomes a child of the group.
- Remove from group — drag the cell out of the group bounds, or use Arrange > Remove from Group.
- Drop target on/off — a group accepts drops when
dropTarget=1is set in its style (the default). SetdropTarget=0to block drops.
Selecting cells inside groups
draw.io uses two click patterns depending on the parent type:
- Plain group cell — the first click selects the group; a second click selects the child underneath. Each click "drills down" by one level, walking up the parent chain.
- Swimlane — clicking a child selects it directly; the swimlane itself is selected by clicking its title bar or its background.
Alt-click — bypasses the group and selects the topmost cell at the click position, regardless of parents.selectParentFirst=1(any group or swimlane) — flips the order: clicking a child first selects the parent, then a second click drills down to the child. With a sibling already selected, clicking another sibling switches between them without escalating.
Collapse and expand groups
When a cell is foldable (containers and swimlanes are foldable by default; opt in with collapsible=1), draw.io draws a −/+ toggle in the top-left corner.
- Click the folding icon — toggle collapsed/expanded. If the parent uses a stack layout, the stack resizes around the change. Cells with
alternateBoundsswap between their expanded and collapsed sizes. - Shift-click the folding icon — as above, plus sibling cells to the right (or below) shift to make room for the size change.
- Alt-click the folding icon — toggle without resizing the parent stack.
- Keyboard shortcuts —
Ctrl+Homecollapses andCtrl+Endexpands the selection.
Group padding
groupPadding reserves space between a group's bounds and its children. It accepts CSS-style 1, 2, 3, or 4 space-separated values:
| Format | Example | Meaning |
|---|---|---|
| 1 value | 20 | all four sides |
| 2 values | 10 20 | vertical, horizontal |
| 3 values | 10 20 30 | top, horizontal, bottom |
| 4 values | 10 20 30 40 | top, right, bottom, left (CSS clockwise order) |
For non-transparent groups, groupPadding is the buffer used when the group resizes to fit its children. For transparentBounds=1 cells it is the visible padding around the union of the children.
To change the padding of a selected group or container, use the Group Padding section of the Arrange tab in the format panel. Enter the Left, Top, Bottom and Right values separately, or enter a Global value to set all four sides at once. Global only shows a value when all four sides are equal. When you change the padding of a group that is not automatically sized, the group is resized to fit its children with the new padding values applied. Swimlanes, tables and containers with a layout are not resized.
Transparent-bounds groups
transparentBounds=1 turns a group or swimlane into an auto-sized container whose bounds are derived from the union of its children's bounds — the cell itself has no fixed size. Use it for "wrapper" groups that should hug their contents.
- No resize handles — the group is never directly resizable; it tracks its children.
- Move handle icon — a 4-arrow icon appears at the top-left. Dragging it moves the entire group, with the children translating together (the same as grabbing the dashed border directly).
- Dashed selection bounds — visible whenever the group or any descendant is selected. The dashed outline is drawn by the editor and does not require setting
strokeColor/dashedin the cell style. - Drop into the group — works normally (subject to
dropTarget). - Drag out of the group — blocked. To remove a child, use Arrange > Remove from Group.
- Empty groups auto-delete — when the last child is removed, the group cell is deleted in the same edit.
- Padding inside groups — set the
groupPaddingproperty to add visible padding around child shapes, or drag one of the four padding handles in the middle of each side of the selected group to change the padding on that side. HoldAltwhile dragging to place it freely, ignoring the grid. This property defaults to off (groupPadding=0). - Swimlane title bar — for a swimlane with
transparentBounds=1, the bounds also reserve space for the title bar based on its direction, so the title bar lands on the correct edge automatically.
Lock a group
There are two related but distinct locking mechanisms:
| Style key | Effect |
|---|---|
locked=1 on a cell | The cell and its descendants cannot be selected, resized, edited, or moved. Toggle it via Edit > Lock/Unlock (Ctrl+L). The whole subtree becomes read-only. |
lockedGroup=1 on a group | The group's descendants are not selectable — clicks on a child pass through to the group, treating it as a single visual unit. The group itself remains fully interactive (selectable, movable, resizable, editable). |
Use lockedGroup when you want a multi-cell construct to behave like a single shape — the user sees the children but can't accidentally select or rearrange them individually. locked is the heavier option that makes the whole subtree read-only.
Per-cell icons
draw.io can render small clickable icons next to a selected cell. Each is opt-in per cell via a style key:
editIcon=1— pen icon at the bottom-left of the cell. Click it to start editing the label (the same asF2or a double-click).lockedGroupIcon=1— lock/unlock icon at the top-left. Click it to togglelockedGroupfor the cell. WithlockedGroupIcon=0the icon is hidden even whenlockedGroupis set.moveIcon=1— 4-arrow move handle at the top-left, draggable to move the cell. Defaults to on whentransparentBounds=1. Useful for cells whose body is hard to grab (for example, cells whose interior captures clicks for a link).connectIcon=1(orconnectIcon=0) — overrides the global connect-handle setting for this cell, showing or hiding the connect arrow that starts a new connector.
When several icons are present at the same corner (for example lock and move), they stack vertically.
Group style reference
| Key | Values | Where to find it |
|---|---|---|
group | (style name) | Default style for groups created via Ctrl+G. |
swimlane | (shape name) | Use a swimlane shape from the sidebar. |
container | 0 / 1 | Whether the cell acts as a container for drop / drill-down. |
dropTarget | 0 / 1 | Whether the cell accepts drops. |
collapsible | 0 / 1 | Whether the folding icon appears. |
expand / contract | 0 / 1 | Whether the group auto-extends or auto-shrinks when children change. |
groupPadding | T R B L (CSS) | Padding between the group bounds and children. |
transparentBounds | 0 / 1 | Derived-bounds group / swimlane. |
selectParentFirst | 0 / 1 | Click selects the parent first, then drills down. |
locked | 0 / 1 | Locks the cell and its descendants (no selection, move, resize, edit). |
lockedGroup | 0 / 1 | Children are not selectable — clicks select the group as a unit. |
lockedGroupIcon | 0 / 1 | Show / hide the lock-toggle icon. |
editIcon | 0 / 1 | Show the edit pen icon. |
moveIcon | 0 / 1 | Show the move-handle icon. |
connectIcon | 0 / 1 | Override the global connect-handle visibility for this cell. |
part | 0 / 1 | When set on a child, selecting/dragging it acts on the parent. |
All of these keys can be set via Edit Style… (Ctrl+E) or the Properties section of the Arrange tab for a selected cell.