Insert Mermaid as an SVG image
When Mermaid source text is inserted using the Image option, the generated diagram is placed on the drawing canvas as a single SVG image. You can re-edit this image at any time, but you can't style the elements inside the generated Mermaid diagram.
Choose this option when you want a fixed, self-contained image rather than editable shapes — for example to ensure a Mermaid diagram looks the same wherever the file is viewed.
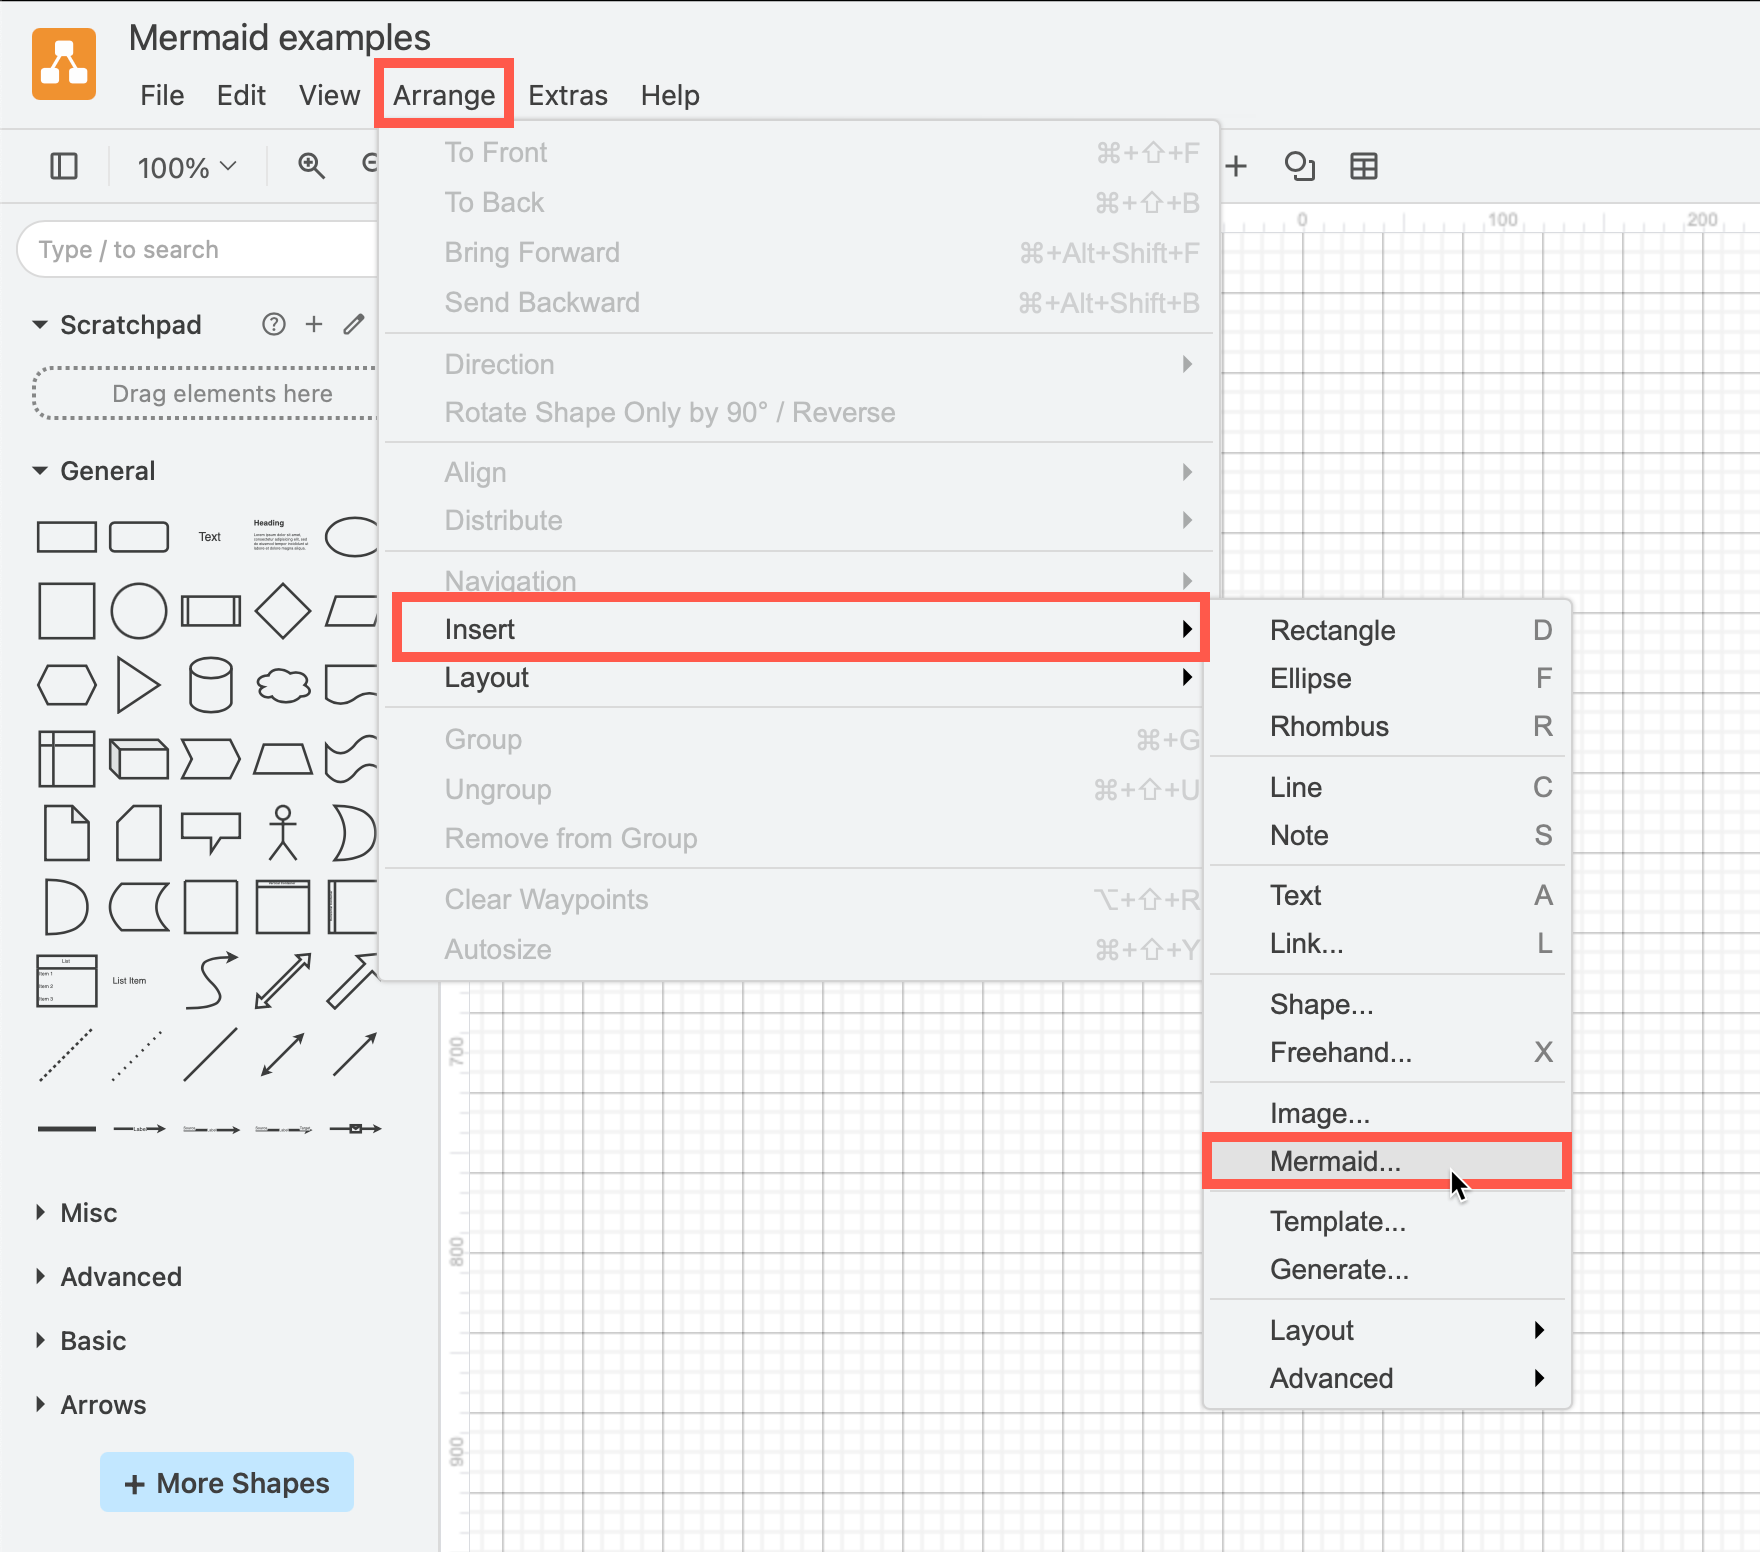
- Click Arrange > Insert > Mermaid or + > Mermaid from the toolbar.
- Add your Mermaid code in the large text block.
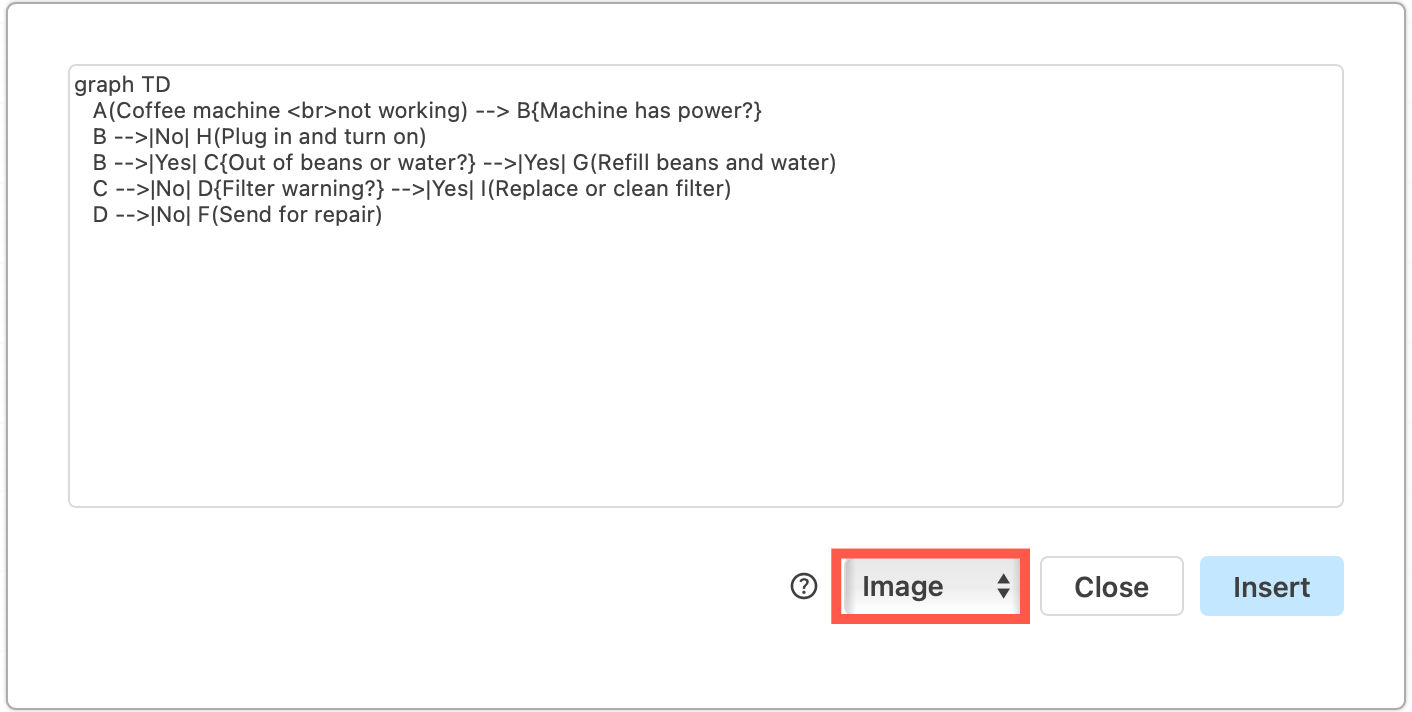
- Select Image from the list, then click Insert to add it to the drawing canvas.
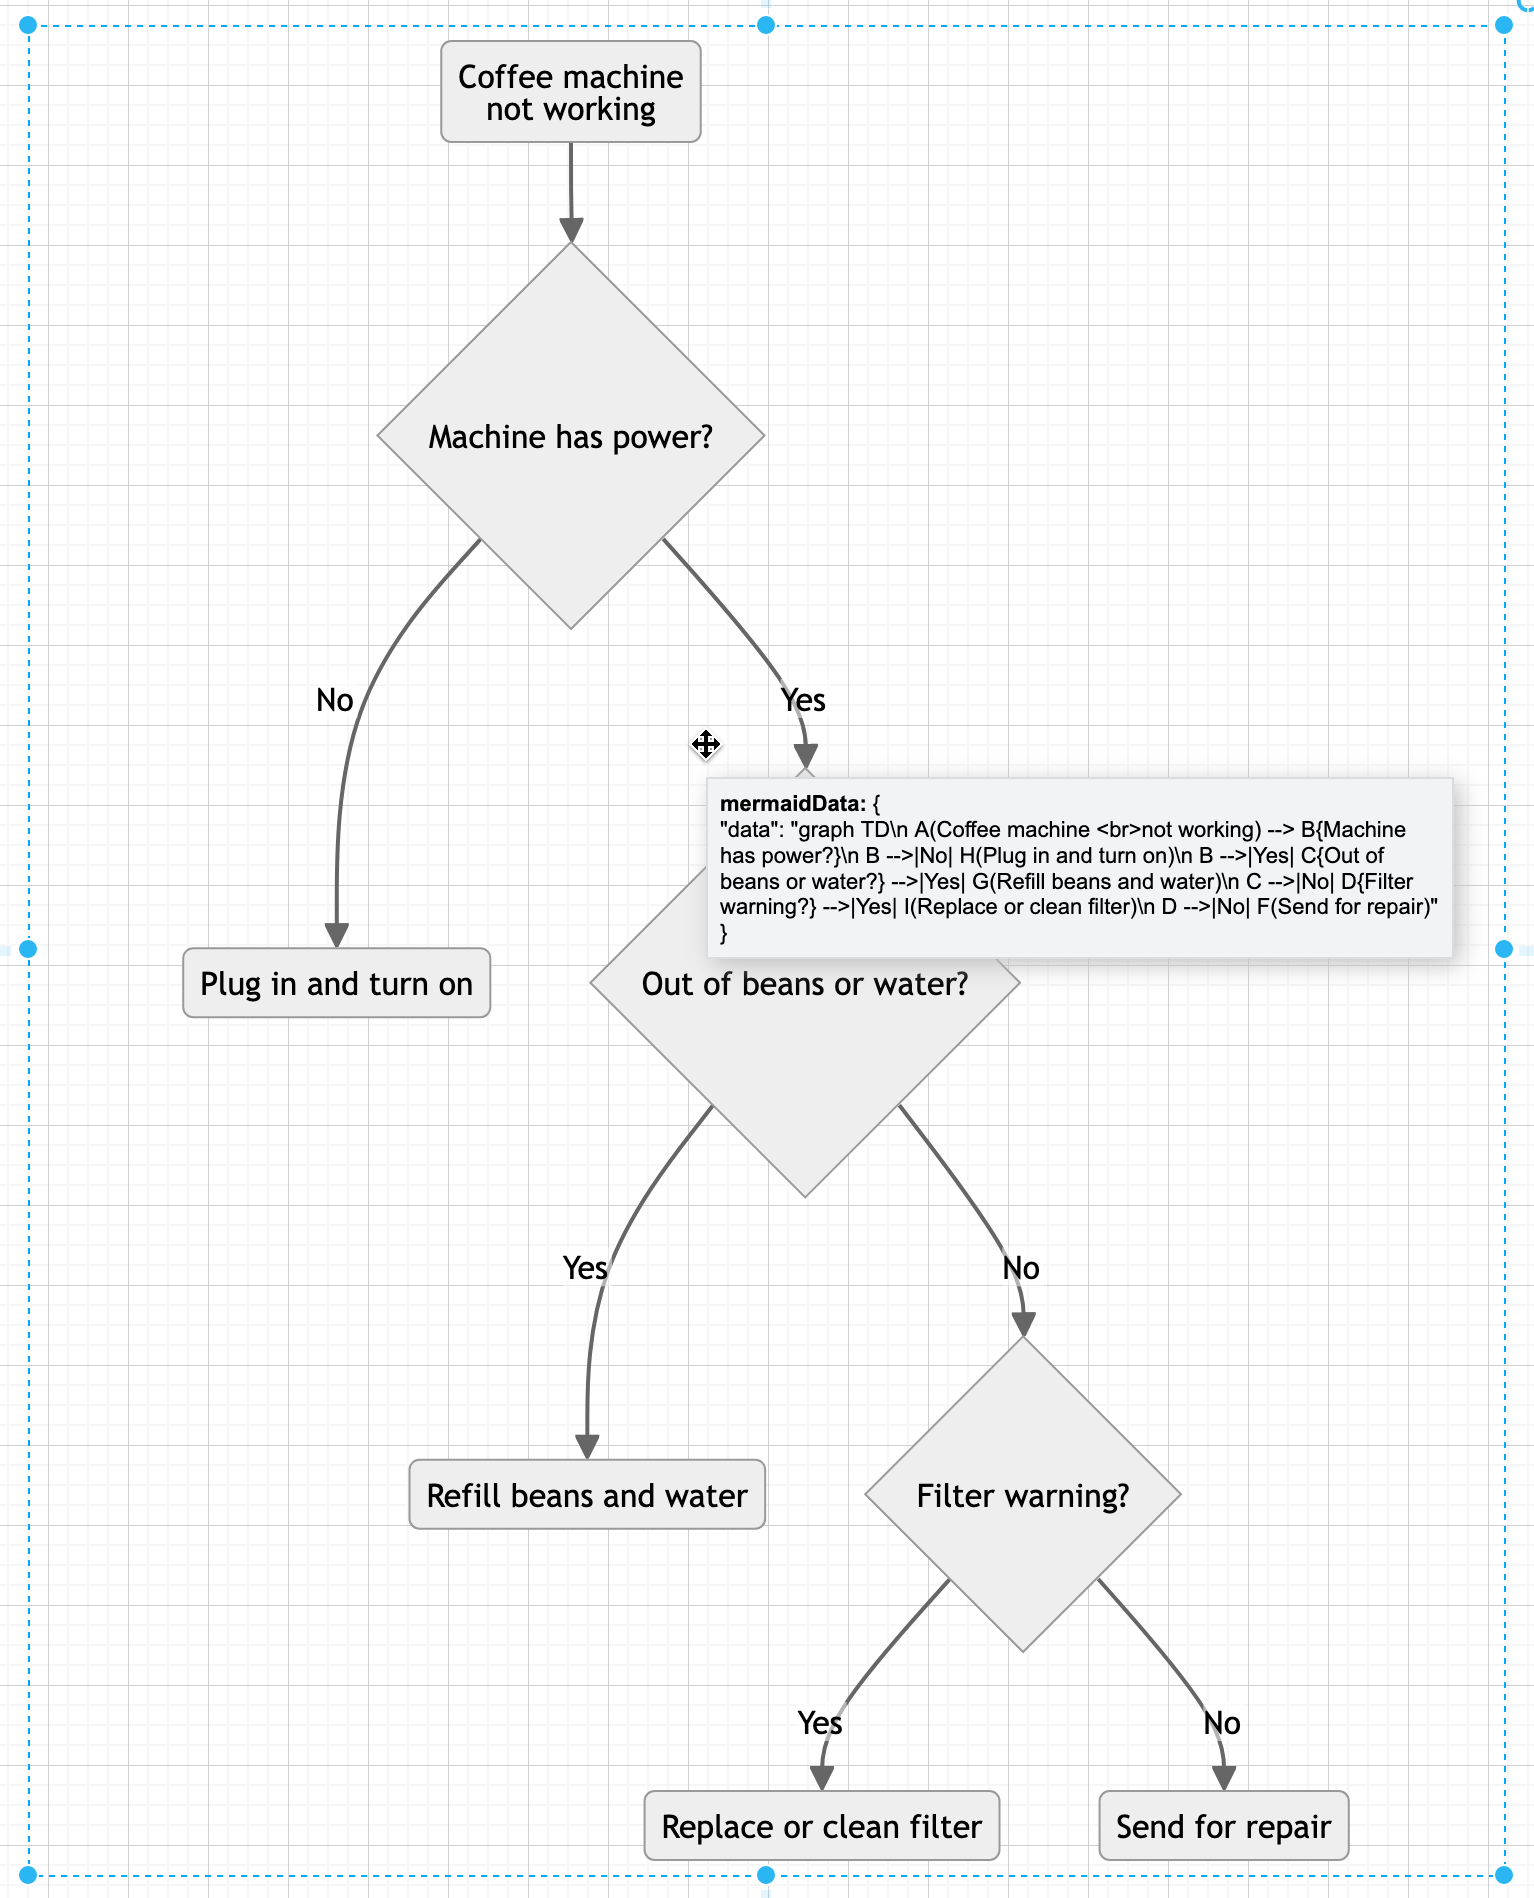
This generates the Mermaid diagram as a single SVG image and places it on the drawing canvas.
You can't edit or style the individual shapes or connectors in this SVG image version, but you can add limited styling information to the Mermaid code itself.
Hover for Mermaid source: The generated image carries its Mermaid source in a mermaidData attribute (data plus config: null), along with an optional border padding field (8 px by default). Hover over the SVG image to see the Mermaid code in the tooltip.
Edit the Mermaid SVG image
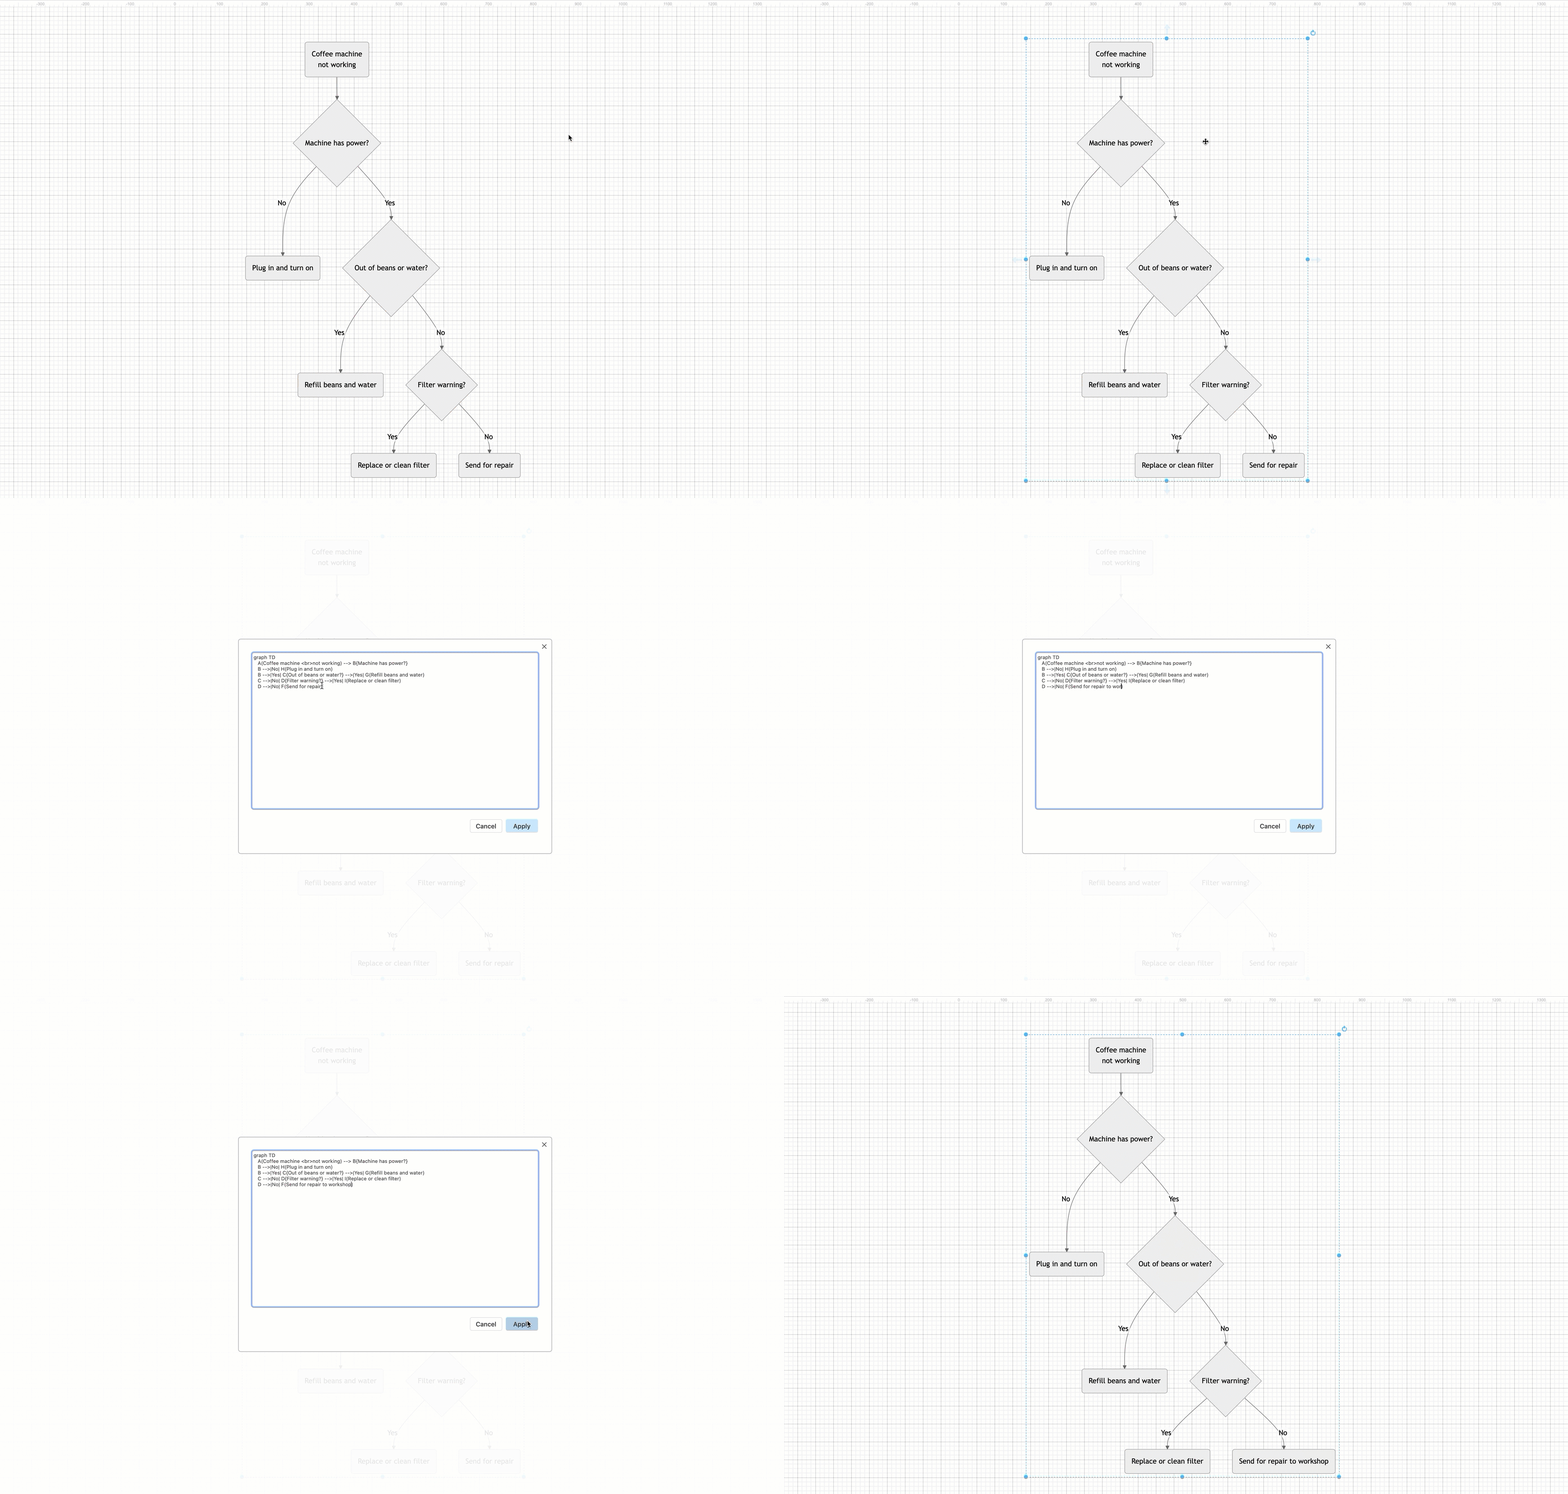
- Double-click on the SVG image on the drawing canvas to open the Mermaid code dialog.
- Edit the text and click _Apply to regenerate the SVG image.
Change the image padding
The SVG image has a small padding (8 pixels by default) around the diagram. To change it, adjust the optional border value stored with the image:
- Select the Mermaid SVG image, then open Edit > Edit Data (
Ctrl+M/Cmd+M). - In the
mermaidDatavalue, add or change theborderfield — for example,"border": 20for more padding, or"border": 0for none — then click Apply. - Double-click the image and click Apply to regenerate it with the new padding.
When the border field is omitted, the default 8-pixel padding is used.
Related
- To convert a Mermaid SVG image to an editable diagram, copy the Mermaid code, and insert it as a new Mermaid diagram via Arrange > Insert.