Table shapes in draw.io
The extended tables tool in draw.io is flexible and robust, offering more options for table styling and content.
- choose between various layouts
- drag to resize rows and columns
- move rows by dragging them to another position, and even to another table
- merge and unmerge cells, rows and columns
- draw cross-functional flowcharts within a container table
Tip: The entity shape used in entity relationship diagrams is a table shape.
Add a table to a diagram
Use the table tool in the toolbar to add a table to your diagram just as you would in Microsoft Word or Google Docs.
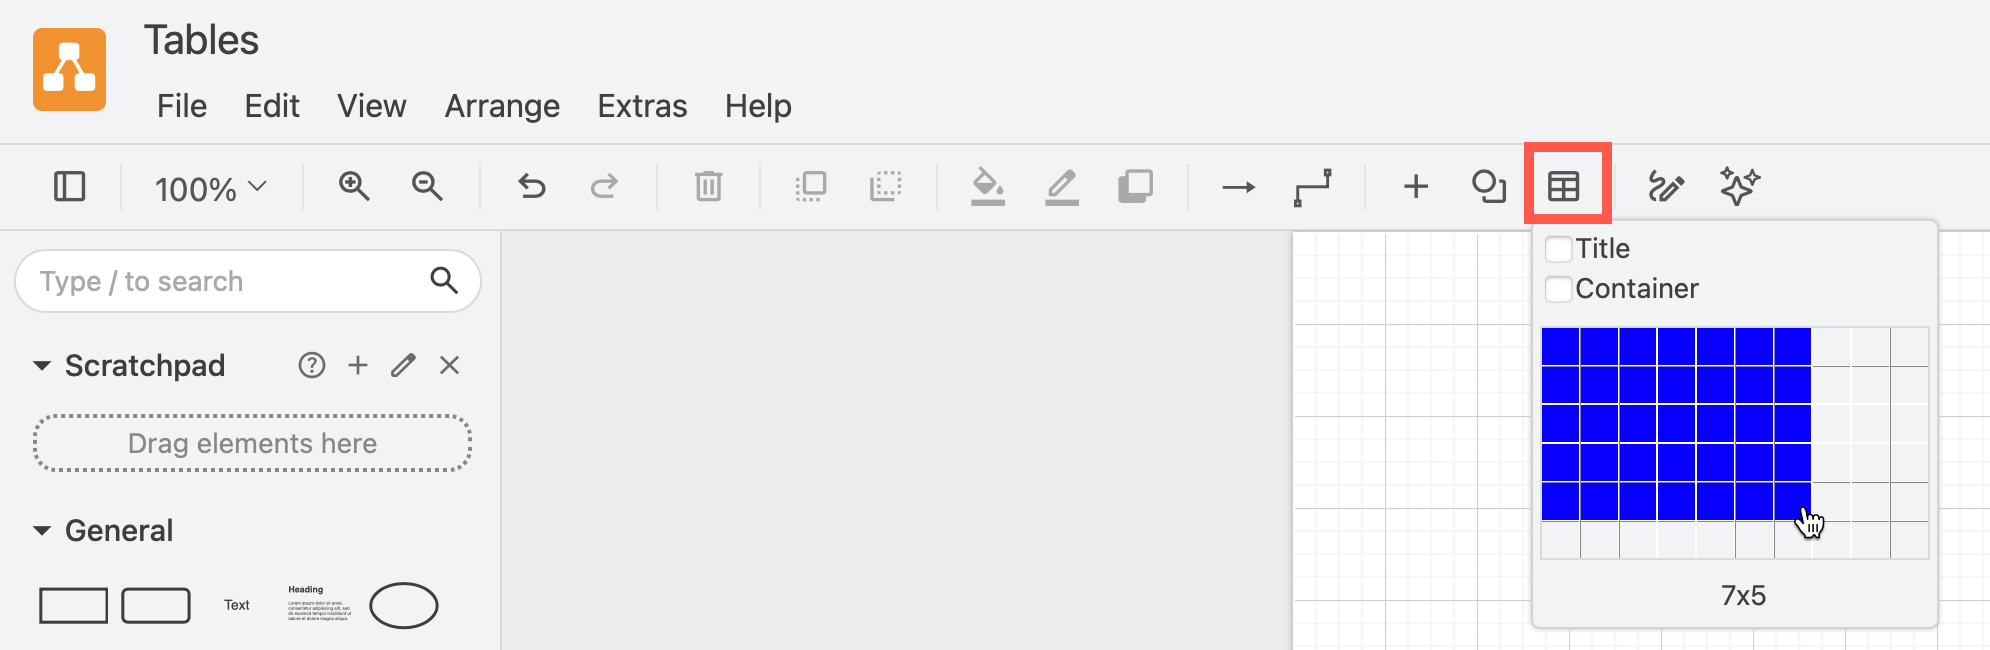
Add a title row
Either enable the Title checkbox or hold down Shift as you drag to select the size of the table. This will add a title row even if you haven't enable the Title checkbox.
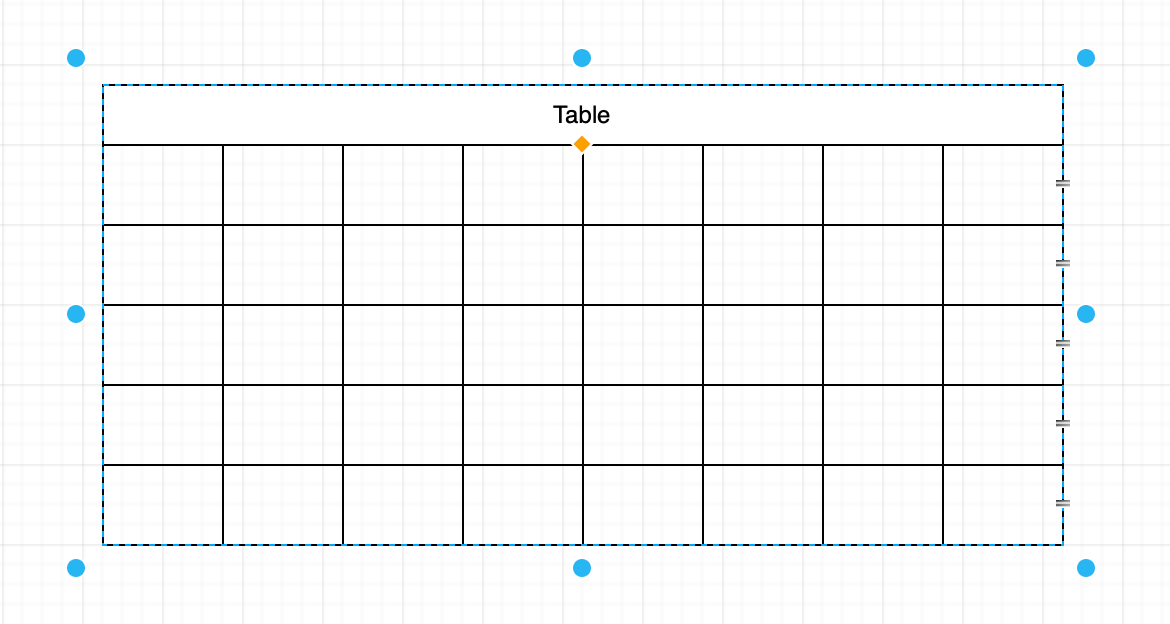
Shortcut - Add a title when you add a table: Hold down Shift as you drag to select the size of the table. This will add a title row even if you haven't enable the Title checkbox.
This automatically adds a title row that spans all of the columns.
You can also add a title region to an existing table as described below.
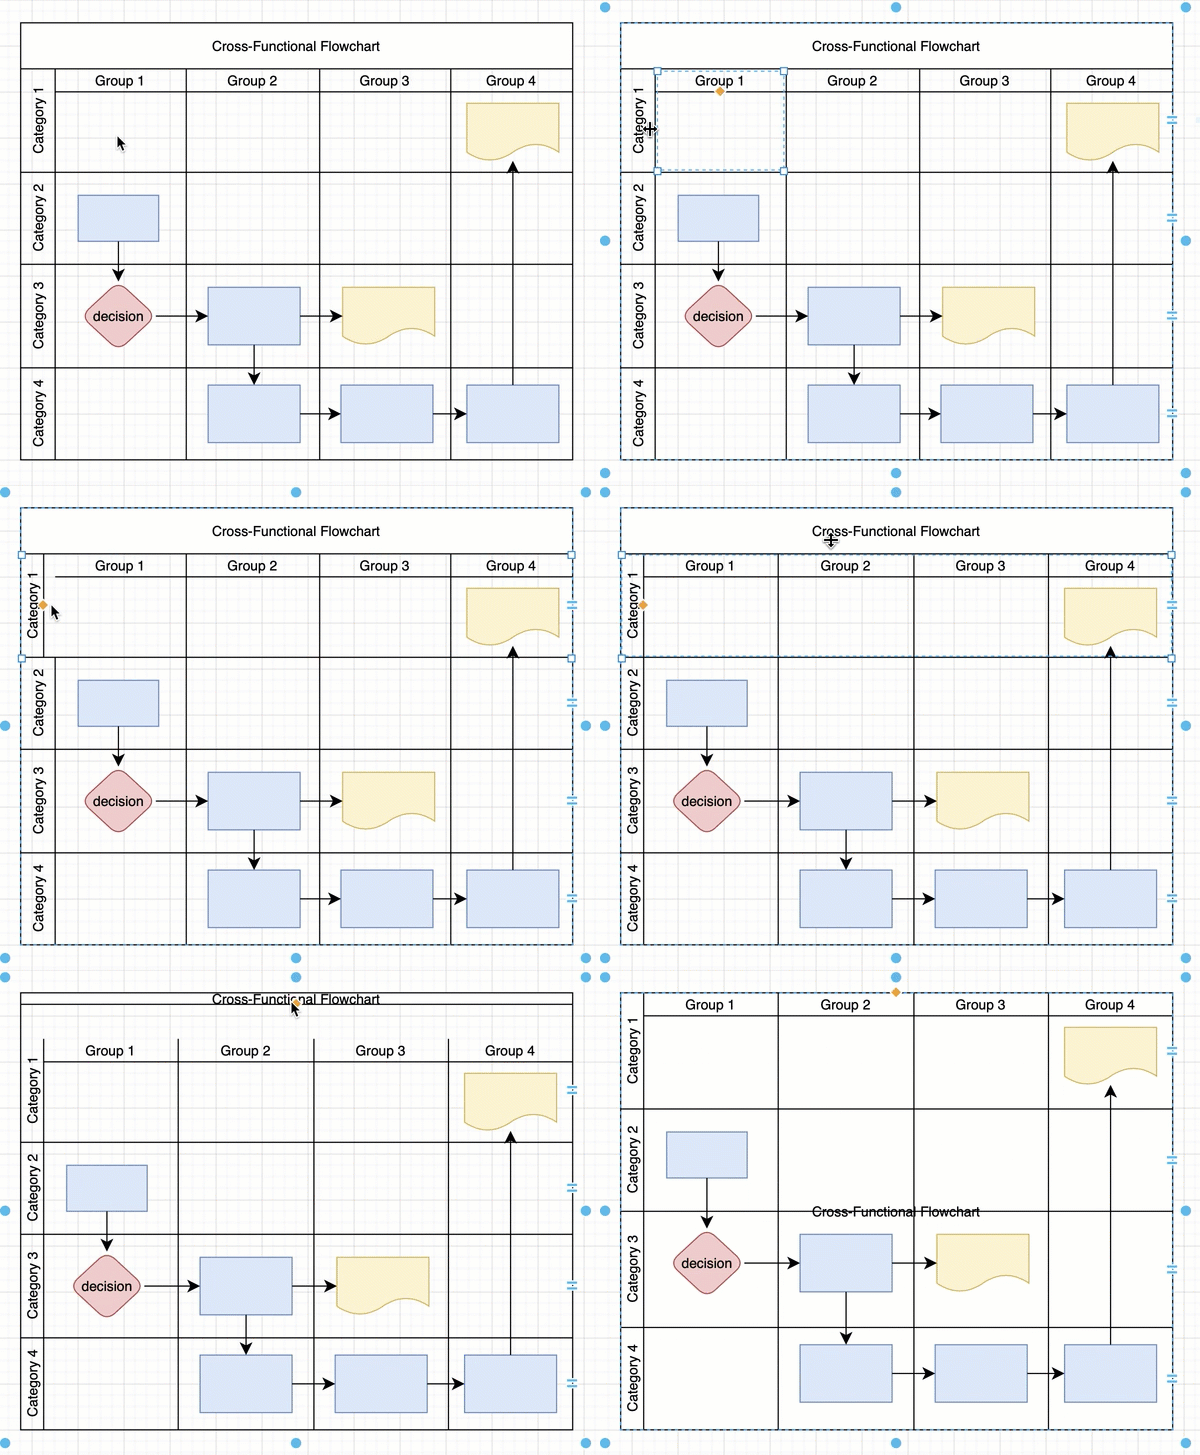
Add title regions to a table, rows and cells
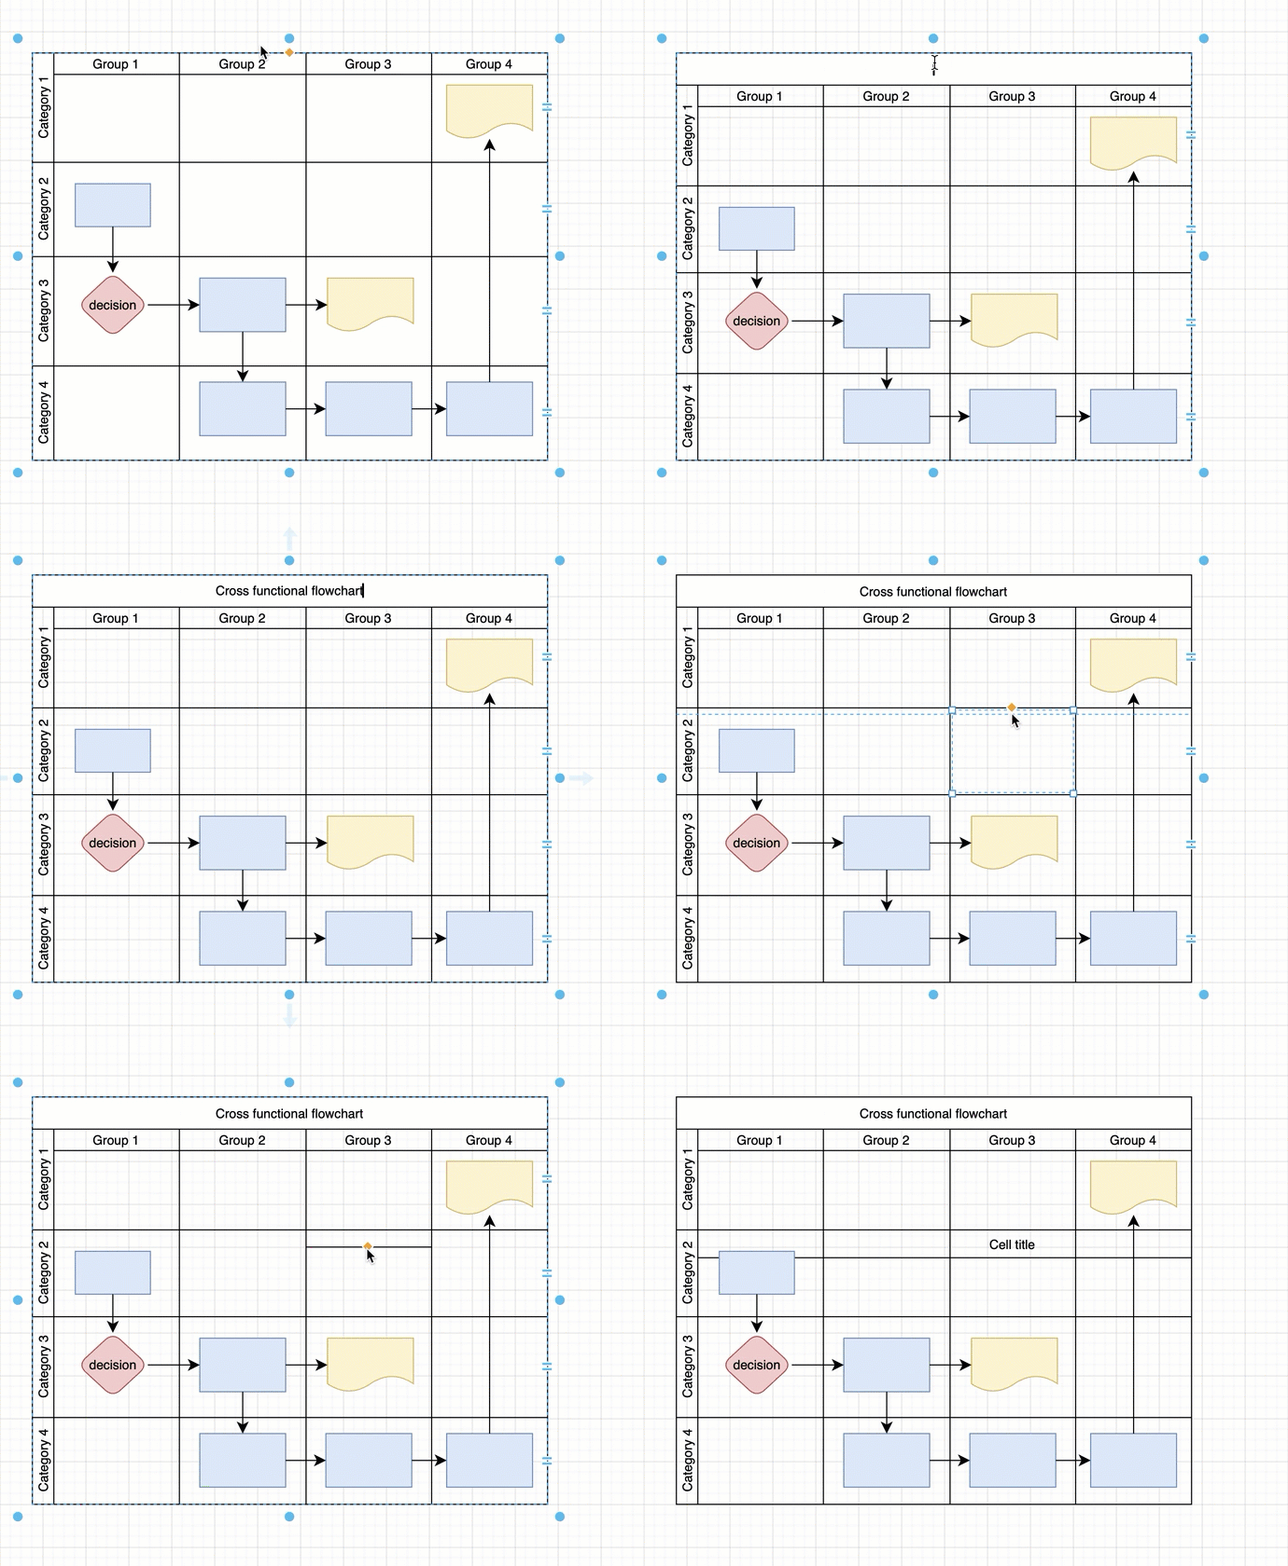
Drag an orange grab handle away from the border it sits on to add a title region. Which handles you see depends on what you select.
- Table title: Select the table, then drag the orange grab handle in the middle of the top table border down. This will add a table title.
- Row titles: Select a row, then drag the orange grab handle in the middle of its left border to the right. This will add a title region to the left of every row in the table.
- Cell titles: In a container table, select a cell, then drag the orange grab handle in the middle of its top border down. This will add a title region to all the cells in that row.
Note: The cells in a table without the Container option don't have a title grab handle. To add a title region at the top of a row in this table, insert the table again with the Container checkbox enabled.
It can be fiddly to grab the title handle instead of the row boundary - click on the bottom or top of the orange diamond grab handle, and not in its center.
Now when you type a label, the text will appear in that title region instead of centered in the cell.
Resize and remove title regions
Tables, rows and columns can have their own title regions. They are not set separately - for example, when you change the region of one column, all columns will use the same space for the title.
- Select the table, row or cell that has the title region.
- Click and drag the orange grab handle on the title separation line to the cell's outer edge to make the region disappear.
If you had text in that title region, it will now appear in the center of the column, row or table.
Add text to table cells
Click once to select the table, then click again on one cell to select just the cell. Enter your text just like you would a shape label.
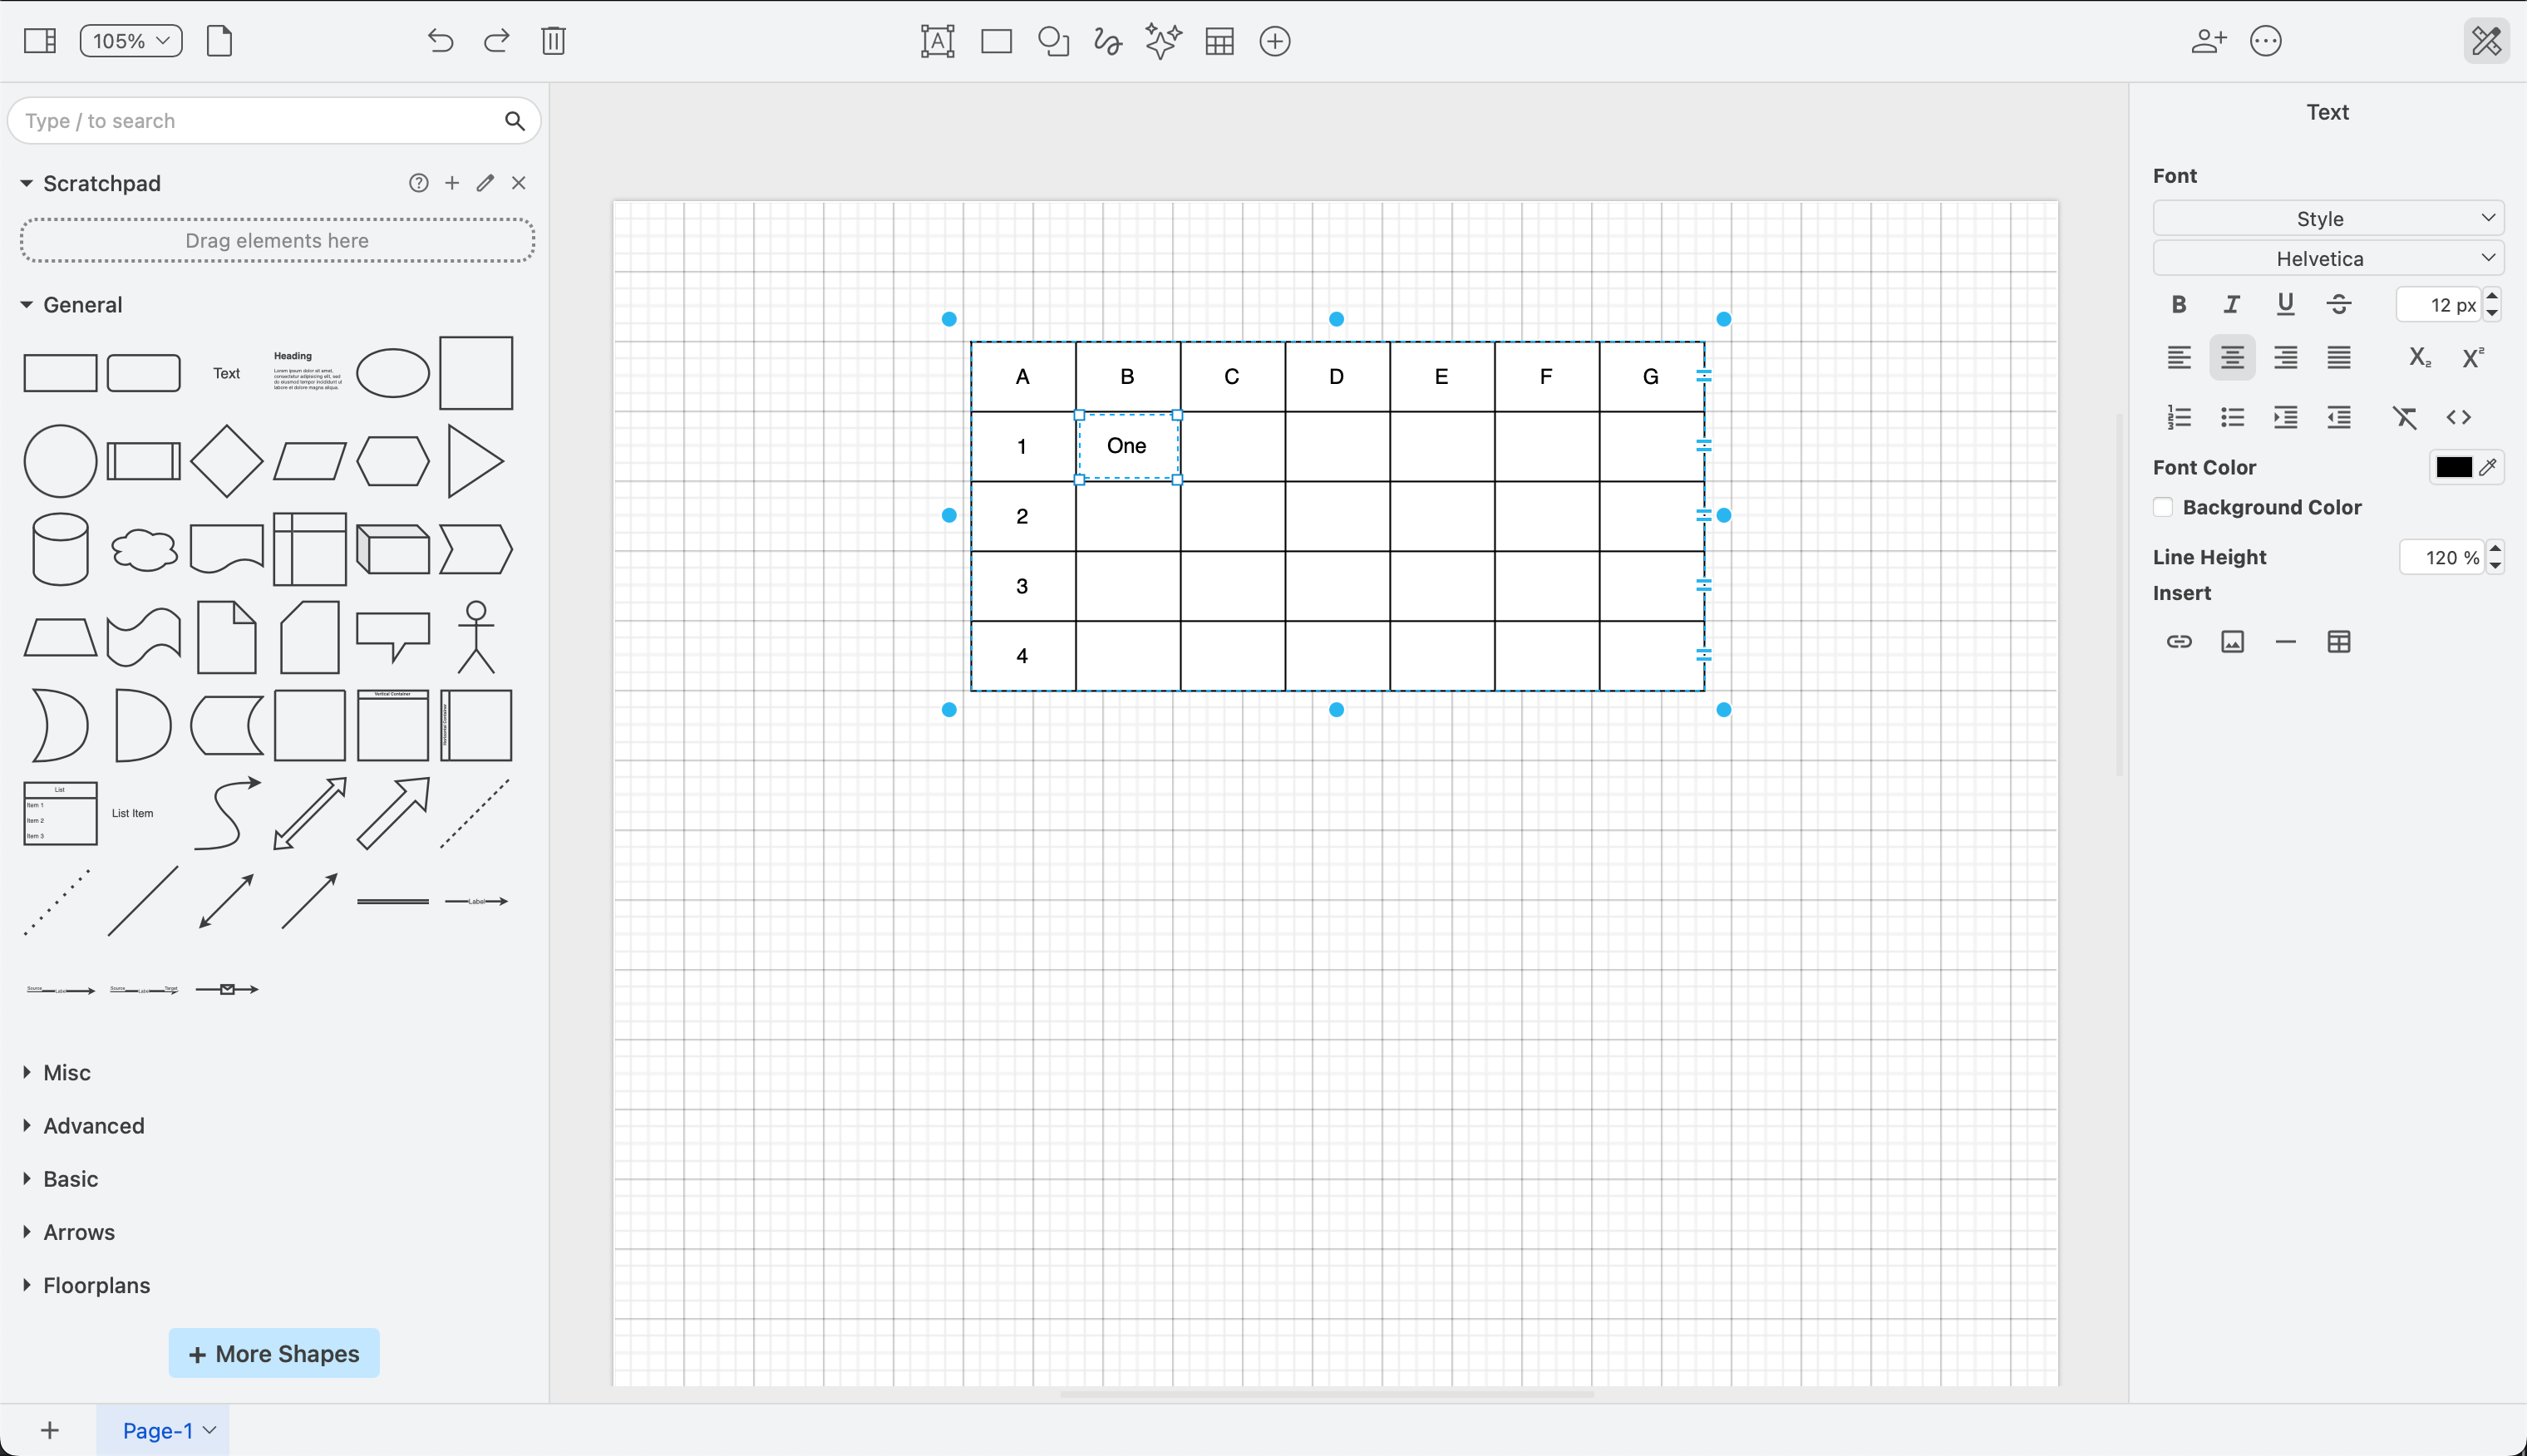
If the cell has a title region, the text will appear there, otherwise the label will be centered in the cell.
Add a cross-functional flowchart (table)
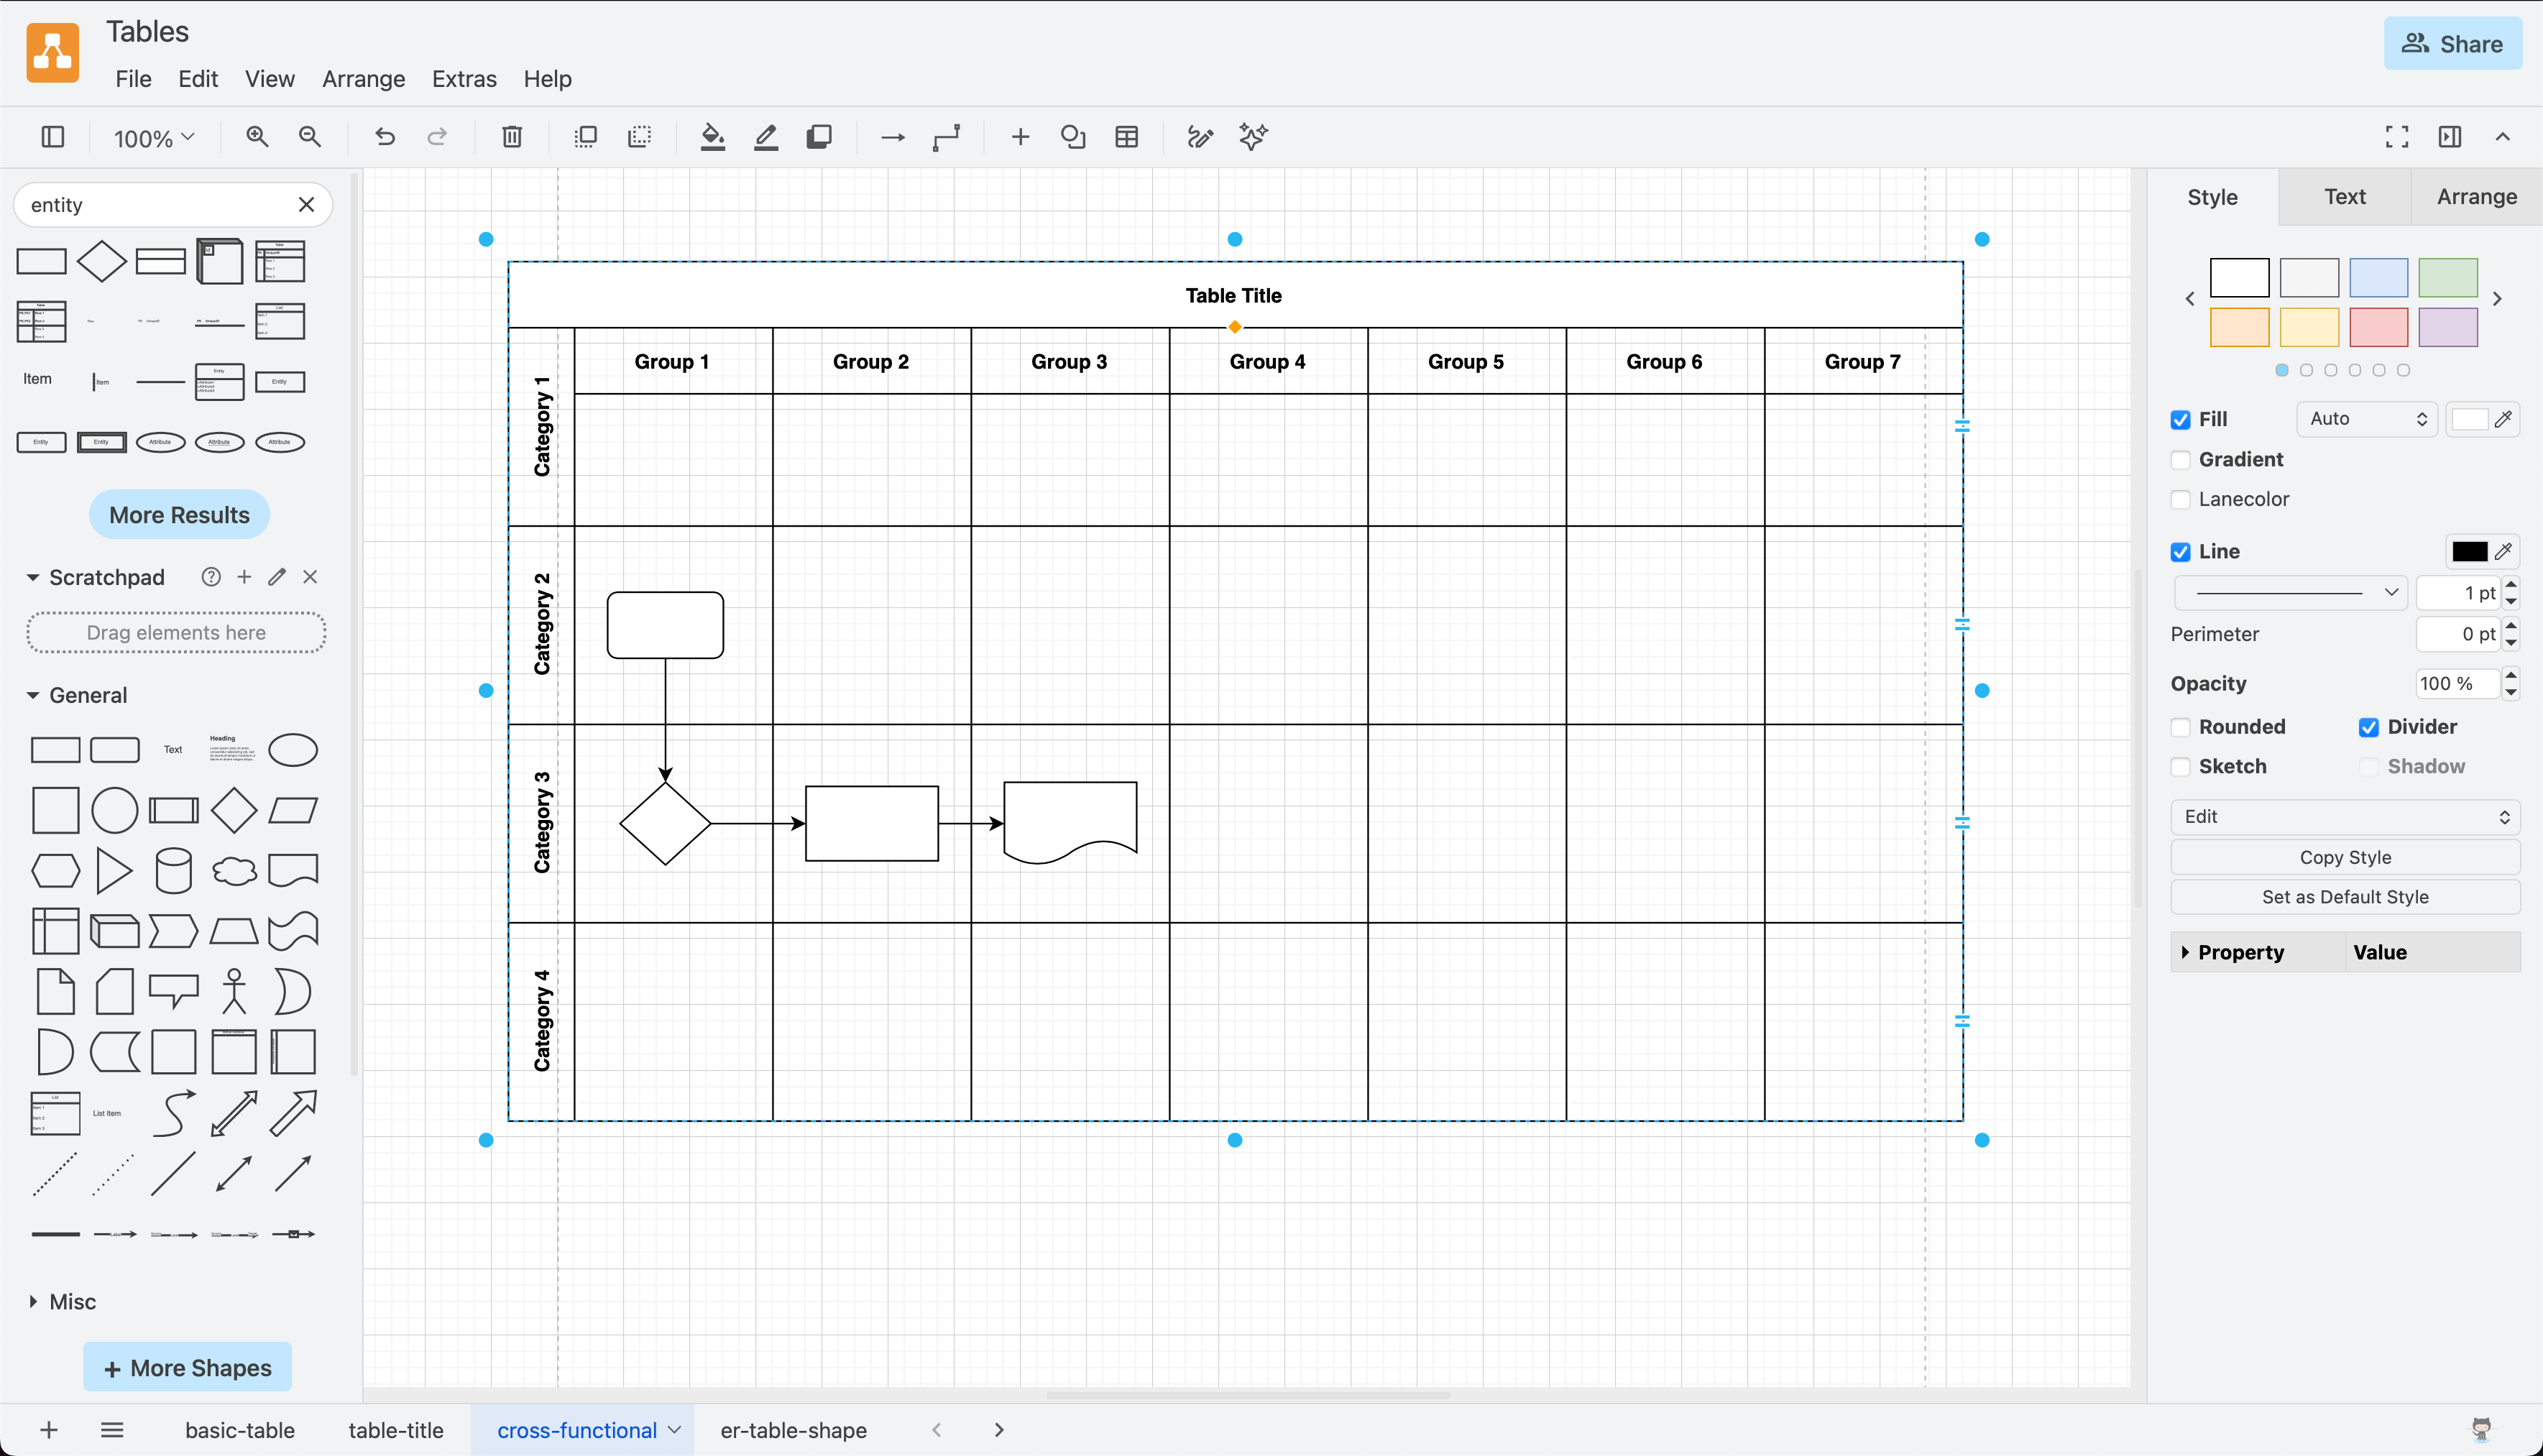
Cross-functional flowcharts are container tables with horizontal and vertical swimlanes. The cells in the first row and column have title regions. Process steps can be added into the cells of the table, and joined with connectors across the table cells to show a process flow between teams or categories.
- With nothing selected in your diagram, click on the Table tool in the toolbar.
- Select the Container checkbox, or hold down the
Ctrl/Cmdkey while you select a table with the number of rows and columns you need.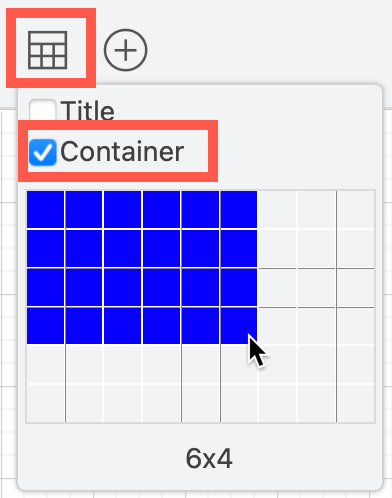
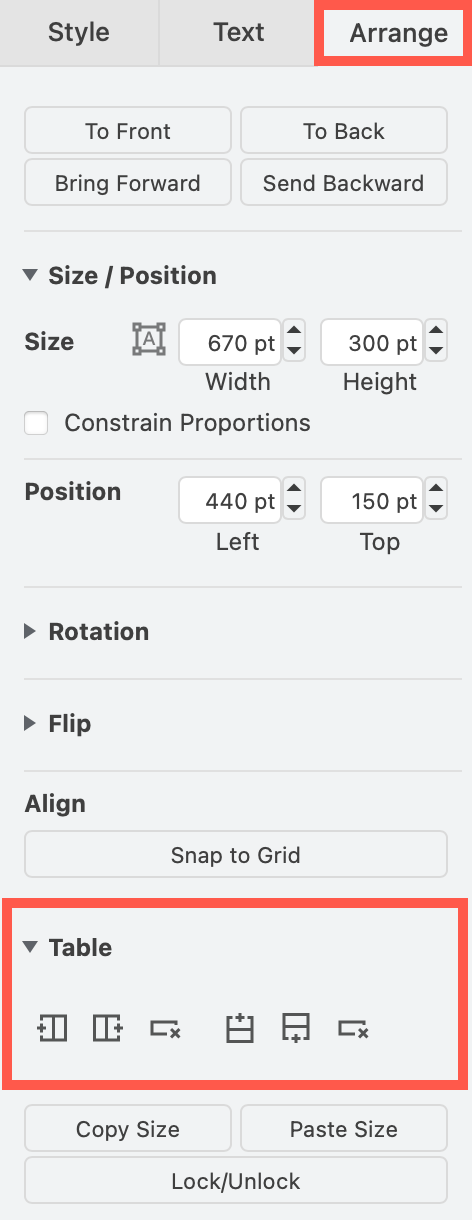
Add columns and rows
- Select a cell inside of a table.
- Select the Arrange tab in the format panel on the right.
- Use the table tools to add a column or row before or after your selected cell or row. If you have selected the entire table, this will add a row or column at before the beginning or at the end of the table.
Shortcut - Copy a table row: Click on a cell in your table, then click on it again to select the row. Hold down either Ctrl or Cmd, grab and drag a copy of the row to a new position in the table, or press Enter.
Alternatively, hold down Ctrl/Cmd and press Enter to make a duplicate of the selected row directly below.
Move rows
You can drag rows to new positions in the updated tables, either by selecting and grabbing the row itself, or using the reposition icon that looks like two horizontal lines on the right border of each row.
- Select the row - click to select a cell, then click again to select the row - then drag it to a new position.
- Alternatively, select the table (not a cell or a row/column), then grab and drag the row's reposition icon.
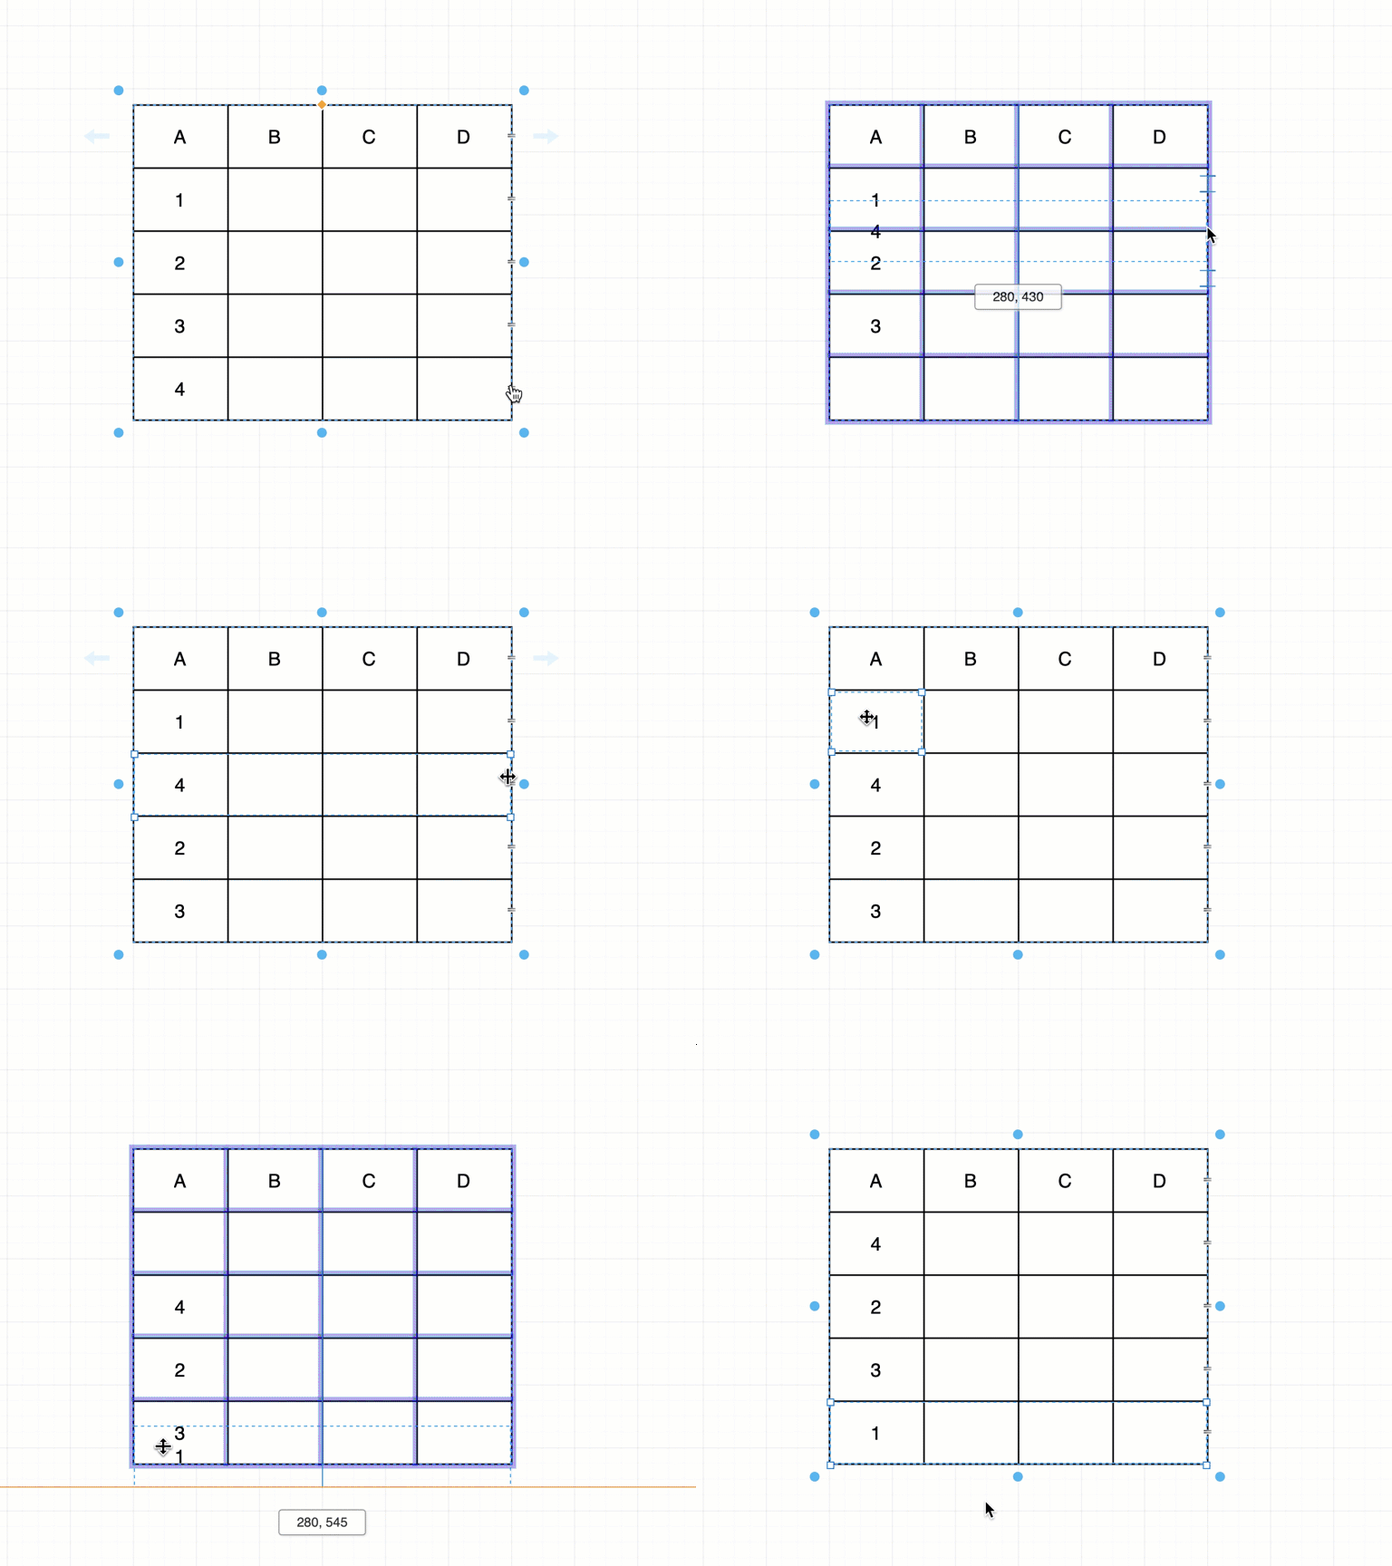
Note: The reposition icons on the right double as connection points. If you try to drag the reposition icons without first selecting the table, you'll attach a fixed connector at that point.
Resize rows and columns
Grab and drag the row or column borders to resize the row or column.
Make sure you don't grab the reposition icon on the right border of a row - this will move a row, rather than resize the column.
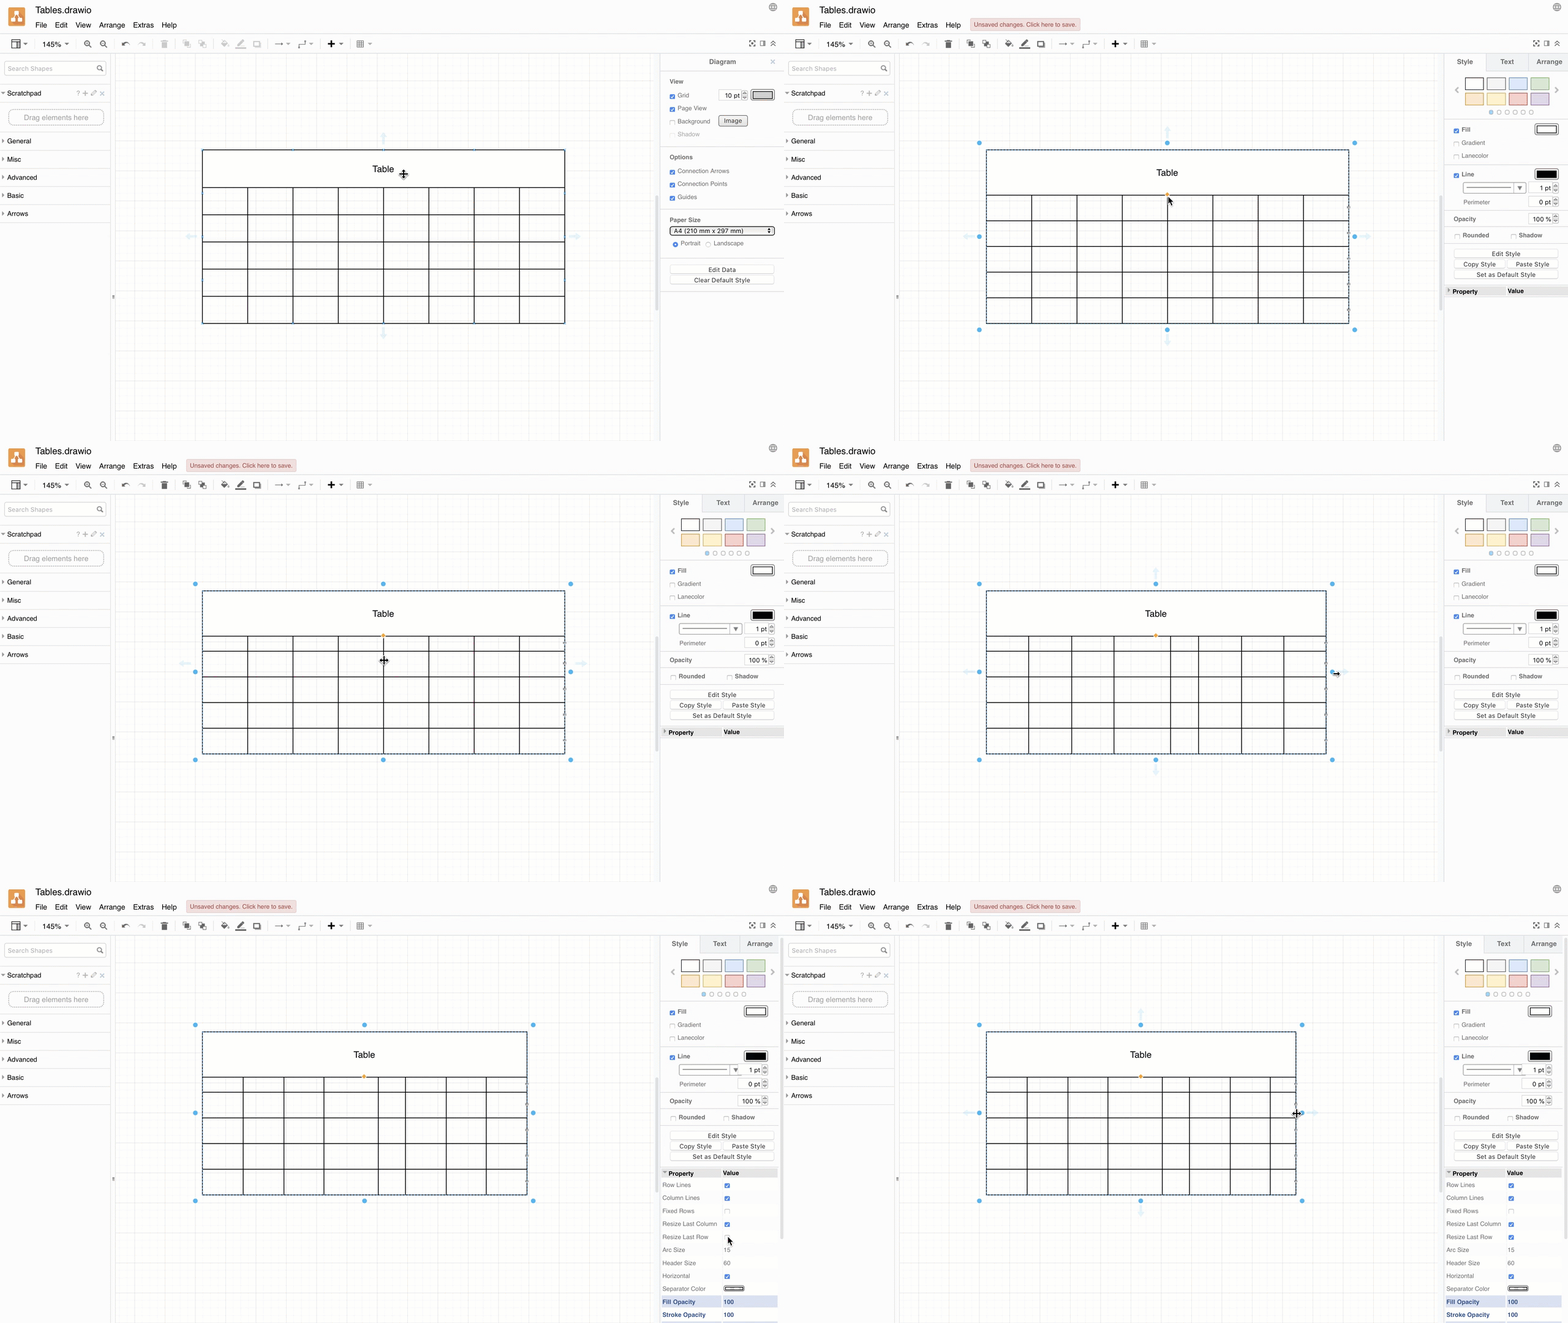
Relatively resize all rows and columns
You can also resize the table keeping all of its cells relative to each other - this is behaviour is enabled by default.
- Select the table, then drag the round handle at the side of the table instead of the final column or row border.
- Drag the orange diamond in the middle of the table below the table title row.
Disable relative resize
If you don't want to resize the other cells, change the table properties.
- Select the table (not a cell or a row/column).
- In the format panel on the right, expand the Properties section.
- Ensure the checkboxes for Resize last row and Resize last column are selected.
Delete rows or columns
- Select a cell inside of a table.
- Select the Arrange tab in the format panel on the right.
- Use the table tools to delete the selected column or row.
Shortcut - Delete a table row: Click on a cell in the table, then click on it again to select the row. Press the Delete key, or right click and select Delete from the context menu.
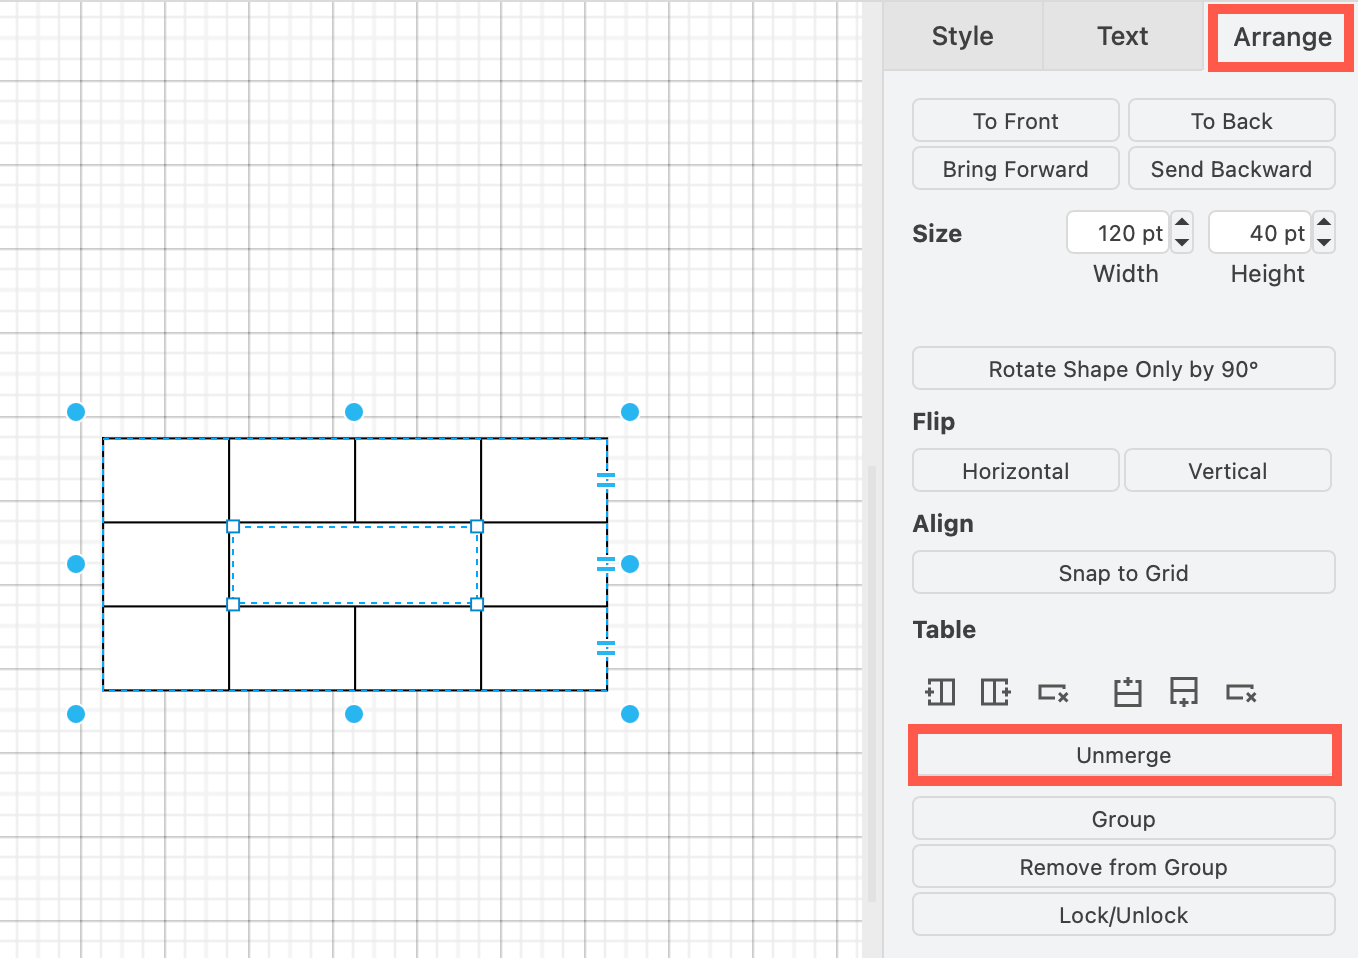
Merge and unmerge cells
Merge adjacent cells and unmerge merged table cells via the Arrange tab in the format panel, or using the Table tool in the Sketch whiteboard-like editor theme.
- Merge is only available when you have selected multiple adjacent table cells.
- Unmerge is only available when you have selected a merged cell in a table.
Related
draw.io has many more keyboard shortcuts to help you diagram faster, including mouse+keyboard modifier shortcuts and table shape shortcuts.
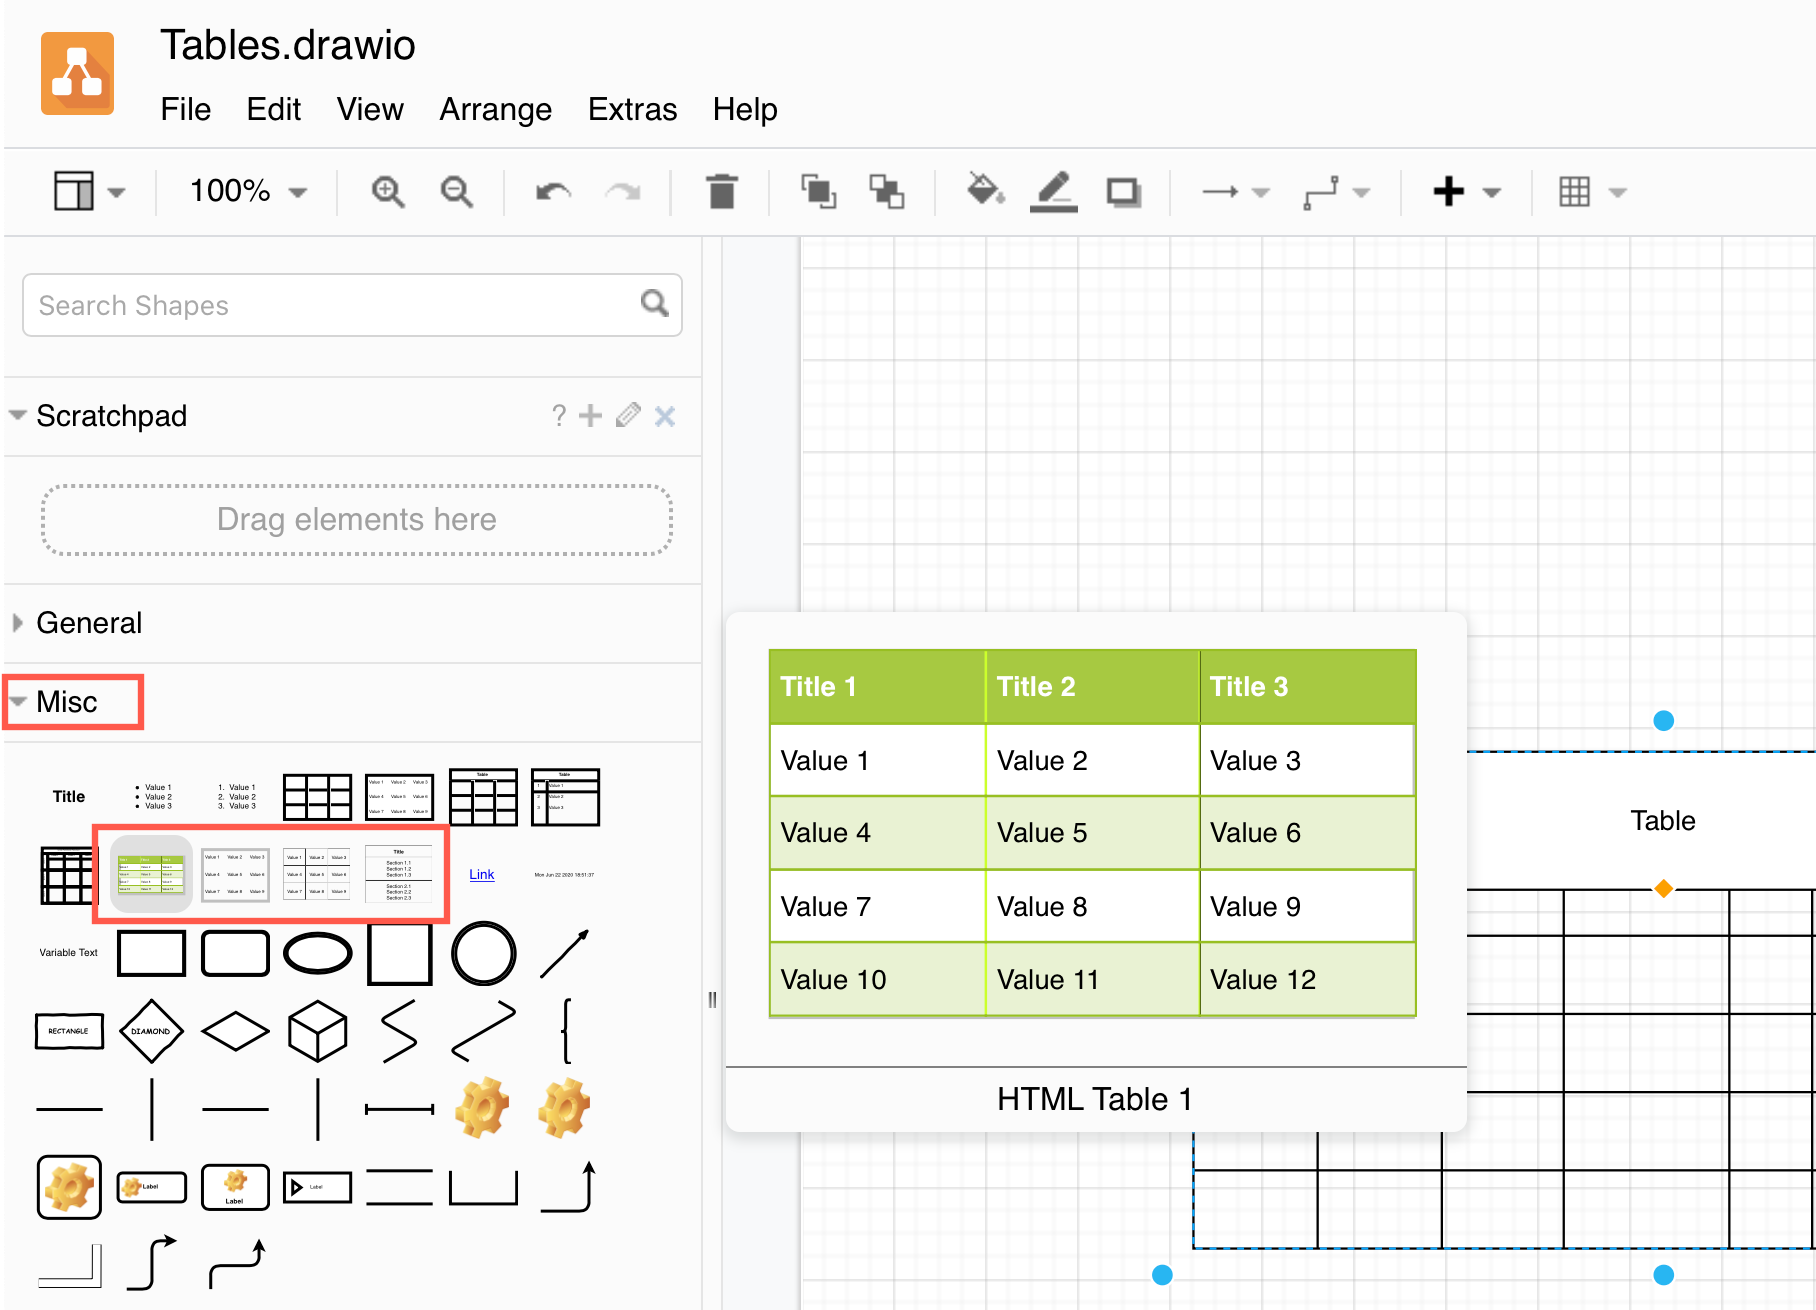
HTML table shapes
The HTML table shapes are still available in the Misc shape library (part of the General shape library). Hover over the shapes to see their names.