Arrange shapes and connectors
The Arrange tab in the format panel on the right of the draw.io editor allows you to precisely arrange and orient shapes on the drawing canvas. Click on any little arrow on the right to expand and collapse the sections in the Arrange tab as needed.
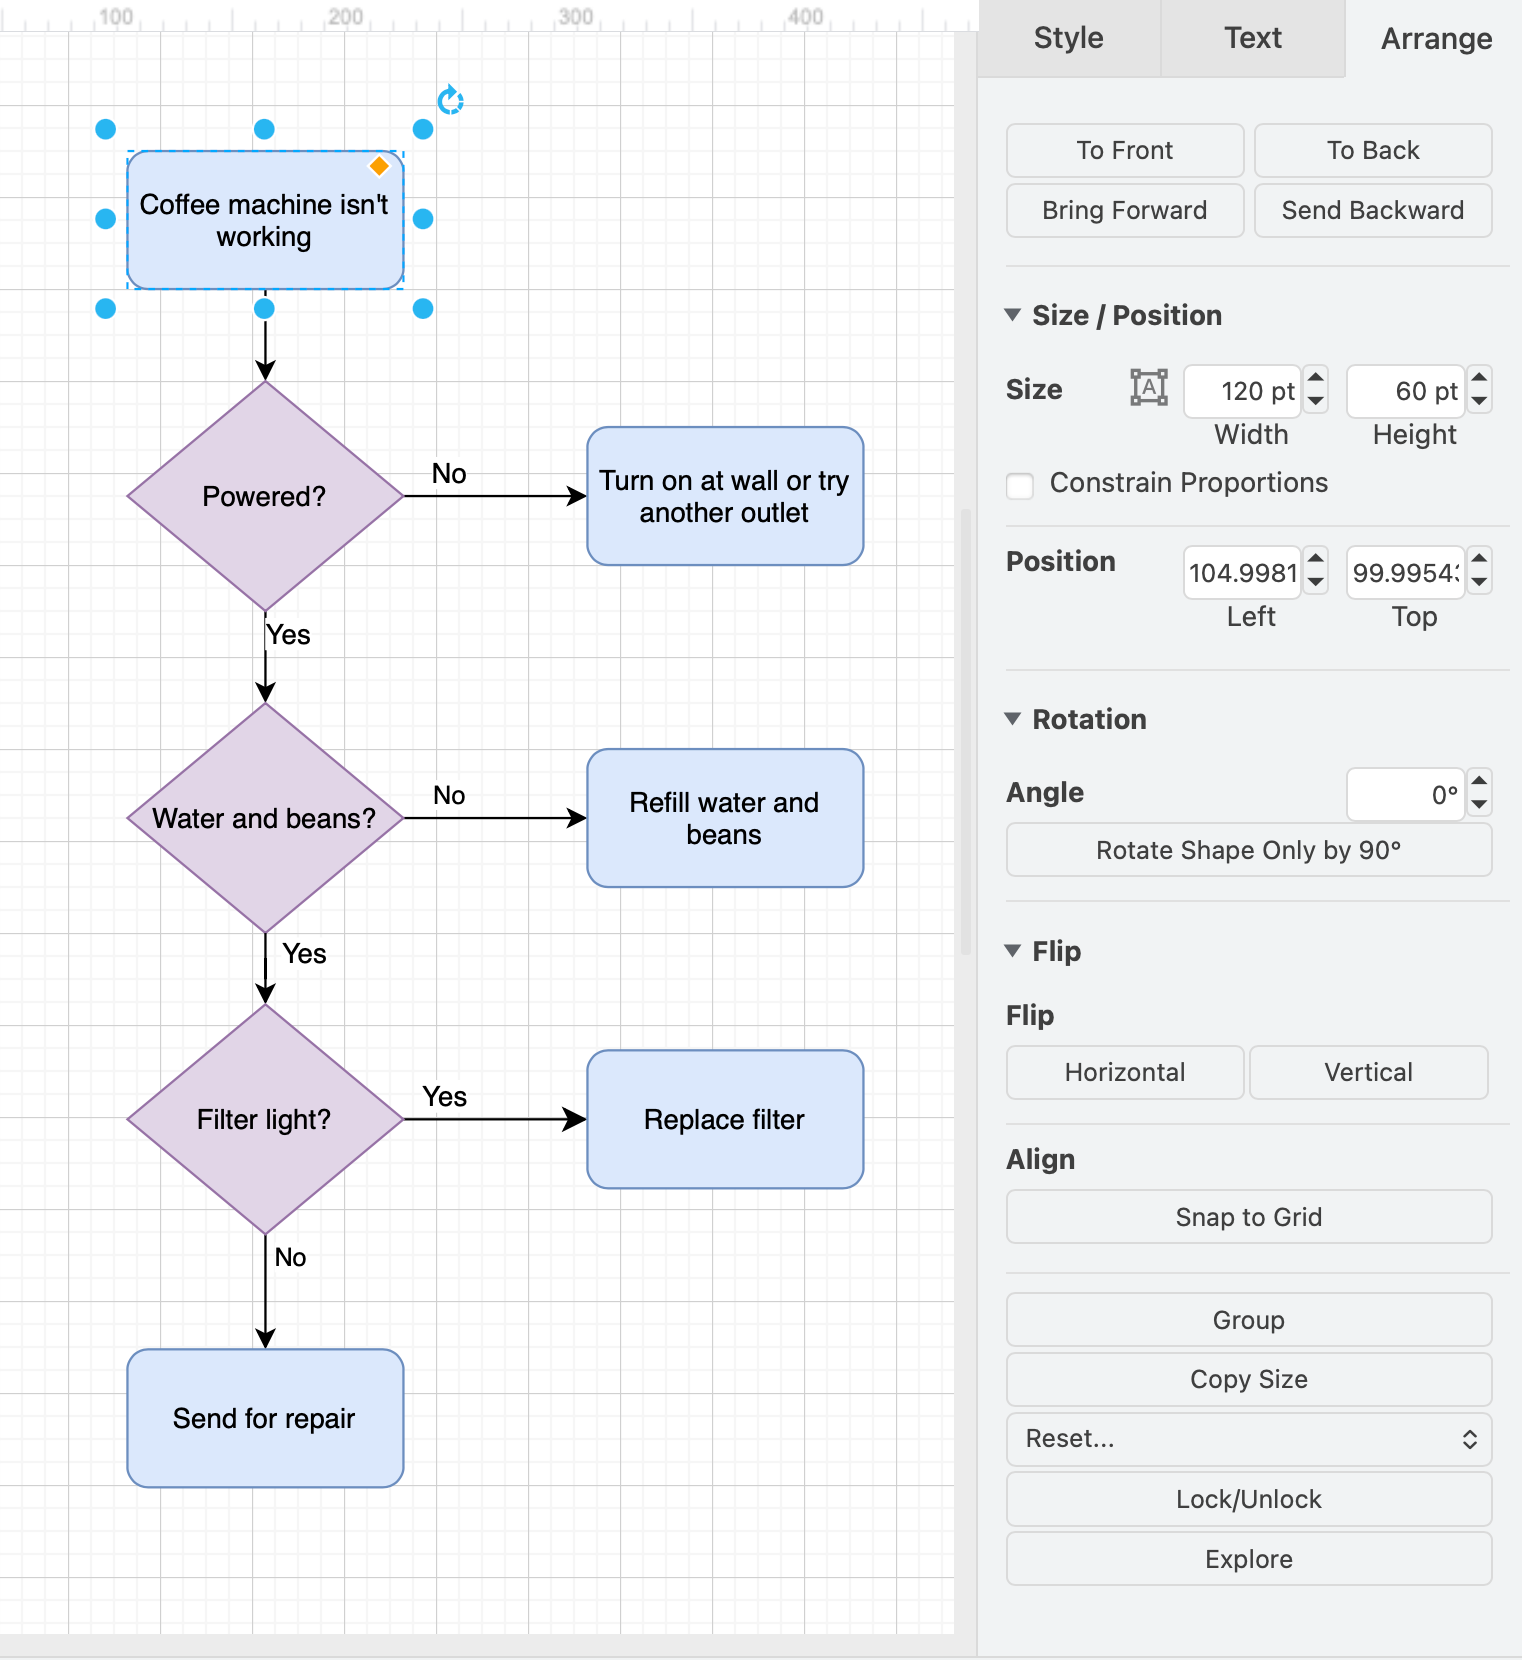
The options that are available on this tab will change depending on what you have selected. For example, connectors can only be moved to the front or back or reversed, they can't be rotated, repositioned or resized from the Arrange tab.
Move shapes forwards and backwards
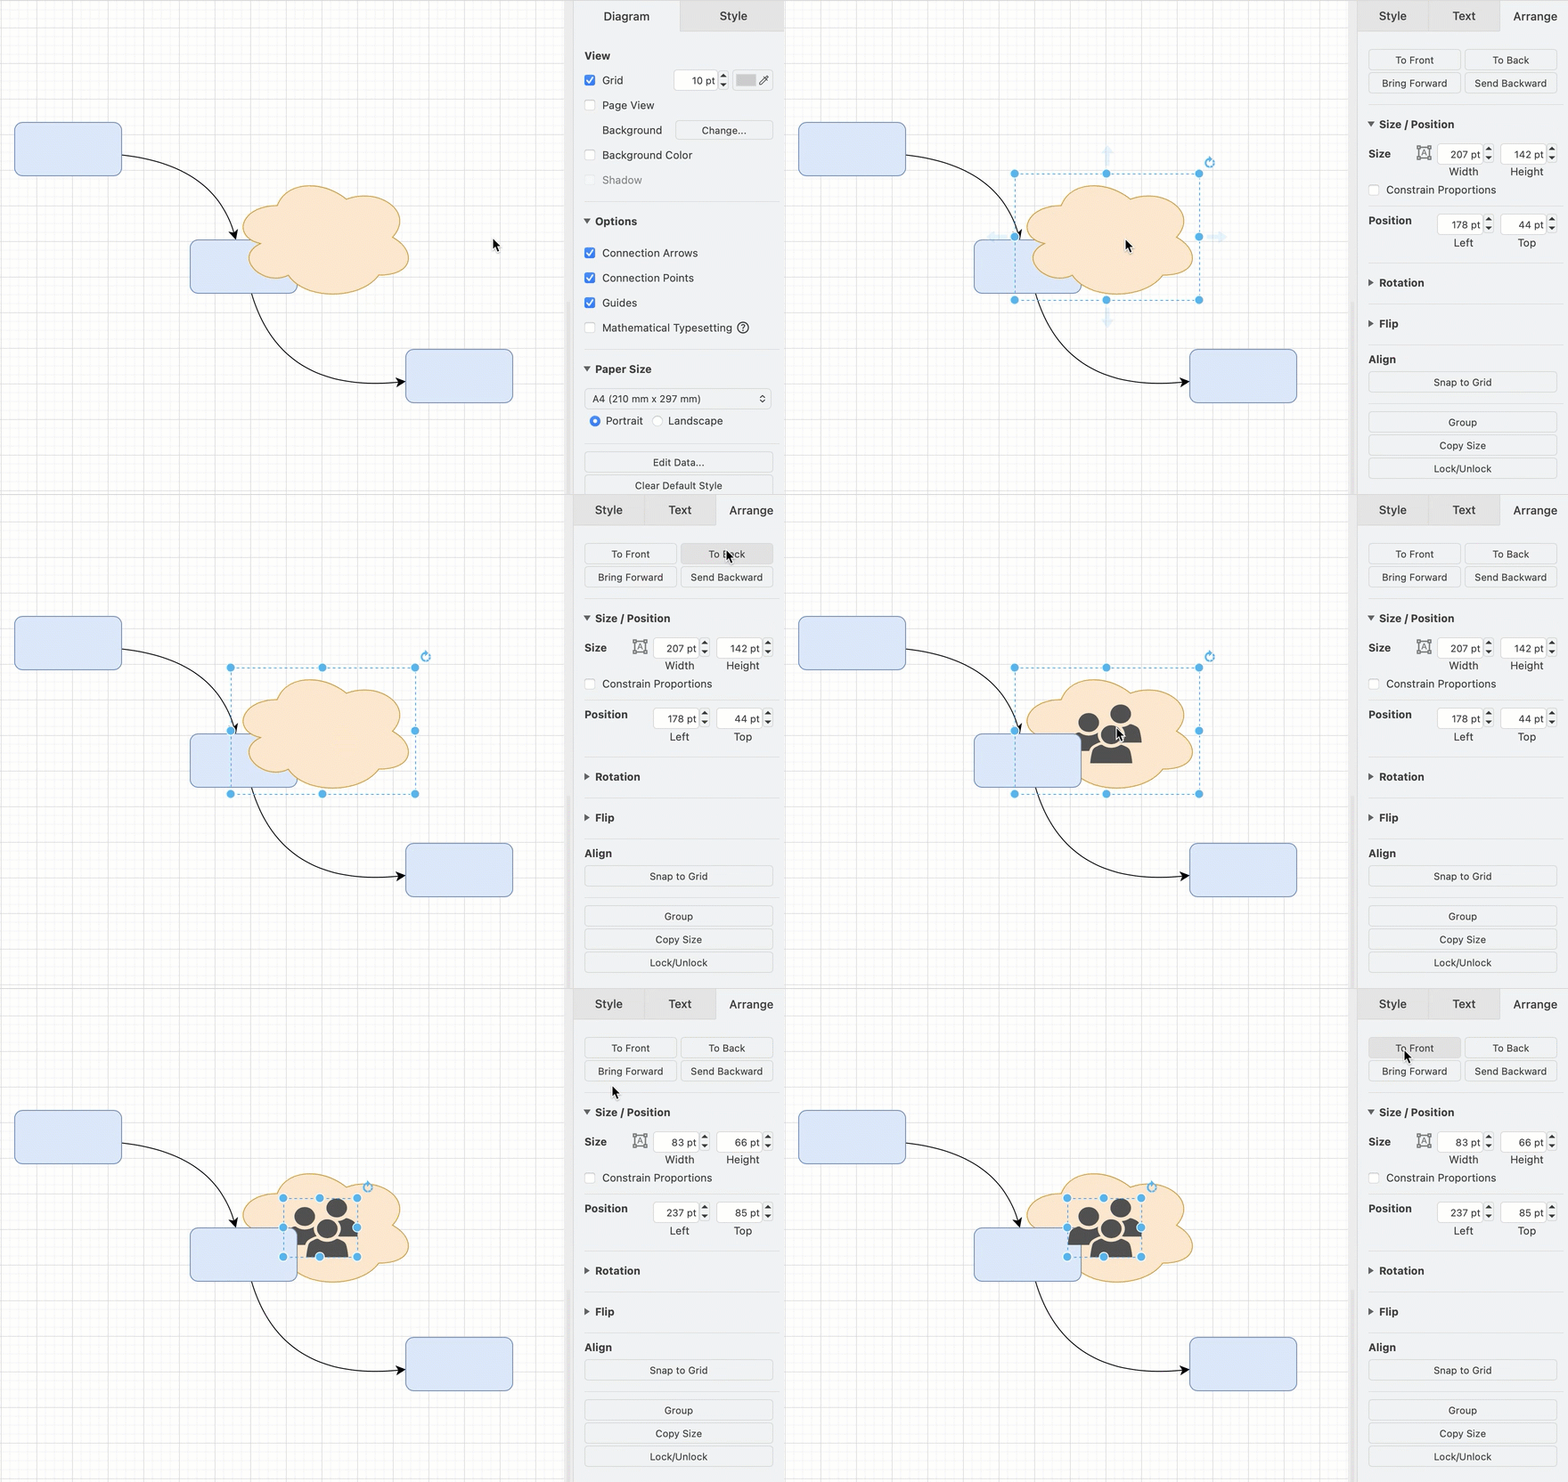
When shapes and connectors overlap, you can choose which shapes are displayed towards the front, and which at the back. Every layer has its own z-order stack, arranging shapes from the front to the back.
Resize a shape
Select a shape, then enter a new exact size in the Width and Height fields.
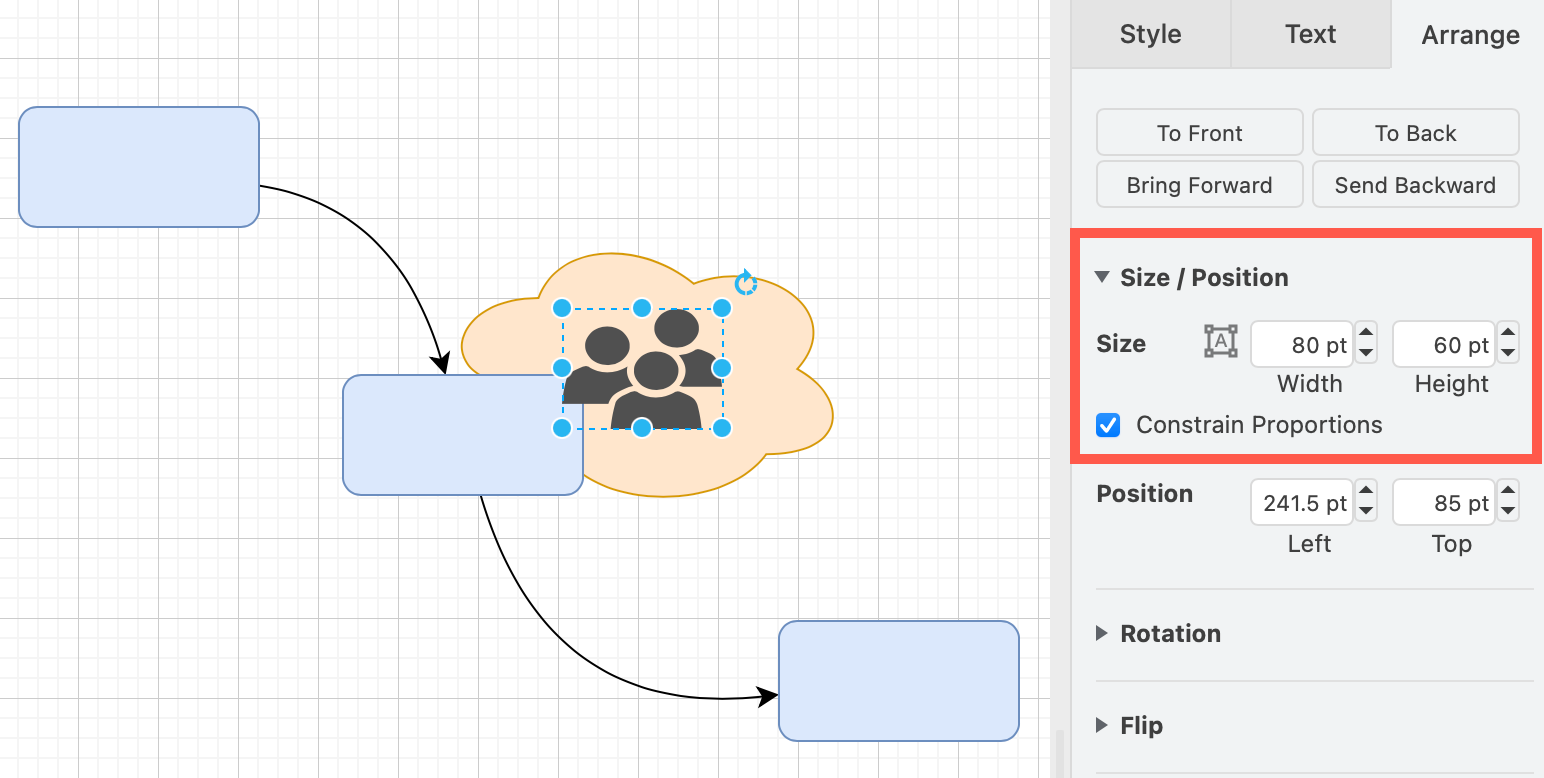
Tip: Select the Constrain proportions checkbox first if you want to maintain the shape's proportions when you enter a new height or width.
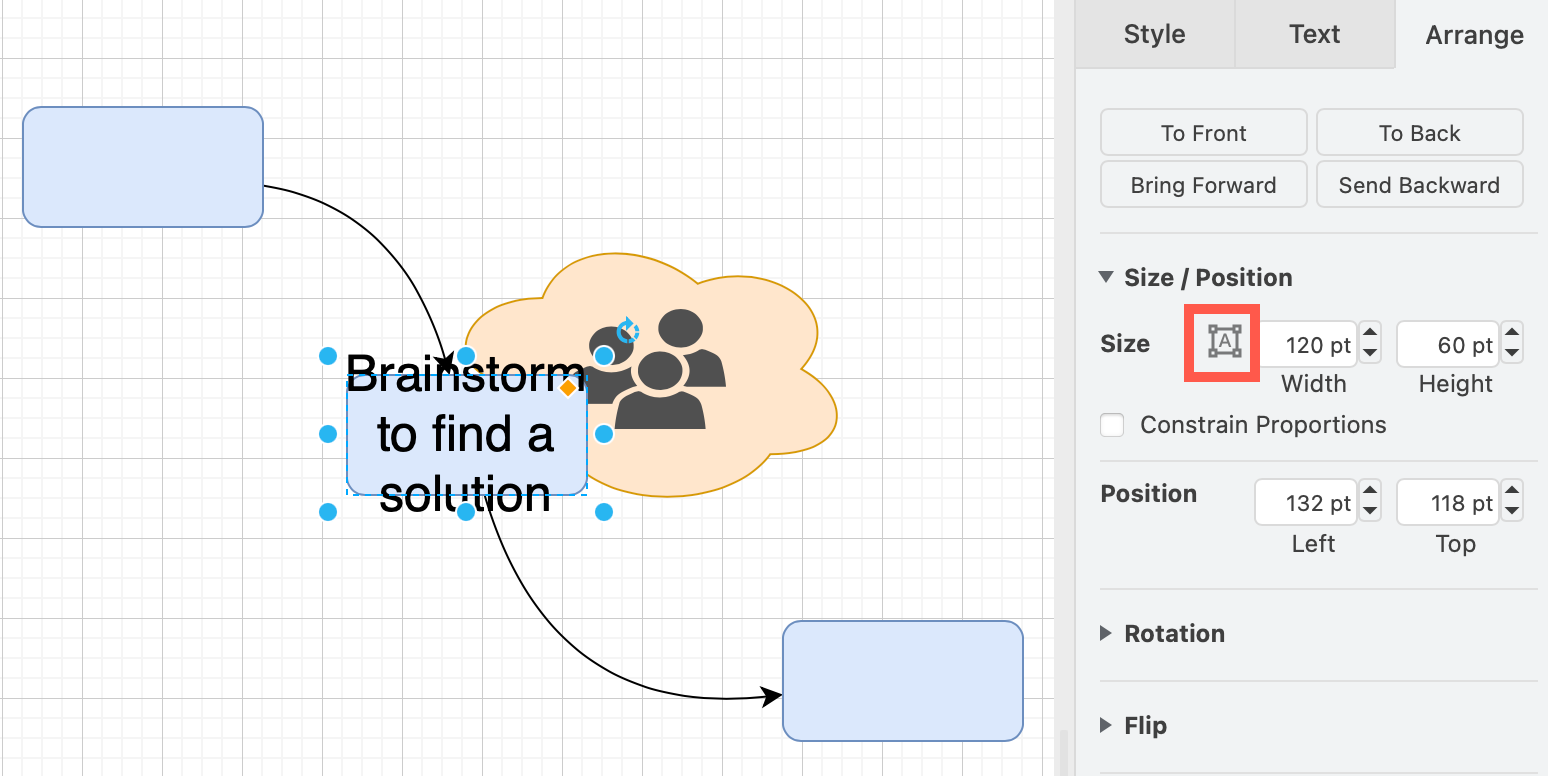
Autosize a shape to fit its text
Select the shape, then click Autosize (an outline with corner circles). Alternatively, press Ctrl+Shift+Y on Windows, or Cmd+Shift+Y on macOS.
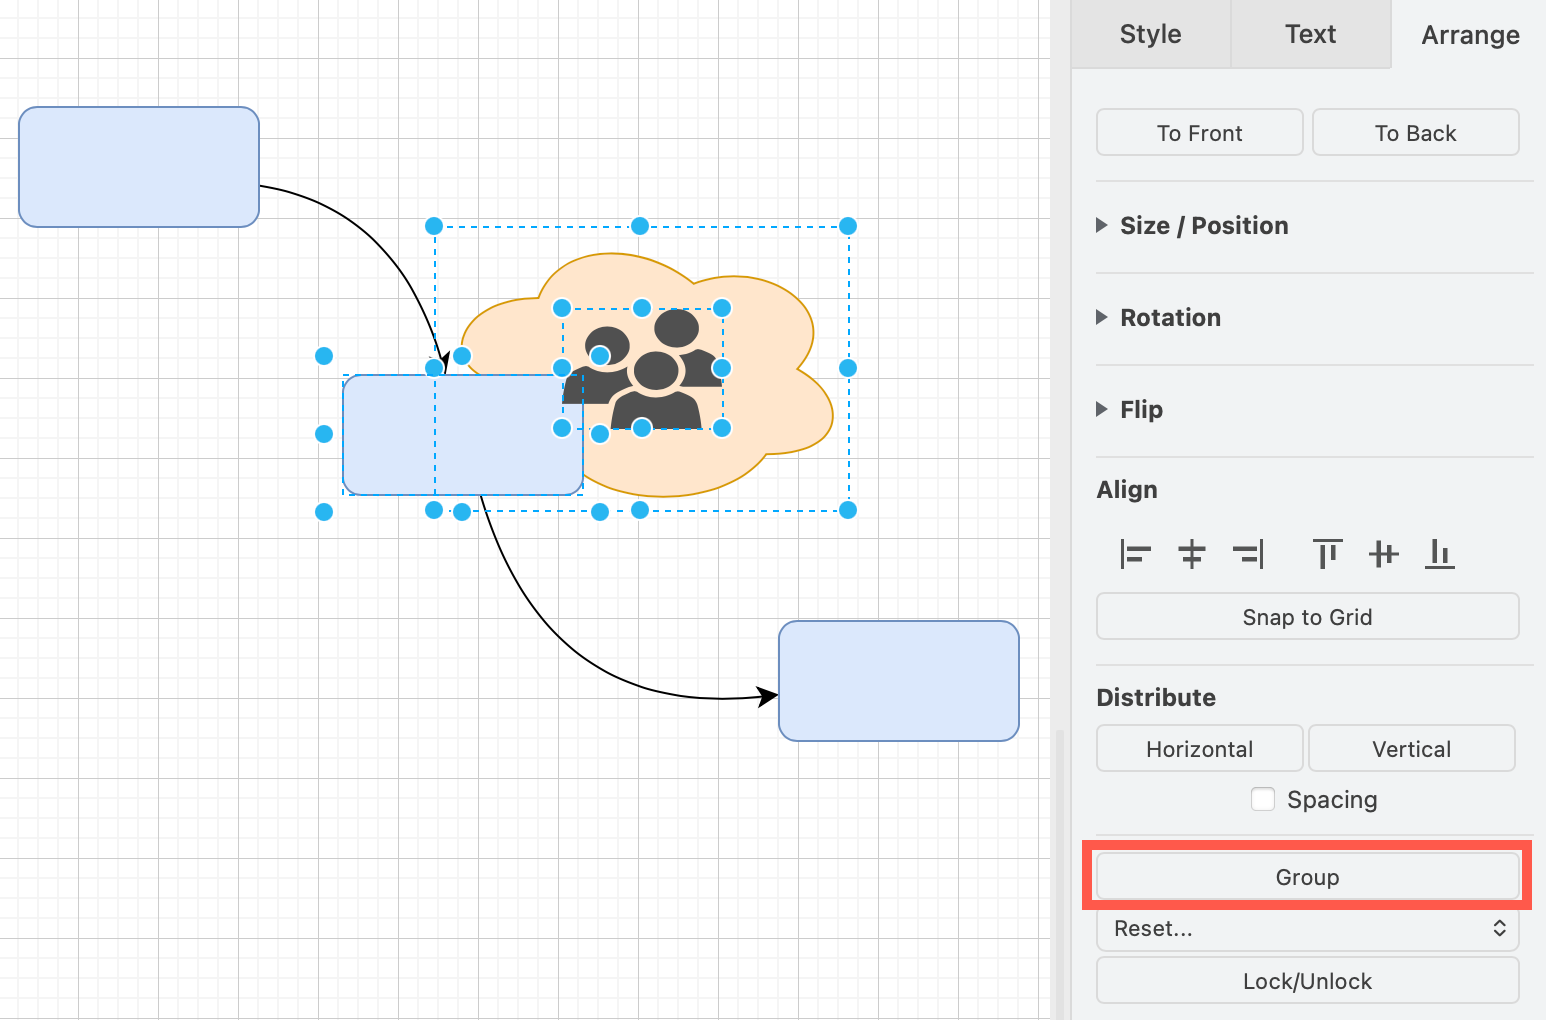
Group multiple shapes
- Select the shapes you want to group.
- Click Group Shapes in the Arrange tab, near the bottom.
Copy and paste shape sizes
Select the shape that is the size you want to copy, click Copy Size in the Arrange tab, select the shapes that you want to be the same size, and click Paste Size.
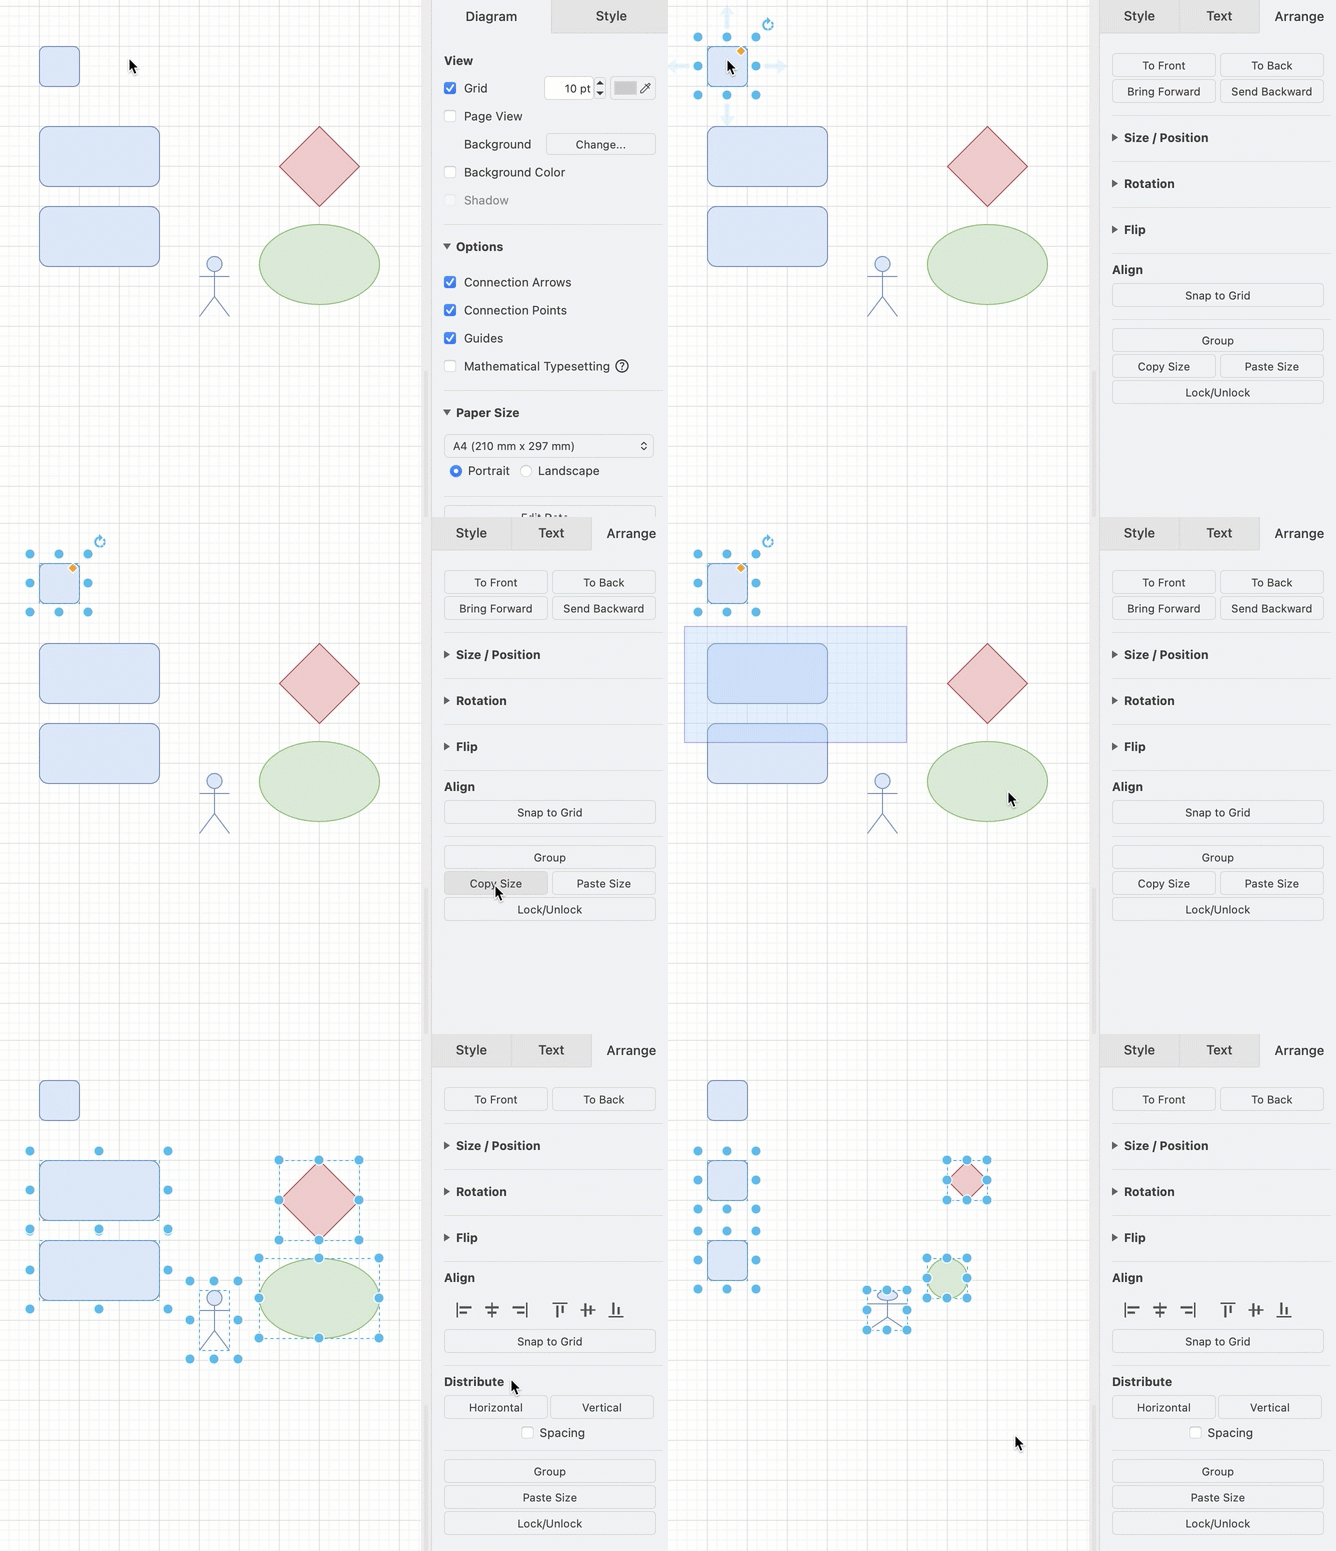
The height and width of the selected shapes will now match the one you copied, even if they are different shapes.
Reposition a shape
Enter a new Position for a selected shape or group of shapes by changing the Left and Top values.
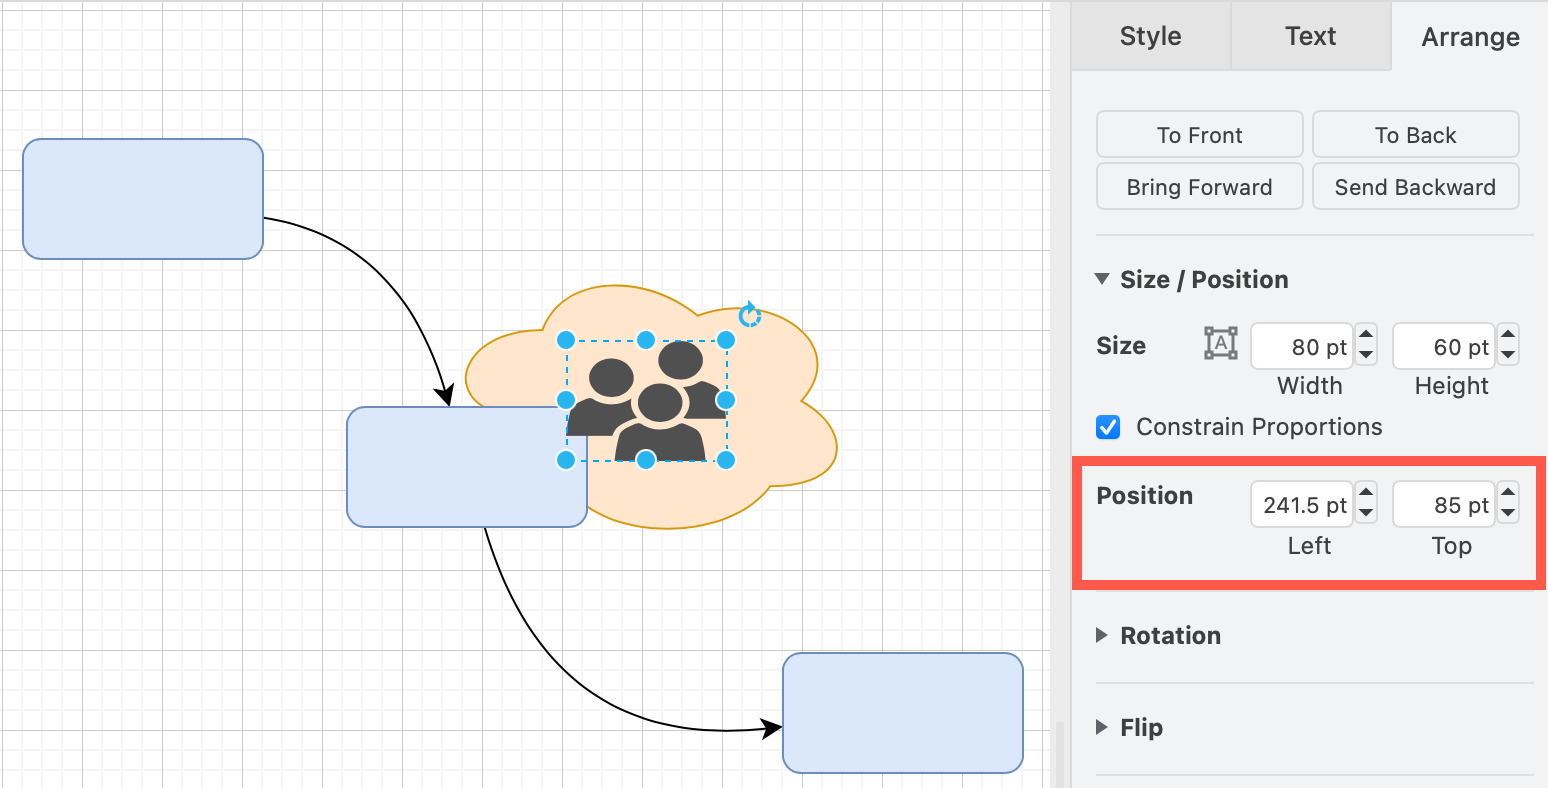
Note: The exact position is an offset value from the top left of the first printable page in your diagram. These may be quite large if your diagram spans more than one printed page.
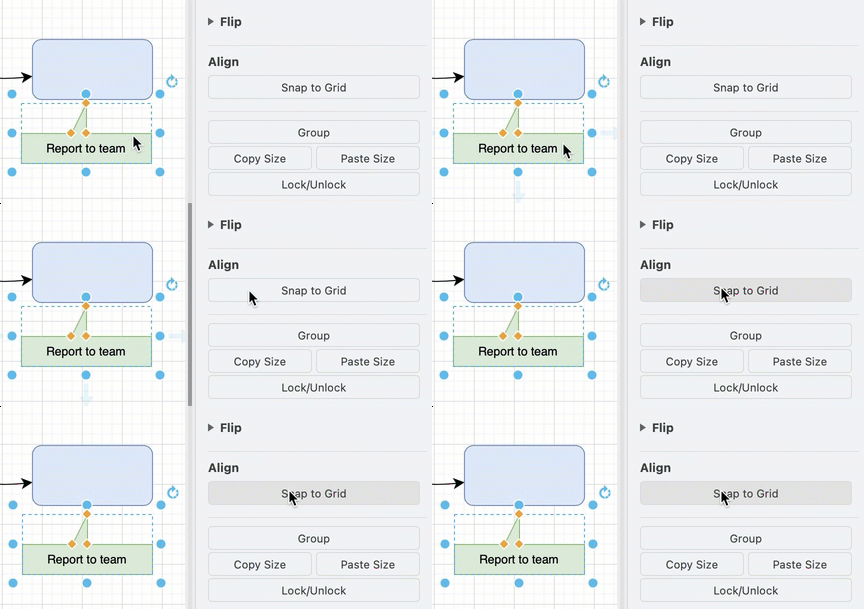
Tip: If you are having trouble aligning shapes with the editor grid, click on Snap to Grid.
Reposition multiple shapes
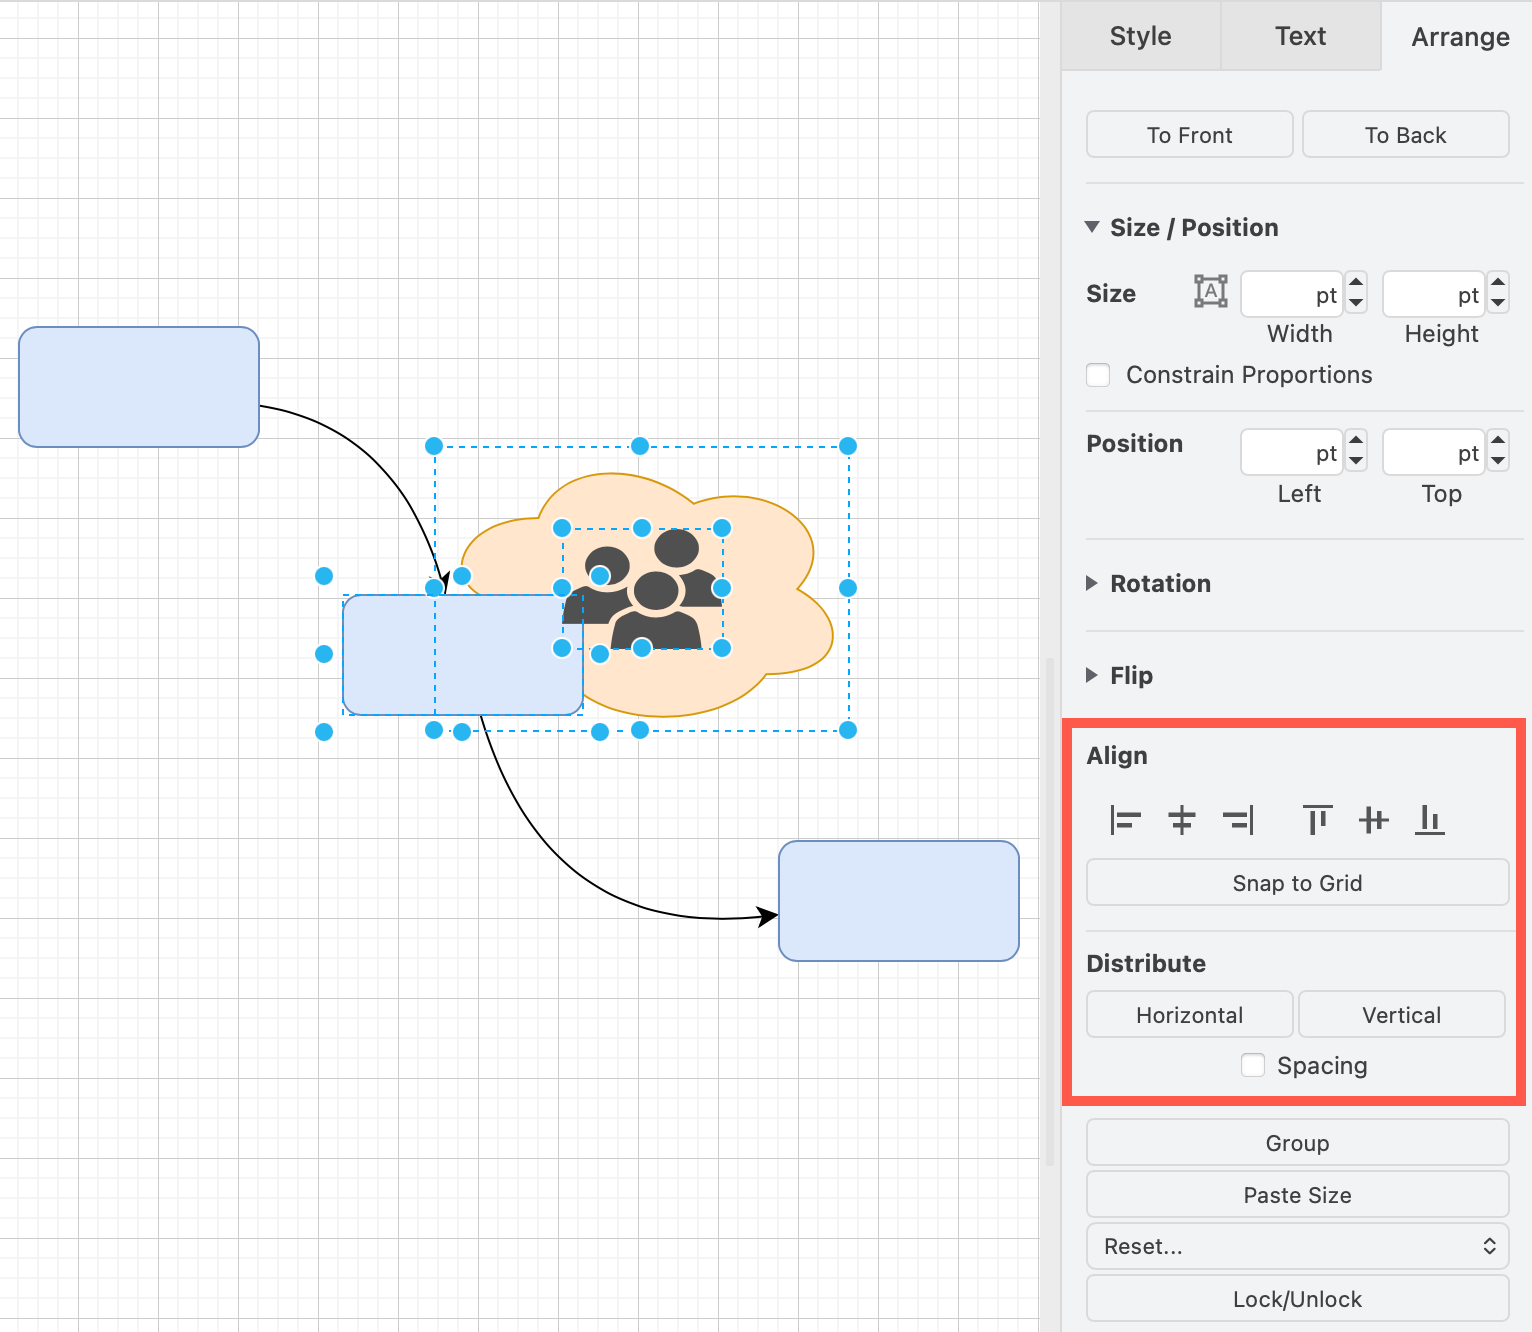
When you have selected multiple shapes, you can arrange them with respect to each other.
- Use the Align tools to reposition the selected shapes to a common alignment.
- Click Horizontal or Vertical to redistribute the shapes with an alternative spacing.
Rotate a shape
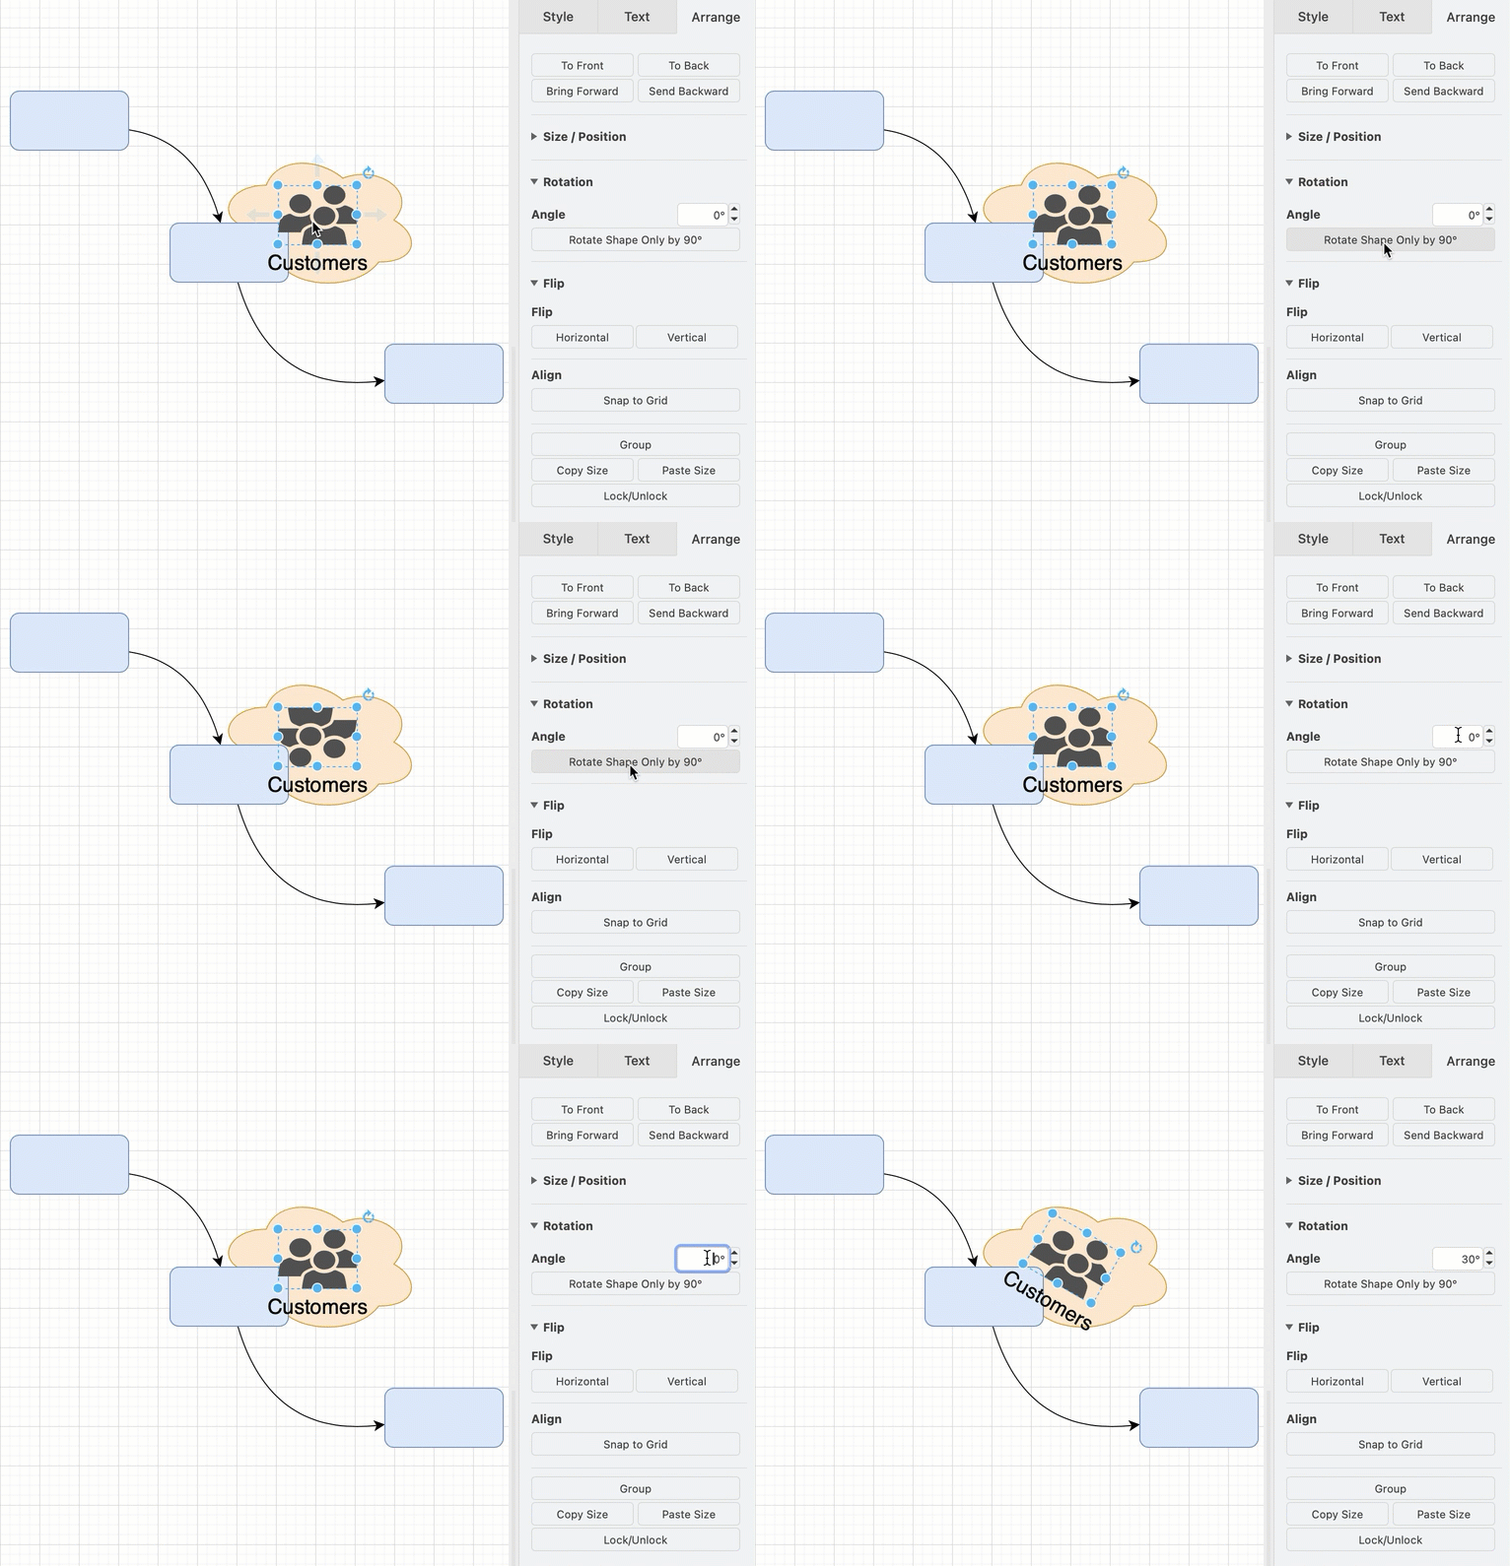
WHen youuse the rotate grab handle and drag to rotate the selected shape, the label rotates with it. Use the tools in the Arrange tab to rotate with or without rotating the label.
- Click on Rotate shape only by 90° to rotate only the shape and not its label text.
- Enter a new precise Angle in the text field to rotate the shape as well as its label.
Flip a shape: Click Horizontal or Vertical on the _Arrange tab to flip a shape without also flipping the label text, such as this callout shape. If the shape is symmetrical, there will be no obvious change, unless there is a is a gradient colour in the fill.
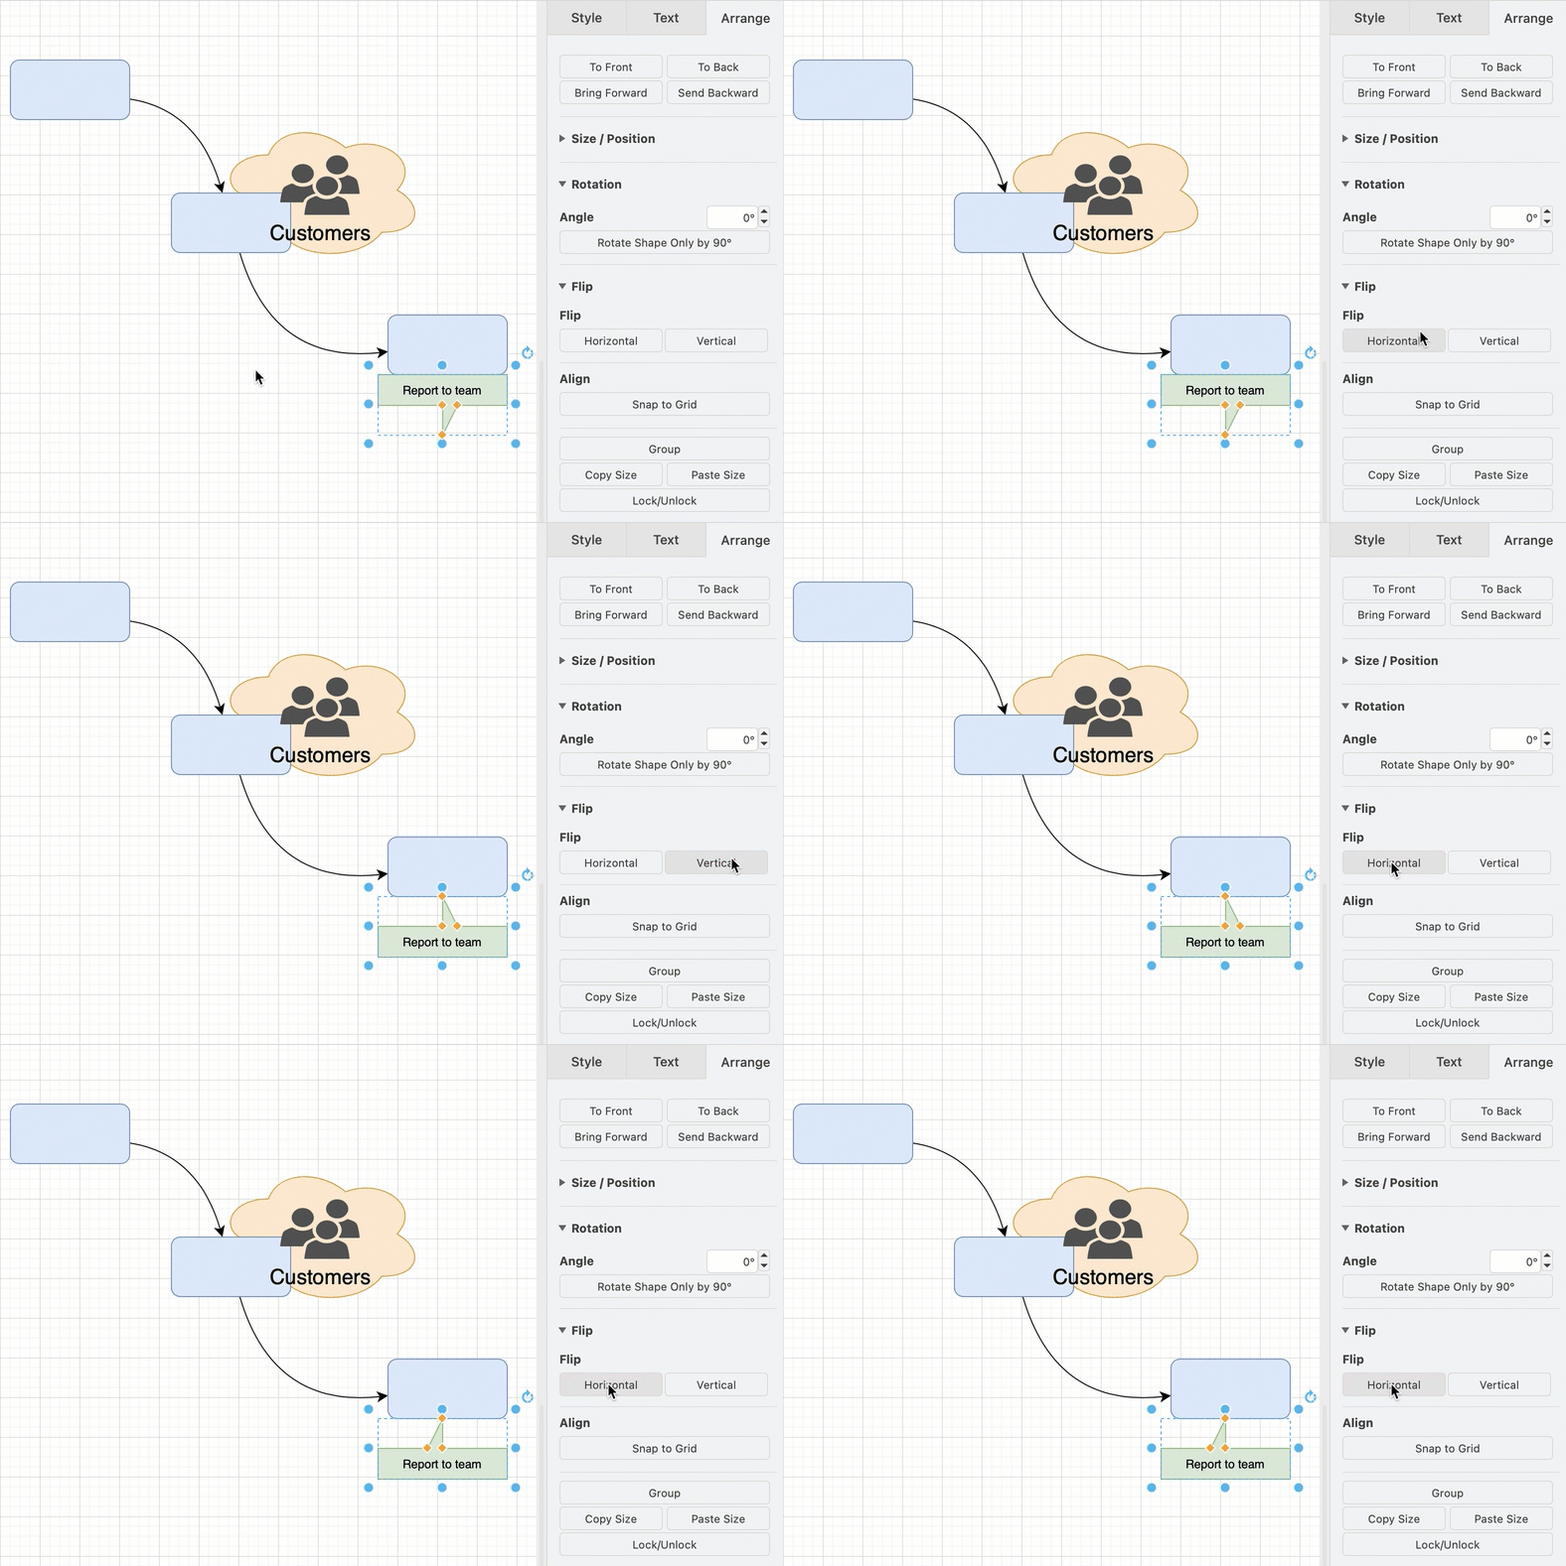
You can also flip a connector horizontally and vertically, and reverse the source and target ends of a connector along with their labels.
Reset connector waypoints
You can revert one or more connectors' complex routes back to the most direct routes automatically.
- Select the connector or connectors you want to reset. Alternatively, select the shape that has the complex connectors going to or from it.
- Select Reset in the Arrange tab, then select Waypoints from the list.
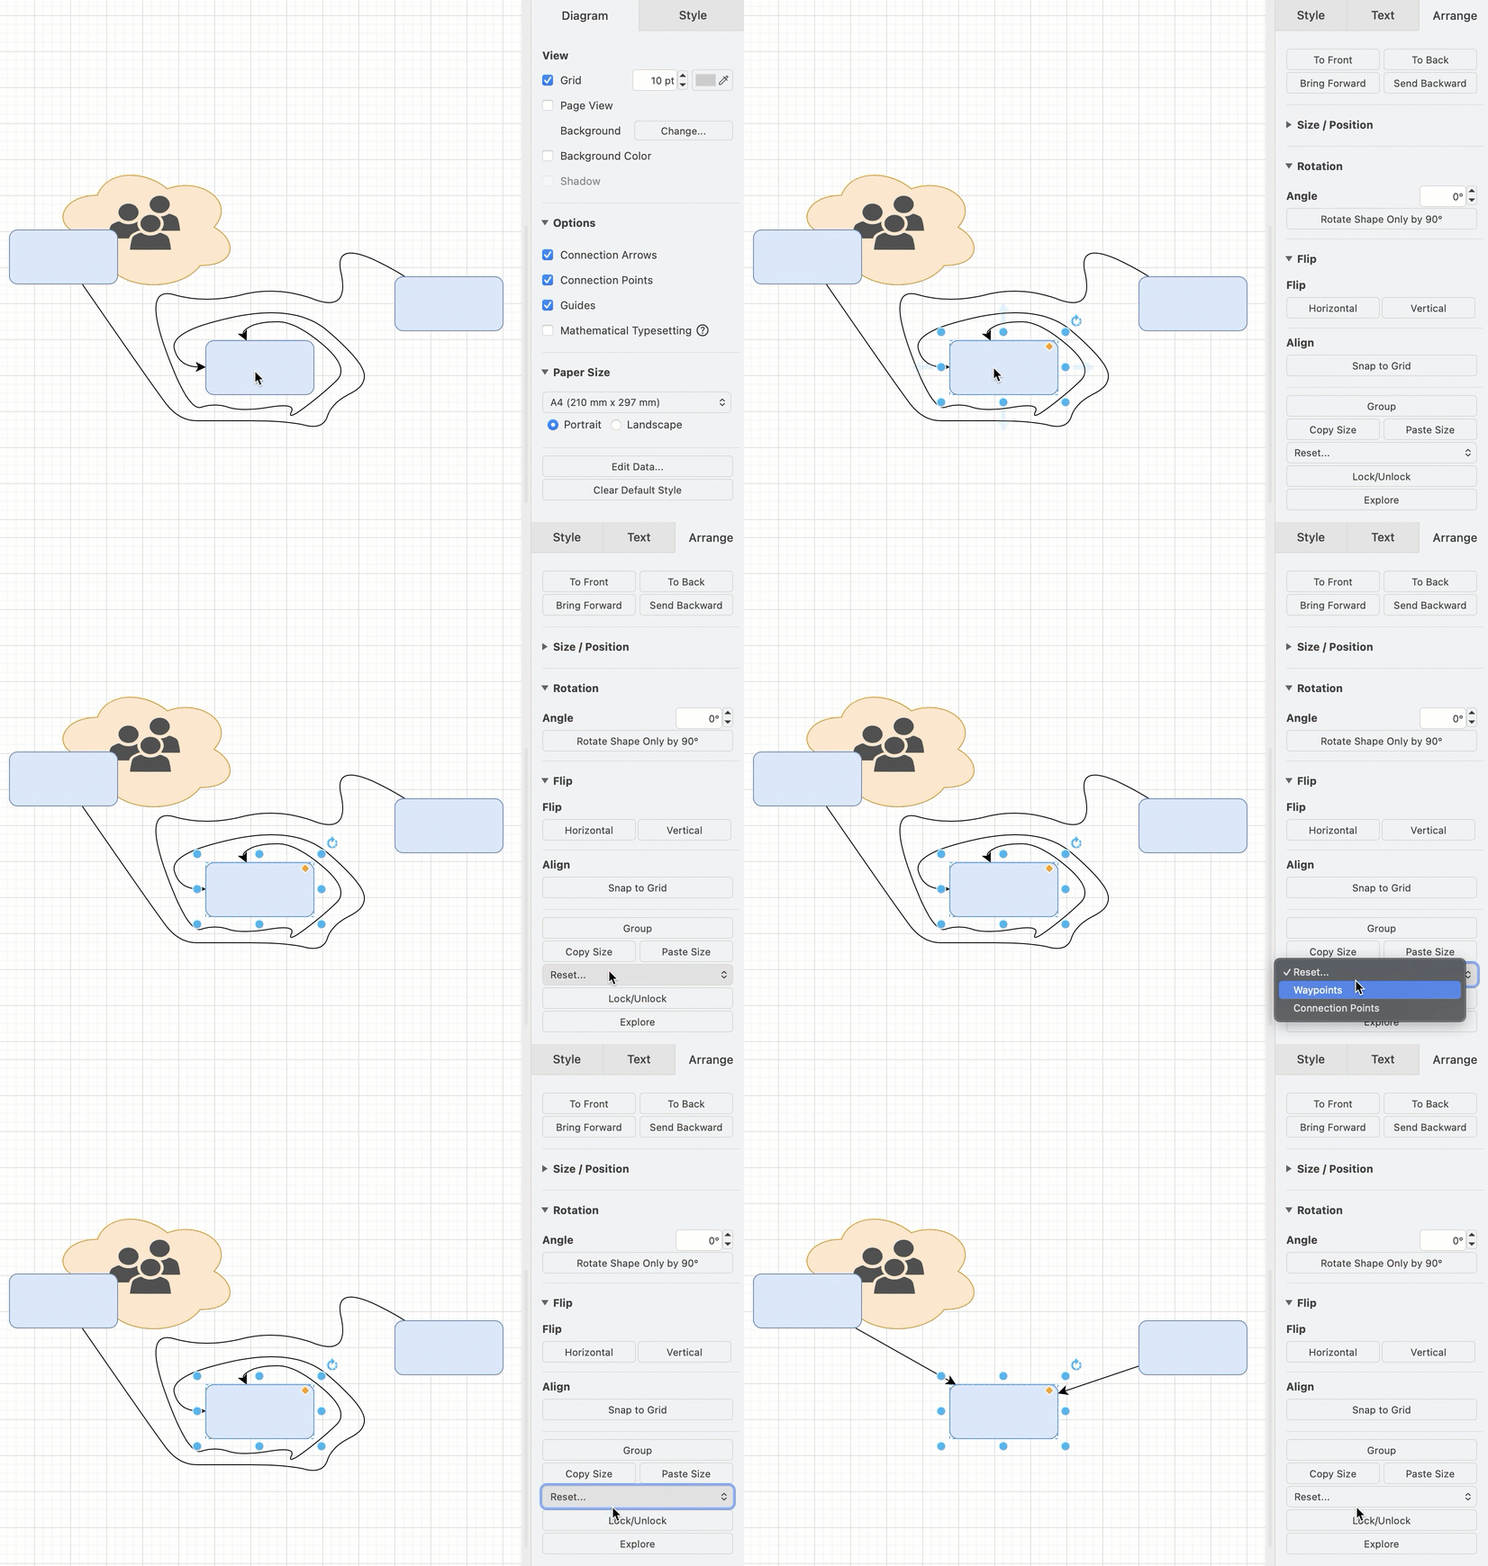
Learn more about working with waypoints on connectors
Work with tables
If you have selected a table or a row or a column, or a swimlane shape, additional tools will appear in the Arrange tab.
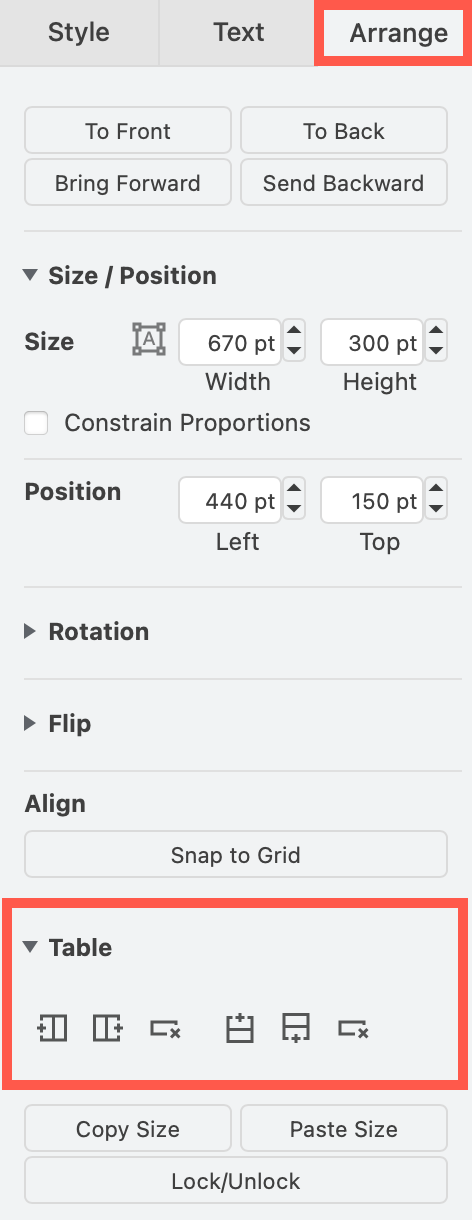
Learn more about working with tables
Advanced tools
Edit data: Select a shape or connector, then click Edit Data in the Arrange tab to add new and change its existing properties, for example, to use placeholders in label text.
Edit link: If a shape links to a web page or another page in a multi-page diagram, click on Edit Link in the Arrange tab to change it.
Arrange shapes automatically: Automated layout shapes automatically position and realign the shapes you place in them.
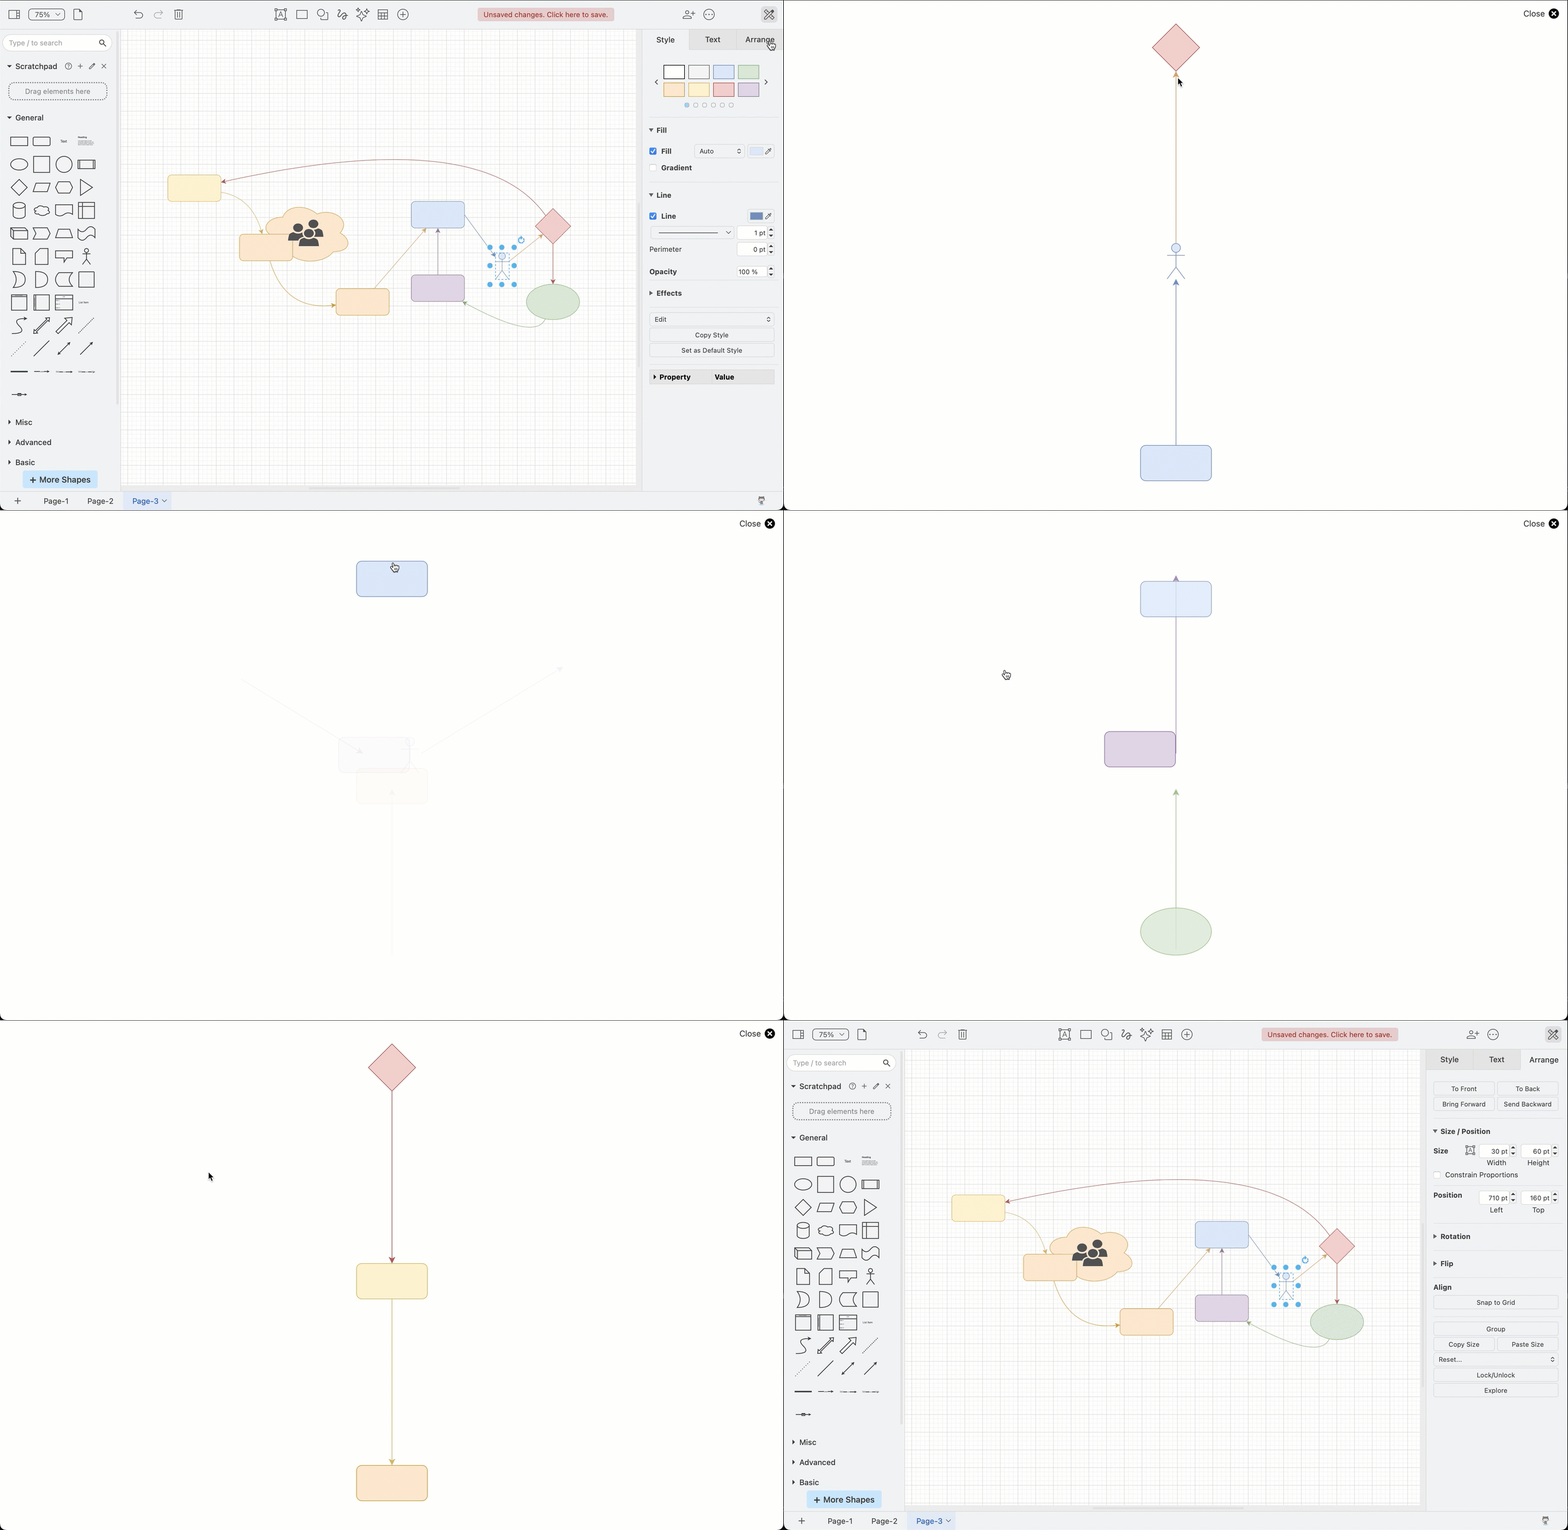
Explore a diagram interactively: Select a shape in the diagram and click on Explore. The diagram will be displayed in the browser tab with your selected shape at the center. Click on any of the connected shapes to step through your diagram. Shapes that are not connected are not visible. This works best for workflows and tree diagrams.